
You probably know the feeling: you finish a good match, double-click the recording file, and the player won't open, or it opens with sound only and a black screen, or you get a 'video codec not supported' message. Let's start with the conclusion: the cause is almost always one of two things. First, the player can't read that video's codec. Second, you were recording to MKV and the program or PC shut down midway, so the file did not finish properly. The fixes are clear too. For codec problems, install a codec pack or open the file in VLC; for a cut-off MKV, remuxing to MP4 often recovers it. Try the steps below in order from the top, and most 'recording file won't open' cases get solved. They are arranged in the fastest order, so let's start with Step 1.
Step 1: Open it in VLC first (the fastest check)
Before installing a codec pack, trying VLC Media Player first is the fastest route. VLC has most codecs and containers, like H.264, HEVC, MKV, and MP4, built in on its own, so it often plays files by itself even when the system has no codec. It is common for a file that won't open in the default Windows player to just open in VLC. Download the latest version from the official site (videolan.org), install it, and load the problem file directly via 'Open VLC > Media > Open File.' Older versions can't read the latest codecs like HEVC and AV1, so be sure to get the latest. If you only get a black screen, go to 'Tools > Preferences > Input/Codecs,' switch hardware decoding to 'Disable,' and open it again.
Step 2: Install a codec pack (so it opens system-wide)
If you want to open every video in the default Windows player or a video editor, you need to install codecs on the system. The most widely used is the K-Lite Codec Pack, which installs the H.264, HEVC, and audio codecs all at once. Proceed in the order below.
- Download the K-Lite Codec Pack from the official site (codecguide.com). The Standard version is enough for general users. Avoid codec packs from top search ads or sketchy sites, as they may bundle unwanted programs.
- Run the install wizard with the defaults (Recommended) as-is. If you do not understand an option, it is safer to leave it alone.
- Once installation finishes, restart the PC once, then try opening the file that would not open again.
- Updating your graphics driver to the latest version can also resolve hardware-decoding playback issues at the same time.
Step 3: If the MKV won't open, remux it to MP4
When recording to MKV in a program like OBS, if recording is cut off by a game crash, power outage, or forced shutdown, the closing information (the index) that should go at the end of the file does not get written. Then, even though the video data is fine, the player can't open the file because it does not know where it ends. MKV is likely to keep the earlier portion intact even when cut off like this, so repackaging (remuxing) it to MP4 often recovers it.
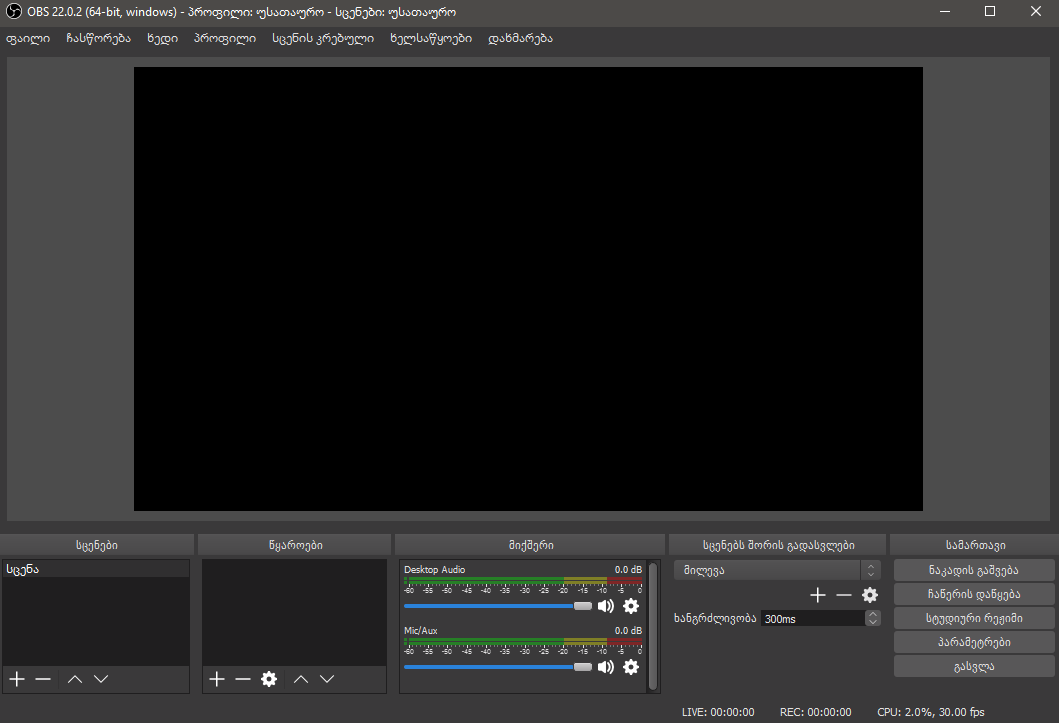
If you use OBS, it works right away with no separate tool. Open 'File > Remux Recordings' from the top menu, add the MKV that won't open, and press 'Remux' to create a new MP4 in the same folder. If you do not have OBS, use ffmpeg. Running ffmpeg -i input.mkv -c copy output.mp4 at the command prompt changes only the container to MP4 without re-encoding, so it finishes fast with no quality loss. Note that remuxing only recovers 'up to the part that closed properly,' so the part after the cut-off point may not be recoverable.
To avoid it next time: a prevention checklist
This is a problem that takes a long while to recover from once it happens, so it is best to set things up so it never occurs in the first place. Just following the items below makes 'recording file won't open' all but disappear.
- Setting your recording format to MP4 (H.264) has the fewest codec and compatibility problems. MKV is resilient to cut-offs, but in return it may need remuxing at the end.
- When recording finishes, play it back once right there to confirm it is fine. If you find a problem later, you can't recreate it.
- Do not cram a long recording into one file; split it reasonably so that if one part is corrupted, you can save the rest.
- Install VLC and the K-Lite codec pack in advance, and keep plenty of free space on your storage disk. If the drive fills up mid-recording, the file gets cut off and ends up incomplete.
How to avoid it entirely: DOR saves as standard MP4
Everything so far, installing a codec pack, opening around it in VLC, and remuxing an MKV, is all 'cleanup after a problem has happened.' The best approach is to save in a format that opens anywhere from the start. DOR saves recordings as standard MP4 (H.264), so even without a codec pack they open right away in the default Windows player, VLC, Premiere, DaVinci Resolve, or CapCut. The person you send it to does not need to install any codec separately either.
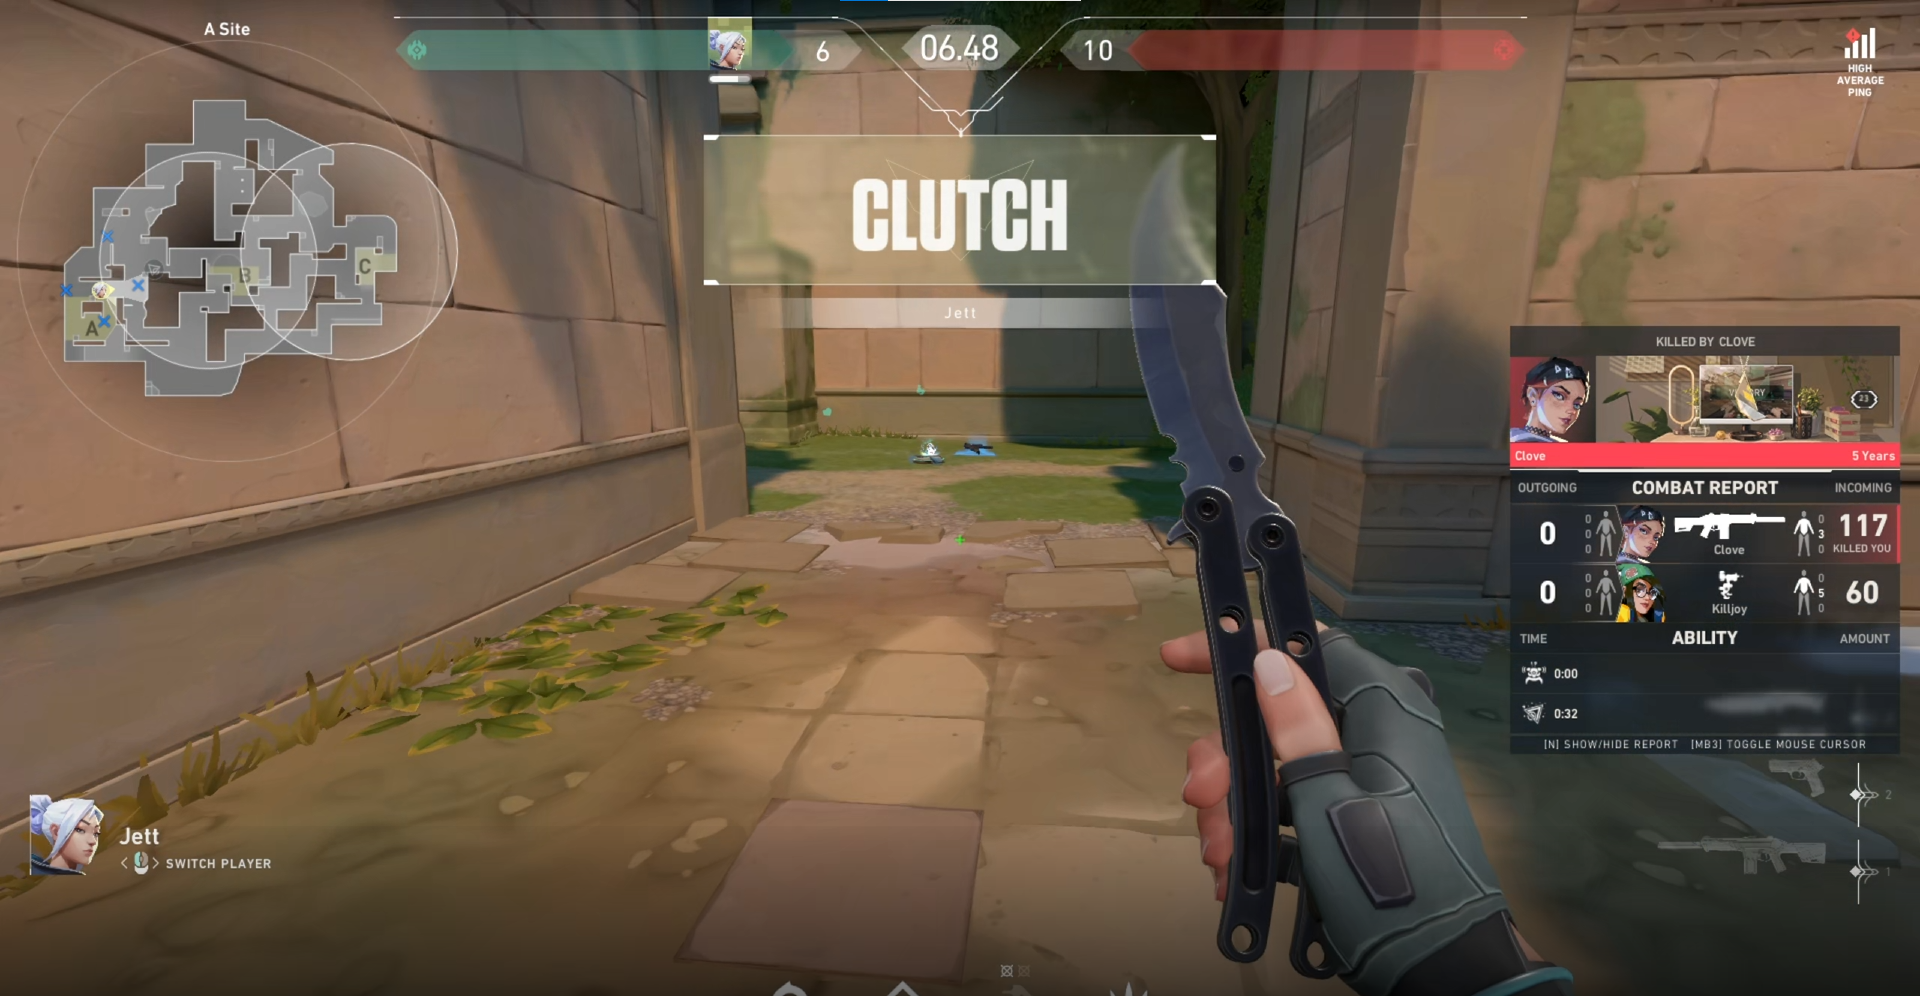
On top of that, DOR automatically turns game highlights into clips. Moments like an ace or clutch in Valorant or a pentakill in League of Legends can be pulled straight into short MP4 clips without separate editing, and naturally those clips open as-is in any player, editor, or social media upload field. To sum up: for files that already won't open, recover them in the order VLC > codec pack > MP4 remux, and from next time on, use a recording environment that saves as standard MP4 to skip this whole process entirely. That is the fastest route.
