When you first search for how to record a PC game, dozens of program names pour out and it actually feels overwhelming. Bottom line, there are only two paths. The first is the no-install method of using the Game Bar already built into Windows as is; the second is a dedicated recording program that auto-detects your game and saves it in high quality. Follow this article and you can start your first recording within 5 minutes either way.
Bottom line first: recording splits into two paths
The two methods have different purposes. The Windows Game Bar is good for recording your current screen with a single hotkey and nothing installed. A dedicated program, on the other hand, recognizes your game and prepares to record when you launch it, and offers higher quality and features like automatic clips. If you just need to save one moment in a hurry, Game Bar is the answer; if you want to keep collecting every match's play without hassle, a dedicated program is the answer.
- 1Method 1: the built-in Windows Game Bar (no install)
- 2Method 2: a dedicated recording program (automatic, high quality)
Method 1: the built-in Windows Game Bar (no install)
Windows 10 and 11 include a recording feature called Xbox Game Bar by default. With no separate install, you can record your current screen right away with just a hotkey, making it the fastest starting point for beginners who find installing a program daunting. Saved files usually stack up as MP4 in the Videos > Captures folder of your user folder.
- With the game running, press the Windows logo key and G together to open Game Bar.
- Press the record button in the recording widget, or press Windows logo key + Alt + R to start recording right away.
- Press the same hotkey again to end recording and save the file.
- The save location is by default the Videos > Captures folder in your user folder, saved as MP4.
Game Bar's strengths and limits
The strengths are clear: no install needed, free, and simple to operate. But there are limits too. You have to press the record button yourself every time, and best moments always come when you did not have recording on, so they are easy to miss. There is also no fine control of quality or bitrate, nor automatic highlights, so once you start seriously collecting gameplay footage, you quickly feel the shortcomings.
Method 2: a dedicated recording program (automatic, high quality)
If you want to save things a bit more properly, use a dedicated recording program. OBS Studio, popular among streamers, is free and open source and lets you finely adjust resolution, framerate, and audio, but the setup is somewhat complex for beginners. Paid tools with friendly Korean UIs, like Bandicam, GomCam, and oCam, support 4K/60fps high-quality recording and simple editing all at once. What they share is that they are ahead of Game Bar in quality and features.
For beginners, a dedicated tool that auto-detects is recommended
If you keep forgetting to press the record button every time, a tool that just records for you is the answer. Once installed, DOR automatically detects your game launching and starts recording in the background, and cuts key moments like kills and clutches into short clips for you. It is also designed for low overhead, so you can leave it on without worrying about frames, and there is no need to memorize hotkeys or keep track of starting a recording. It is the easiest way for a beginner not to miss best moments.
Quality, lag, and storage: just the basic concepts
The recording settings screen looks full of unfamiliar terms, but there are really only three things you need to know: the value that sets quality, the factor that governs lag, and storage size. Understand just the concepts below and you will not get lost in the settings no matter which program you use.
- Resolution: 1080p is enough for most cases, and for high-quality YouTube use 1440p or 4K.
- Framerate (FPS): 60fps is smooth, and 30fps is fine for general records.
- Bitrate: the higher, the sharper, but the bigger the file. It is the balance point between quality and size.
- Storage size: high-quality long recordings eat storage fast, so secure storage space in advance.
If you are worried about lag (frame drops), the key is one thing: using your graphics card's hardware encoding. NVIDIA and AMD graphics cards handle recording with a dedicated encoder, so there is almost no performance loss. Conversely, recording with only the CPU can make games stutter on low-spec PCs, so if lag is bad, lower the resolution or framerate one step and try turning on hardware encoding.
Continue to per-game recording like this
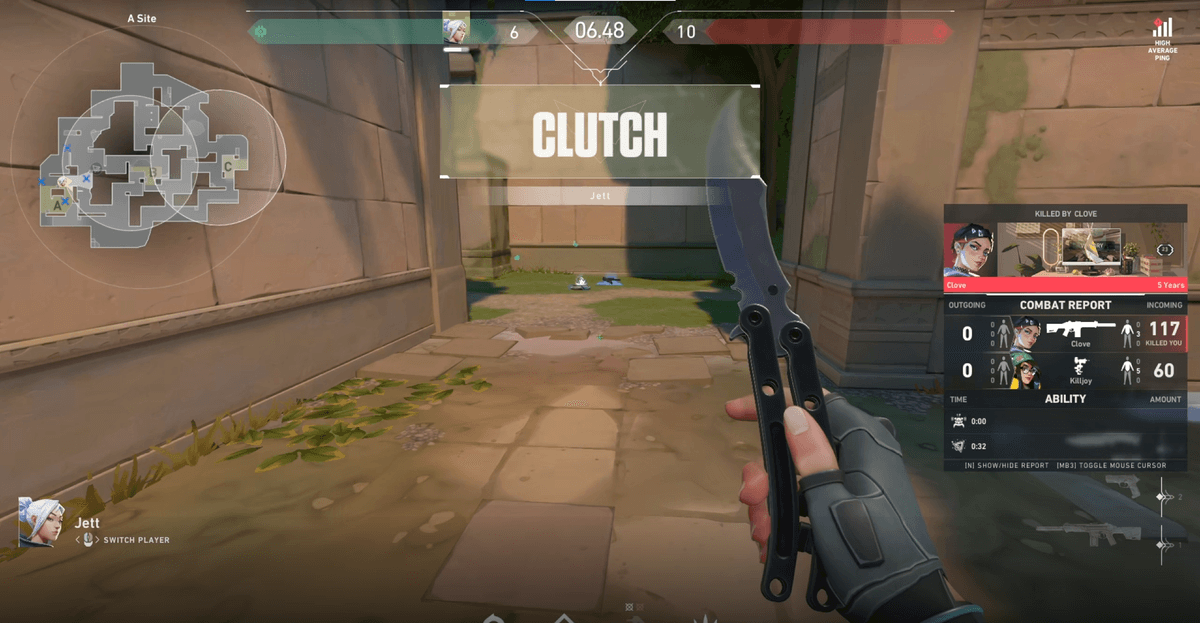
Once you have the basics down, just pick up the finer tips tuned to the game you play most. In FPS the kill moment, in MOBA the teamfight, and in battle royale the final fight are the highlights, so they pair especially well with automatic clips. How to keep an ace or clutch in Valorant, a comeback teamfight in League of Legends, or a chicken-dinner moment in PUBG without missing it is covered in more detail in each per-game recording article.
In summary: start your first recording today
To sum up, it is like this. If you just want to save one screen right now, start in 5 minutes with the Windows Game Bar. If you plan to keep collecting gameplay footage going forward, a dedicated program is more convenient from the start. Among those, if you are a beginner who would rather not think about recording, start with DOR, which auto-detects your game and cuts best moments into clips for you, and highlights stack up on their own without you pressing a single button.
 #Valorant