"I want to try posting a gaming video but have no idea where to start." This is where beginners get stuck most. Do I need to buy a camera, do I need expensive editing software, is there any point when I have zero subscribers, worries like these trip you up before you even begin. The bottom line is this: game content is just 3 steps, recording, editing, uploading, and you can start all three today with free tools alone. In this guide we'll walk through those 3 steps in order, written for someone who's never made a single video.
There's one key thing to flag up front. The most common reason beginners quit isn't editing skill, it's "having nothing to post." So the right order is to lock down how to stockpile material automatically first.
Step 1: gather material, recording is 80% of it
A good gaming video starts not with editing but with a good moment. Yet once you actually start, "forgetting to hit record and missing your best plays" keeps happening. Turning on full recording every time piles up 30-minute originals, and just finding and trimming a 30-second highlight from inside them wears you out until you quit.
Sourcing material with DOR auto-clips
The easiest way to make this problem vanish is auto-clipping. Install DOR and it auto-detects when a game launches, records in the background, and trims only key moments like kills, aces, pentakills, and chicken dinners into short clips collected in your library. There's no need to hit record or memorize a hotkey, so just playing Valorant, League of Legends, or PUBG like normal means your editing material is already waiting when you finish. It's the fastest way for a beginner to get past the "I have nothing to post" wall.
Early on, we recommend filling up your material pool first, with something like "collect 20 clips a week." With enough material you never run out of things to post each week, and you just pick the best-reacting moments to edit.
Step 2: editing, vertical 9:16 is the baseline
Once you have material, it's time to edit. It's the step beginners dread, but Shorts editing is unlike full-video editing and takes far less effort. Just stick to three things, vertical frame, strong opening, captions, and you'll land above average even without flashy effects.
Cropping to vertical 9:16
Shorts, TikTok, and Reels are all vertical (9:16). Posting a horizontal game screen as-is gets cropped top and bottom or leaves black bars on the sides, costing you. Crop vertically centered on the core, where your character, crosshair, and kill log live. Use DOR's free editor and you can handle cropping clips to vertical with no separate program to install.
The first 3 seconds are everything, plus captions
If a Short doesn't grab attention in the first 3 seconds, it gets skipped instantly. So put "the moment the kill happens" at the very front, not "the lead-up to the kill." Show the result first and tack the buildup on after. Adding captions on top makes a big difference. A lot of people watch with the sound off, so one line of short captioning that explains the situation (e.g., "3 kills in 1 second") boosts watch time.
A free editor is plenty
You don't need to buy separate editing software. DOR's free editor handles vertical cropping, segment cuts, and captions, and if you want to do more, a free mobile/PC editor like CapCut lets you layer on captions and sound effects. At the beginner stage, paid editing software isn't necessary.
- Did you crop to vertical 9:16 (with the core centered)?
- Does the strongest moment hit within the first 3 seconds?
- Are there captions that make sense even with the sound off?
- Is the length within 15 to 45 seconds (shorter = higher chance of being watched to the end)?
Step 3: uploading, one clip to many places
It's a waste to post your edited vertical clip in just one place. The basic strategy is to post the same video to YouTube Shorts, TikTok, and Instagram Reels at once to widen your exposure channels. Make one 9:16 vertical and it slots straight into all three platforms.
Shorts, TikTok, and Discord
On YouTube, putting #Shorts at the end of your title or in the description after uploading classifies it as a Short. On TikTok, use hashtags (e.g., #Valorant #gameclip) to reach viewers with the same interests, and post to Instagram Reels the same way. On top of that, dropping the clip first in a Discord server full of friends and guildmates is a great way to generate early reactions (likes, comments). For a new channel, this first reaction helps with algorithm exposure.
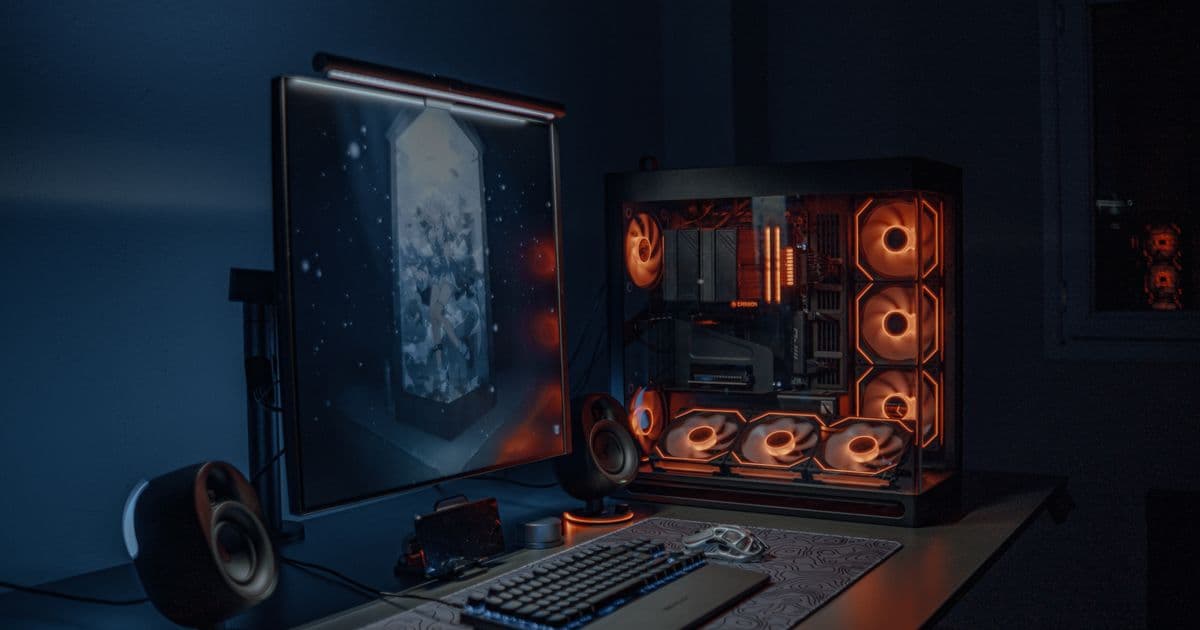
Gear: no need to buy anything expensive
Gear is where beginners waste the most money. The verdict is "if your PC runs games well right now, it's already enough." Screen recording needs no camera, and as long as your graphics card (GeForce GTX/RTX series) has NVENC hardware encoding, you record with almost no hit to your game frames. DOR uses NVENC by default, so there are no settings to touch. A capture card is only needed for separately capturing console screens like a PS5 or Switch, and if you're only posting PC games, you can do without one.
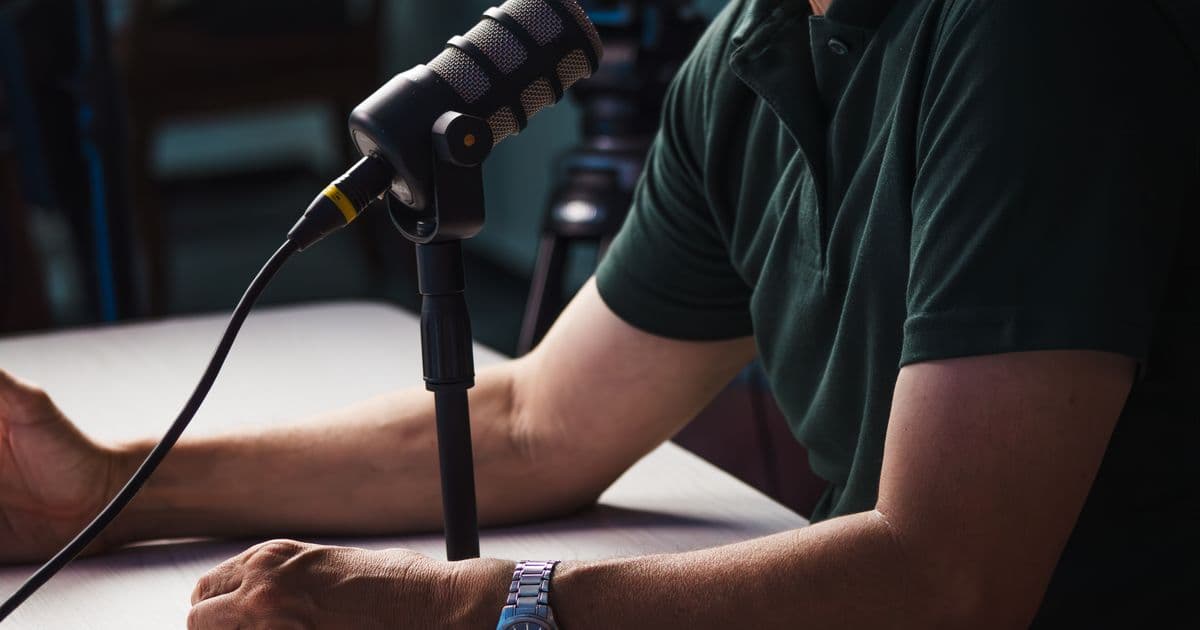
You don't need to buy an expensive mic from the start either. Shorts work perfectly well with just the game screen and captions, no face or voice. If you start wanting to add your voice, an entry-level mic in the $30 to $50 range is more than enough. In short, you can start with $0 in extra spending.
- PC: if your games run well now, you're OK (a GeForce GPU with NVENC support recommended)
- Capture card: not needed for PC-only games, only for console recording
- Mic: not needed early on, $30 to $50 range is enough when you add your voice
- Editing software: handled by DOR's free editor plus free tools like CapCut
Consistency beats talent
This last point matters most. Your first videos almost all flop. Stalling at double-digit views is normal, and whether you quit or keep going at that stage decides your channel's fate. Posting a 70-out-of-100 video three times a week, steadily, grows you far faster than clutching a perfect single video for a month. That's exactly why it's fine if a great clip doesn't come every time. Just play games with DOR and your material piles up automatically, so all you repeat is the light work of "picking and posting."
In short: gather material by recording with DOR auto-clips, edit by sticking to just three things, vertical 9:16, the first 3 seconds, and captions, and upload by spreading the same clip across Shorts, TikTok, and Discord. Check the recommended settings and real clip examples for the games you play most on the Valorant, League of Legends, and PUBG pages, and start by recording your very next game today.