In Valorant, half of aim is your hands, but the other half comes down to "how well you can see your crosshair." Even at the same skill level, if your crosshair blends into the screen or is so big it covers the enemy's head, your headshot rate drops noticeably. The good news is that Valorant lets you customize your crosshair in fine detail, and you can even import a favorite pro player's crosshair as-is with a single code. In this article we'll start with five ready-to-use crosshairs and the values for a headline-friendly setup, then go in order from what each settings-menu item means to recommended default settings, applying and sharing pro crosshair codes, and choosing your color and dot.
5 Recommended Valorant Crosshairs: Enter the Values, Save Them as Your Own Code
The five below are general-purpose crosshair types, not any specific player's setup. Go to Settings → Crosshair tab → Primary, enter the values from the table, then click the up-arrow icon next to the crosshair profile: the setup is turned into a code and copied to your clipboard, so you can note it down or send it to a friend. If you'd rather use a specific pro player's crosshair as-is, see the Valorant pro crosshair code collection.
| Type | Key settings (Primary) | Characteristics | Suits this playstyle |
|---|---|---|---|
| Small dot | Center dot on, size 2–3; inner and outer lines off | Barely covers the screen; only the exact center remains | Long-range precision, Operator and Guardian players |
| Thin cross (no center dot) | Center dot off; inner lines thickness 1, length 4–6, offset 2; outer lines off | Empty center doesn't hide small targets, while the left/right reference stays | Duelists in frequent close fights, spray control |
| Headline cross | Unlink the chain icon → horizontal 6–8, vertical 0–2; offset 2–3; thickness 1–2; center dot 2–3 | The horizontal line works as a head-height guide, making pre-aim easier | Rifle players who hold corners with pre-aim |
| Stickman | Unlink the chain icon → vertical 8–10, horizontal 3–4; offset 3–4; center dot 3–4 | The dot and vertical line overlap an upper-body silhouette, so body alignment is easy | Trying something fun, or when you want a vertical reference |
| Large cross + outline (beginner) | Inner lines thickness 2, length 6–8, offset 2; outline on (thickness 1); center dot off | Visible at a glance on any background, at the cost of a little vision | Just starting out, or constantly losing the crosshair mid-fight |
Settings for a Crosshair That Lands Headlines (Head Height)
- Settings → Crosshair tab → Primary → unlink the chain icon in the middle of the inner line length slider (left is horizontal, right is vertical)
- Set horizontal length 6–8 and vertical length 0–2 so only the horizontal line remains
- Offset 2–3 and thickness 1–2 so the horizontal line doesn't cover heads
- Center dot on, size 2–3 to keep an exact center reference
- Color, outline, outer lines off, and movement/firing error off: same as the recommended default settings below
The point is to build the habit of resting the horizontal line at enemy head height. With no vertical line your view stays open when checking corners, and the short horizontal line becomes a level guide so your pre-aim height doesn't drift. The stickman crosshair is the same trick in reverse: a long vertical line, short horizontal lines and a wider offset make the dot and vertical line overlap an upper-body silhouette. Which crosshair really fits your hand isn't settled by the Range alone; you also need to rewatch your headshot moments from a few real matches. Keeping those moments requires recording, and the free recorder DOR, once turned on, automatically detects Valorant, records the full match and cuts your kills into auto highlight clips, so after changing a setting you only need to replay the clips to see whether your headline actually lands.
The crosshair features covered here (code import/export, the chain icon on inner line length, custom color) had no announced changes through patch notes 13.05 (published September 1), the latest as checked on September 14, 2026. Menu positions or names may change in later patches, so check the official Valorant patch notes for the latest.
The Crosshair Settings Menu: What Does Each Item Mean?
First, in-game, go to Settings (ESC or the gear icon) → Crosshair. At first glance it looks complicated with all the sliders, but the items that actually change your result the most are a fixed handful. Let's look at them one by one.
Color and Outline
Color sets the color of the crosshair itself. White is the default, but on bright maps or in situations with lots of smoke and ability effects, white easily blends into the background. That's why many people use colors that rarely appear in the game background, like cyan or yellow. The outline puts a black border around the crosshair so its shape stays visible against any background. You can also adjust the outline's thickness and opacity, but too thick gets cluttered, so a single thin line is a safe choice.
Center Dot
The center dot is a point placed at the exact center of your crosshair. It's off by default, but turning it on makes it clear exactly where you're looking with a single point. You can adjust the dot's size and opacity, and keeping it small lets it serve as a "dead-center reference point" along with your crosshair lines. Plenty of players use only the dot with no lines at all.
Thickness, Length, Gap, and Offset of the Inner and Outer Lines
The cross (+) shape is split into two groups, the Inner Lines and Outer Lines. For each you can separately set the thickness, length, and offset (the gap from the center). The thicker they are, the easier they are to see but the more they cover the enemy; the longer they are, the more of your view they take up. The offset sets how far the four lines spread out from the center; the wider they spread, the more the dead center empties out, making it easier to aim at small enemies but weakening your sense of "exactly where." Settings that turn the outer lines off and use only the inner lines are common too.
Movement on Firing (Error)
Turning on the "Movement Error" and "Firing Error" options makes the crosshair spread when you move or fire, visually showing your current bullet spread. It's useful as information, but many players turn both off because the crosshair constantly moving is distracting. With them off, the crosshair always shows at a fixed size.
Recommended Default Settings: Just Start With This
If it's hard to pick a type from the table above, we recommend starting with one clean compromise set like the one below, a small cross plus a center dot, and then tweaking to taste. The key is "small and crisp, and visible anywhere."
- Color: a high-contrast color like cyan or yellow that stands out against the background
- Outline: on, thickness around a single thin line
- Center dot: on (small), or off depending on taste
- Inner lines: thickness 1-2, short length (4-6), small offset
- Outer lines: off (to keep your view clear)
- Movement on firing (Movement/Firing Error): off
This setup is a small crosshair with a center dot added, so it keeps the dead center clear without covering the enemy's head. Use it for a few days, and if you feel "I can't see the lines," bump the thickness; if it feels "too cluttered," trim the length or offset, fine-tuning it that way.
Apply a Pro Crosshair in One Step With a Code
One of Valorant's most convenient features is the "crosshair code." It's a share code that compresses your entire crosshair setup into a short string, and just copying it and importing it applies someone else's crosshair to your screen as-is. It's especially handy when you want to try out the exact crosshair a pro player or streamer uses. If you are not sure whose code to try first, pick one from our Valorant pro crosshair codes collection and paste it straight in.
How to Import and Export
- 1Open Settings — Press ESC during a match, or click the gear icon in the top right of the main menu.
- 2Go to the Crosshair tab — Pick the Crosshair tab in the settings menu and check which target you're editing: Primary, Aim Down Sights or Sniper Scope.
- 3Import a code — Click the down-arrow icon next to the crosshair profile, paste the code into the field and click the Import button. It's saved as a new profile, so give it a name.
- 4Export your own code — To share your setup instead, click the up-arrow icon next to the crosshair profile and the auto-generated code is copied to your clipboard.
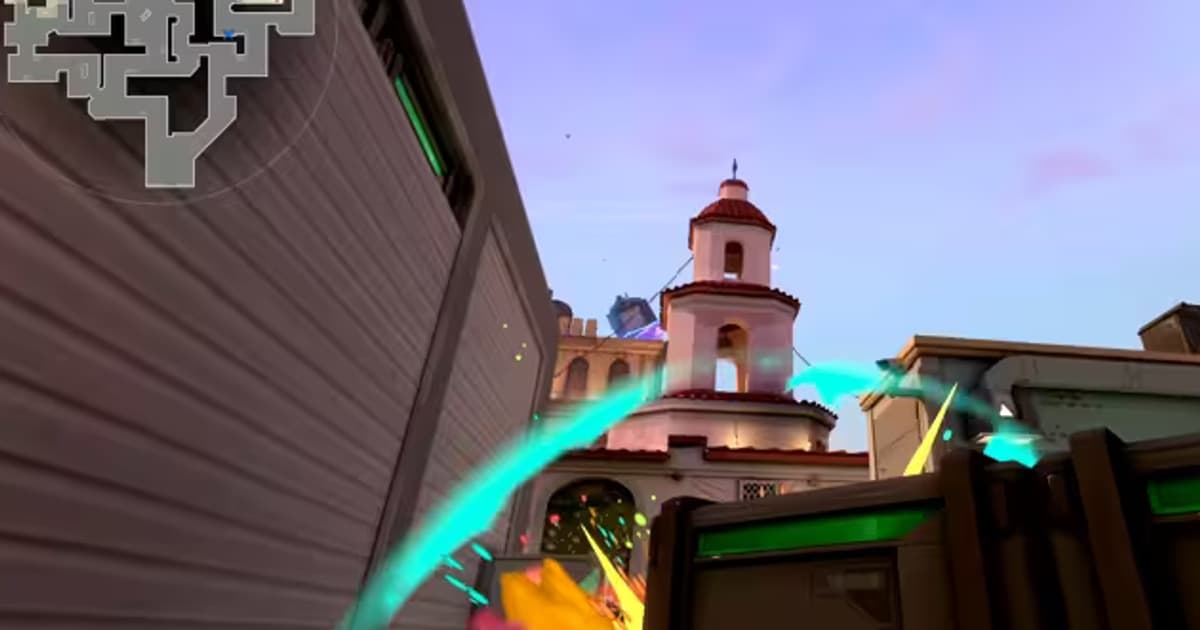
- 5Check the preview and the Range — Confirm the shape in the crosshair preview at the top of the settings menu, then fire a few rounds in the Range to see whether it sits well at head height.
An imported code is saved as a new crosshair profile, so naming it makes switching between setups easy. As checked on September 14, 2026, you can keep up to 15 profiles, and while spectating you can type /cc in chat to copy the crosshair of the player you're watching into a new profile.
For reference, this "share by code" method is a convenience feature unique to Valorant. Counter-Strike sets the crosshair with console commands, and in Apex Legends the reticle changes based on your weapon's attachments and optic, so it's a bit different from Valorant's feel of copying the whole thing with a single code.
Color and Dot: What's Best to Pick?
The right color is "the one you can see best," but statistically, high-saturation colors like cyan, yellow, and lime green are preferred over white. Those colors rarely appear in Valorant map backgrounds, so the crosshair doesn't blend in. Red and green can be hard to tell apart if you have color blindness, so pick based on your own eyes.
Dot vs. crosshair is another common dilemma. Using only a small center dot covers almost none of the screen, which is clean for long-range precision aim and lining up at head height. A crosshair, on the other hand, gives a clear dead-center feel and left-right reference, which is intuitive for close-range fights and beginners. There's no right answer, and a compromise that uses a dot plus a small crosshair together is the safest.
What Makes a Good Crosshair for Aim
To sum up, the conditions for an aim-friendly crosshair are simple. First, small and crisp enough not to cover the enemy's head. Second, visible at a glance against any background (high-contrast color plus outline). Third, steady so it doesn't shake when firing or moving, keeping your reference point consistent. Keep just these three and you don't need an elaborate setup. In the end, the crosshair that "catches your eye first on screen but doesn't actually cover the enemy" is a good one.
One more thing: changing your crosshair often makes your hands adapt to a new reference every time, which shakes your aim. Once you've found a setup you like, it's better for your score to save it as a code and keep it fixed for a while so your hands get used to it.
An Ace Landed With Your Good Crosshair? DOR Clips It for You
Dial in your crosshair and your headshots and aces tend to climb, yet those very best moments tend to come when you didn't have recording on. Install the free game recorder DOR and it automatically detects the moment you launch Valorant, records, and on its own cuts good moments like aces and clutches into short clips and saves them. You can keep that one shot you landed with your newly dialed-in crosshair without missing it.