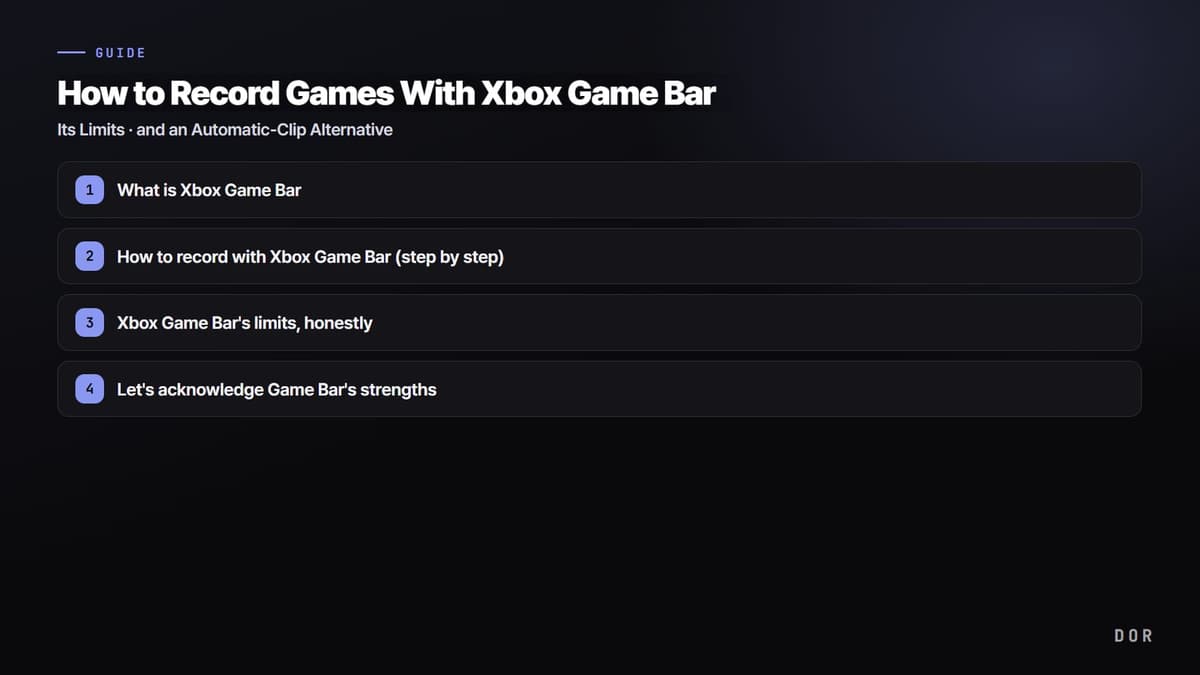
Bottom line first: Xbox Game Bar is built into Windows, so with nothing installed you can record a game right away using just two hotkeys, Win+G and Win+Alt+R. When you urgently need to save the whole screen as a video, no method is faster. But some fullscreen games cannot be captured, there is no automatic-clip feature that cuts the good moments for you, and overall the features are thin. If you need automatic clips of kills and best moments or long-session stability, a dedicated program like DOR ultimately takes less effort.
This article first shows you step by step how to record properly with Game Bar, then honestly points out what Game Bar actually cannot do. People for whom Game Bar is enough can read only this and start recording right away, and only those who feel it falls short need to read the final alternative section.
What is Xbox Game Bar
Xbox Game Bar is Microsoft's screen recording and capture tool built into Windows 10 and Windows 11 by default. It needs no separate install and provides features like game screen recording, screenshots, and system performance monitoring as an overlay. Despite Xbox in the name, you can use it on a PC without a console, and it records not only games but also many supported app screens.
How to record with Xbox Game Bar (step by step)
Here it is in the fastest order. If it is your first time, it is best to first check that Game Bar is turned on.
- 1. Confirm Game Bar is on: go to Settings, Gaming, Xbox Game Bar and check that Game Bar is turned on.
- 2. Open Game Bar: with the game or app you want to record running, press Win+G to bring up the overlay.
- 3. Start recording immediately: without even opening the overlay, press Win+Alt+R to start recording instantly.
- 4. Stop recording: press Win+Alt+R again to end recording and save the file.
- 5. Turn on the mic: to include your voice, turn on the mic with Win+Alt+M or press the mic icon in the capture widget.
- 6. Screenshot: if you only need a still image instead of video, capture it with Win+Alt+PrtScn.
For games running in fullscreen mode, the Win+G overlay may not appear, but even then you can start and stop recording with the Win+Alt+R hotkey. When recording starts, a small timer appears in the corner of the screen.
Where are recorded videos saved
Recordings are saved in MP4 format, and the default location is the Captures folder inside the Videos folder on your PC. The file name automatically includes the game or app name and the date and time of the recording. You can change the save path, quality, and framerate (for example 30fps or 60fps) in Settings, Gaming, Captures.
Xbox Game Bar's limits, honestly
That is nearly everything you can do with Game Bar. The problem is that for people who save clips often, a few walls are clear.
- Some fullscreen games not supported: in exclusive fullscreen or certain DirectX environments, the screen may not be captured, sometimes recording only a black screen. In that case you have to switch to 'borderless' window mode inside the game.
- Anti-cheat game limitations: in games that use anti-cheat systems, such as Valorant or League of Legends, Game Bar capture may be limited.
- No automatic clips: it does not cut kills or best moments for you. You have to press a hotkey yourself at every good moment, and if you miss it, it is gone.
- Thin features: there is no scheduled recording, section editing, multiple audio tracks, or automatic highlight organization. Editing after recording is left to a separate program.
- Limited full-desktop recording: Game Bar is game- and app-focused, so some screens like File Explorer or the desktop are not recorded.
Let's acknowledge Game Bar's strengths
That does not mean Game Bar is a bad tool. In fact, when your purpose is clear, it is the best choice. Since it is built into Windows, it needs no install, no account sign-up or payment, and adds no watermark. For the simple goal of 'I want to save this screen right now as a single video,' Game Bar is the fastest and lightest. If you only record occasionally, there is no reason to install another program.
Why Game Bar cannot record your whole desktop screen
This is the wall people run into most often when they try to capture everything visible on their monitor — the desktop included — with Game Bar. It is a different problem from recording a game that runs in fullscreen mode. Xbox Game Bar is designed to capture only the single game or app window that is currently running, so the entire desktop, File Explorer, and scenes where you move between multiple windows are officially excluded by Microsoft from what it can record. This is a structural limit of the tool, not something you can fix by changing a setting, so Game Bar cannot be used for whole-desktop recording that captures everything on your screen.
So if you want to keep every scene including the desktop, you need a dedicated program that supports whole-desktop recording from the start. If gameplay is what you are after, DOR, a free Windows desktop app, automatically detects your game, records the whole match on its own, and keeps it in a full-match library, so you capture every scene inside the game without missing one. And if Game Bar keeps failing to record even with a game or app window open, the cause needs separate troubleshooting; see how to fix Xbox Game Bar recording not working for symptom-by-symptom fixes.
If you need automatic clips: DOR
The problem is the person who games often and saves clips often. Great moments always come when you did not hit the record button, and it is hard to focus on the game while keeping track of Win+Alt+R every moment. DOR is a dedicated program aimed at exactly this point. It automatically detects your game and runs on its own the moment you launch it, recognizes kills and best moments, and cuts only those sections into clips and saves them. There is no need to press a hotkey to catch the moment.
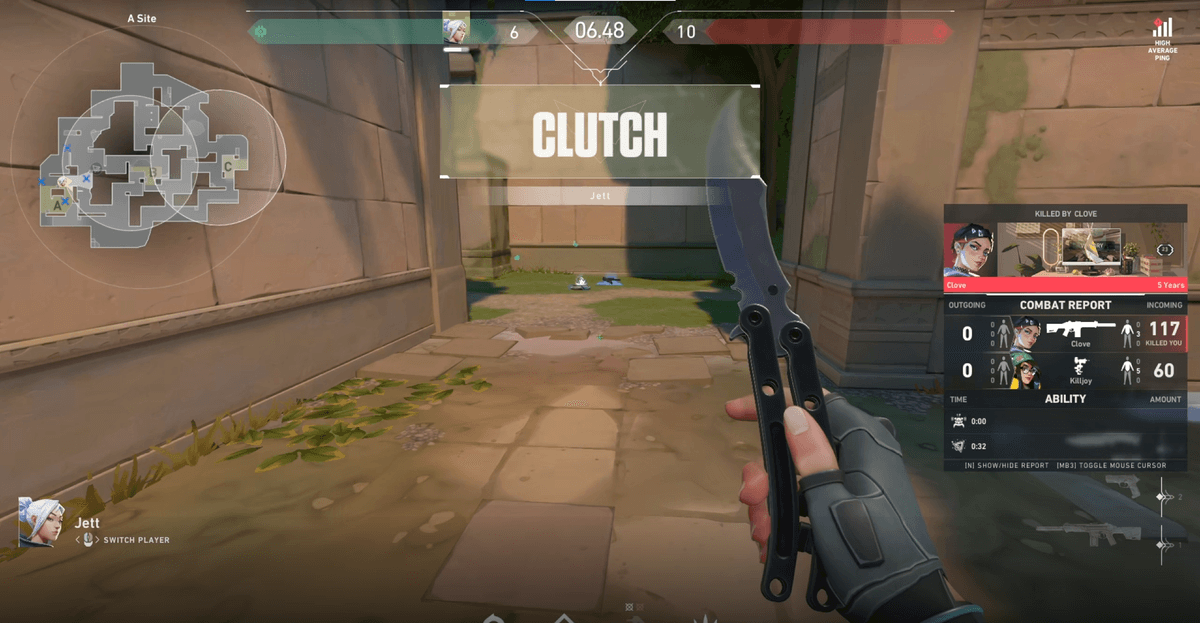
- Automatic game detection: launch a game and DOR recognizes it and prepares to record on its own.
- Automatic kill and best-moment clips: it detects good moments and automatically saves only those sections as short clips.
- No recording time or count limit: use it for free with no watermark or time limit.
- Stability-focused design: built on the premise of game recording, it is relatively stable even during long recordings.
To sum up, if you only occasionally save the whole screen, the no-install Xbox Game Bar is enough. On the other hand, if you want to collect kills and highlights automatically without missing them, or Game Bar capture keeps getting blocked, DOR, with automatic game detection and automatic clips, takes far less effort. Just choose based on how often you play.
 #Valorant