
You have probably had this happen once: after a stream ends you think "I'll clip that scene from earlier," open the replay, and the footage left on Twitch has its bitrate shaved so the text is mushy and the colors are dead. A stream feed is footage deliberately compressed so viewers can watch without stutter, so its quality falls short as an original for editing and uploading. The answer is simple. While streaming as usual, locally record one more high-quality copy of the same screen to your own PC.
In this article we organize the settings for running both streaming and local recording at once in OBS Studio, step by step. We cover how to set stream and recording quality separately, the recommended encoder and resolution values so the game does not stutter even running both at once, and on through DOR, which automatically gathers only the highlight moments from a long replay. The more a game is one where a single match runs long and highlights appear sparsely, like Valorant or League of Legends, the bigger the effect of this setup.
Why you need a separate local recording, not the stream feed
Streaming (live broadcast) and recording (an edit master) have opposite purposes. For streaming, it is important to lock the bitrate low to match network bandwidth so viewers watch without buffering. For local recording, by contrast, the goal is a clean original you will later cut into clips and upload to YouTube, so pushing quality as high as possible is key. A Twitch replay (VOD) is saved at the stream bitrate as-is and has a retention limit, so it is weak as a permanent-archive original.
That is why the standard setup streamers use is "send the stream as a compressed version, record locally at high quality simultaneously." It is a structure that yields the viewer-facing feed and the high-quality original for editing at once from the same single stream, so when the stream ends a lossless video remains on your PC as-is.
Step 1: Stream output settings (compressed version)
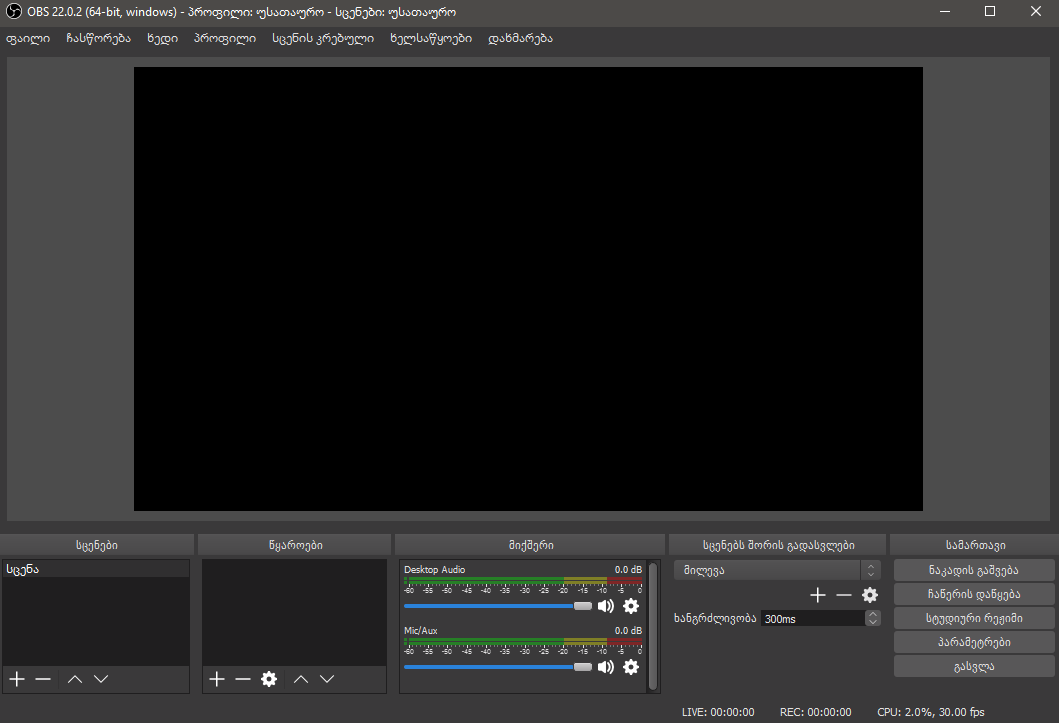
First, nail down the stream quality. In Settings, then Output, switching Output Mode to "Advanced" splits the Streaming and Recording tabs separately. In the "Streaming" tab, set the encoder to NVIDIA NVENC H.264 and the rate control to CBR (constant bitrate). Streaming prioritizes network stability, so CBR, which keeps bitrate steady, is right. Set the bitrate around 6000Kbps on Twitch, or a bit higher if your upload speed has room.
For the values in the Streaming tab, just look at "can viewers watch without stutter." It is fine if the quality falls short, because you secure the real quality in the next step's local recording.
Step 2: Local recording settings (high-quality original)
Now move to the "Recording" tab on the same Settings, then Output screen. The key starts here. The Recording tab's encoder and rate control operate fully independently of streaming, so even with the stream on CBR, you can set recording separately in a high-quality mode.
- Recording path: Designate a drive with plenty of free space. A high-quality original piles up several GB per hour.
- Recording format: We recommend mkv. mp4 can corrupt the whole file if recording is force-killed (blue screen, power outage), but mkv survives up to that point. Before editing, convert it with OBS's "Remux Recordings" to mp4.
- Encoder: NVIDIA NVENC H.264 (or HEVC). Even running stream and recording at once, the load moves to the GPU's dedicated chip, so the game-frame hit is small.
- Rate control: CQP (or CRF if x264). A mode that keeps quality steady, suitable for a local original. It does not lock bitrate like CBR.
- CQP value: between 18 and 23. The smaller the number, the higher the quality and the larger the file. Around 20 usually gives a good balance of original quality and capacity.
Step 3: Recommended local recording quality
We recommend setting the original one tier above the stream feed. 1080p for resolution and 60fps for framerate are the editing and uploading standard. For fast-moving screens like FPS games, 60fps is clearly smoother and does not stutter even when you stretch a clip to slow motion.
If your PC specs are tight, drop resolution before framerate. If 1080p 60fps is heavy, try lowering it in the order 1080p 30fps or 900p 60fps. When your in-game frames start to drop noticeably, the value just before that is your PC's safe line. Since you are running stream and recording at once, if one side is heavy the game stutters first, so adjusting by your in-game frames is the right call.
Step 4: Splitting audio tracks to make replay editing easy
If you plan to edit the replay, splitting the audio tracks is a big help. In OBS Advanced output's Recording tab, assigning the mic and the game/desktop sound to different tracks lets you, when cutting clips later, keep the game sound while trimming just the brief chatter that slipped in. It has no effect on the stream feed; the separate tracks go only into the local original.
Step 5: Securing instant clips with the Replay Buffer
The feature for when "clip that, just now!" goes off mid-stream is the Replay Buffer. Turn on Settings, then Output, then Replay Buffer, set the preceding length to 30 seconds to 1 minute, then assign a "Save Replay" key in Settings, then Hotkeys. If you turn on "Automatically start the replay buffer when streaming begins" in Settings, then General, it stays on standby throughout the stream. Pressing the hotkey instantly saves the preceding segment as a separate file.
However, the Replay Buffer ultimately requires "you to press the hotkey at the good moment." Caught up in a teamfight, it is easy to miss pressing the key the moment a highlight happens, and judging where the highlight is is also up to you. Filling this gap is the next step.
DOR: highlight moments as auto-clips, separate from the stream
OBS's local recording leaves the clean original whole, but the work of finding and cutting highlights out of that long replay is still up to a person. Just looping a two- to three-hour stream to the end to pick out a few pentakill or ace scenes takes a long while.
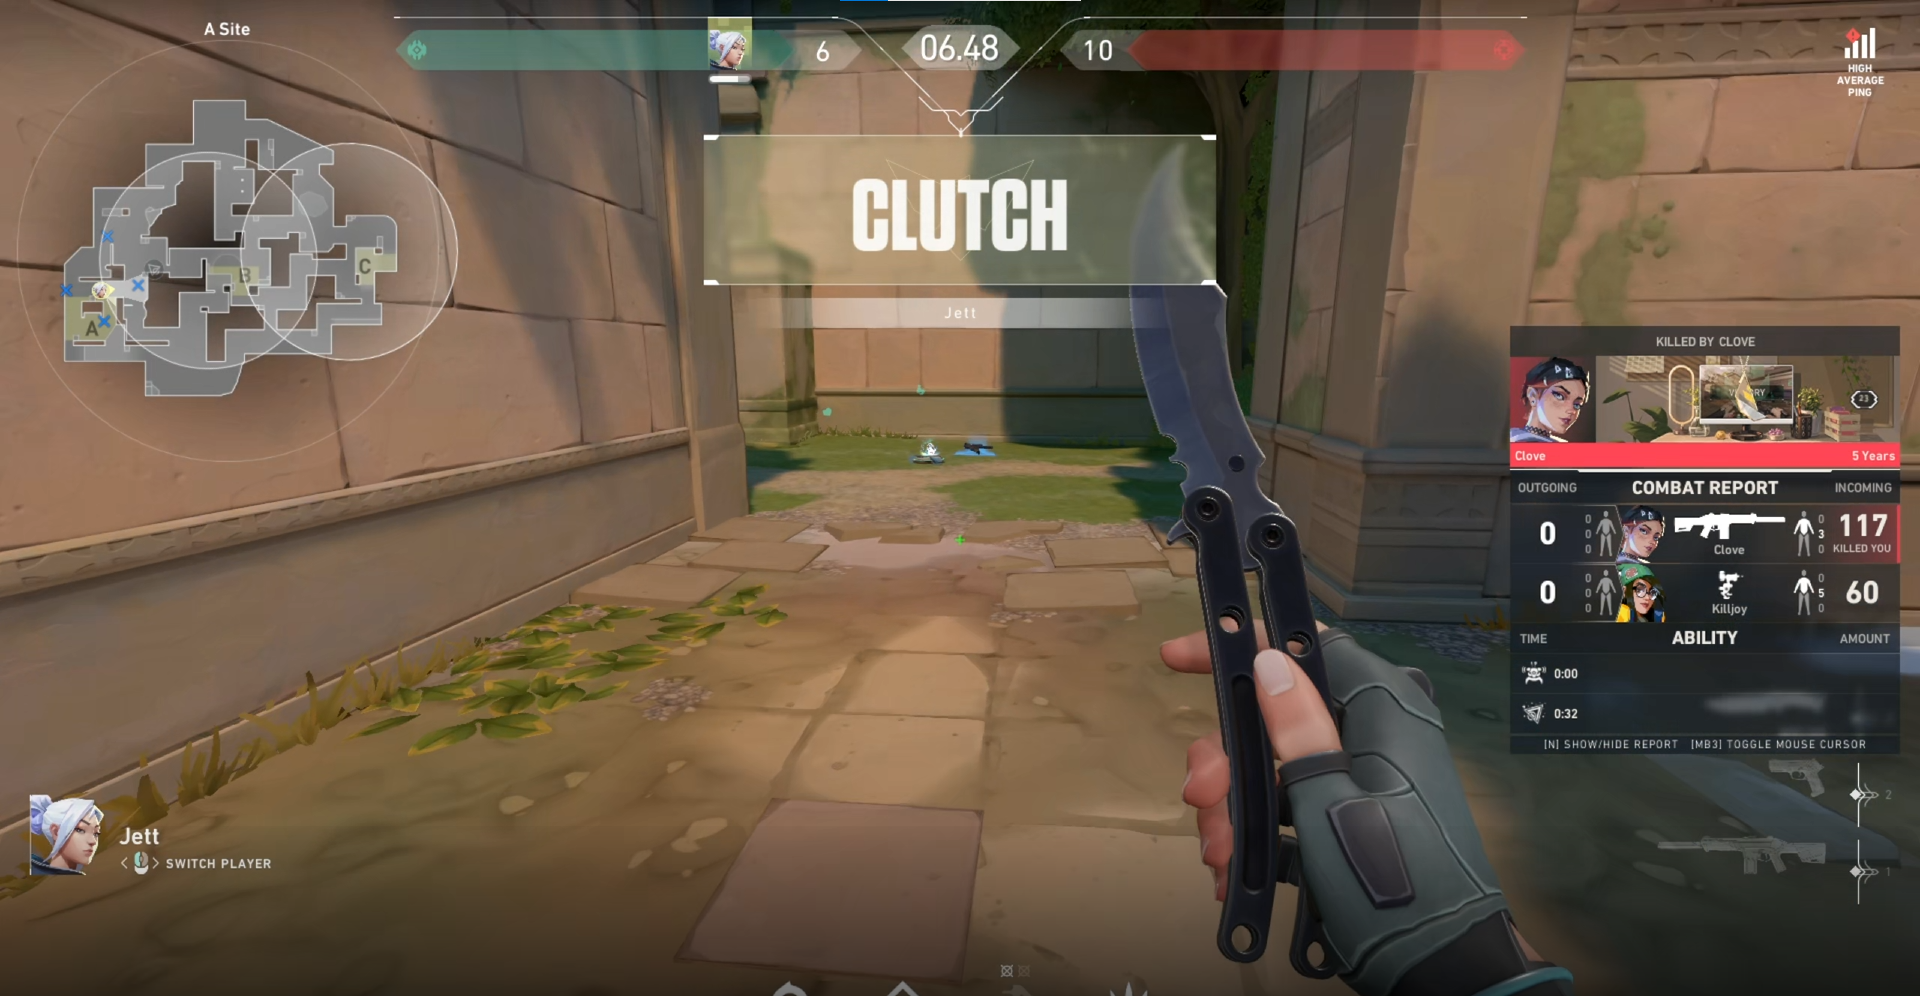
DOR saves game highlight moments as auto-clips separately from the stream, so you rarely have to cut them one by one out of a replay. If you keep DOR running alongside while OBS handles streaming and local recording, DOR auto-detects when the game launches, runs in the background, and trims key moments like a Valorant ace or a League of Legends pentakill or teamfight into short clips on its own. When the stream ends, OBS has the high-quality original replay, and DOR has the highlight clips, organized separately.
- OBS local recording: a clean full-video original, for replay archiving and long edits
- DOR auto-clips: only moments like kills, aces, and pentakills saved separately, no hotkey, no segment hunting needed
- Run both together to secure the original and highlights at once from a single stream
Summary: original and clips at once from a single stream
The key to streamer recording is "not depending on the stream feed." Send the stream out stably with CBR, and locally record the same screen at high quality simultaneously with NVENC and CQP, and a replay and an editing original remain losslessly. Add DOR to this and highlight moments get organized even into auto-clips, so when the stream ends you have "original plus highlights" in hand at once.
Check the recommended settings and actual auto-clip examples on the page for the game you mainly stream, Valorant, League of Legends.
