
The surest way to clip Apex is to use a tool that automatically detects and saves kills and highlights. Because Apex fights end in a matter of seconds, by the time you press a shortcut after a great scene happens, it's often already too late. With an auto-detection method, even if your hands are slow, the decisive moment is saved as a clip on its own.
This article lays out, step by step, how to clip with both in-game features and external tools, why auto-detection is advantageous given the nature of fast fights, and how to easily collect kill clips with DOR.
Why Are Apex Clips Easy to Miss?
Apex fights are short and intense. It's common to wipe a whole team in less than 5 seconds, and during that time one hand is tied to movement and the other to shooting. By the moment you realize a great scene happened, the fight is often already over.
So to reliably save Apex clips, you need one of two things. One is recording the entire match in full and cutting it later, the other is automatically detecting good moments and pulling out just those parts as clips. The same dilemma repeats in Valorant and PUBG, where fast fights are likewise the core.
Method 1: Clipping with In-Game and Basic Tools
First, here's a basic method you can follow without any separate program. You can start quickly, but it has clear limits, which I'll explain later.
- Step 1: Turn on the Windows built-in Game Bar. Enable the Game Bar in settings, and Win + G opens the recording panel.
- Step 2: Right after a cool scene happens, press Win + Alt + G to save the preceding segment as a clip. For this, you need to turn on the background recording option in advance.
- Step 3: If you have a tool from your graphics card maker, use it together. With GeForce Experience or Radeon Software's instant replay feature, you can save the last 30 seconds to a minute.
- Step 4: Saved clips collect in the Captures folder inside your Videos folder. The date is in the file name, so if you organize them by match, they're easy to find later.
The Limits of the Basic Method
Basic tools ultimately depend on a person's hands. A clip is only saved if you notice the good scene yourself and press the shortcut. But in Apex, there's almost no room for that during a fight. Even when a great double kill happens, if a fight with the next enemy immediately follows, you miss the timing to press the shortcut, and that scene vanishes just like that.
The record-everything-then-edit method doesn't miss scenes, but you have to comb through an hour of footage to find the good parts one by one. It might be fine for a match or two, but it's not realistic for someone who plays every day. In the end, in Apex, where fast fights are the core, auto-detection becomes necessary.
Method 2: Auto-Clipping Kill Scenes with DOR
In Apex, fights end fast so good scenes are easy to miss, but DOR automatically detects kills and highlights and saves them as clips. Without pressing any shortcut, when a good moment happens it pulls out just that part on its own. The biggest difference is that decisive scenes are saved even when your hands are tied up in a fight.
- Step 1: Install and launch DOR, then select Apex Legends from the game list.
- Step 2: Turn on auto-clip detection. Set it so clips are made based on kill and highlight moments.
- Step 3: Set the clip length. Give yourself some leeway front and back so it captures from a few seconds before the kill to just after, and the scene won't get cut off.
- Step 4: Play Apex as usual. DOR runs in the background and automatically saves good moments as clips.
- Step 5: When the game ends, check the saved scenes in DOR's clip list, pick out only the ones you like, and export or share them.
Setting Tips to Save Clips Better
Even when using auto-clips, dialing in a few settings makes a big difference in the quality of the result. Check the items below in advance.
- Resolution and frame rate: For fast-moving games like Apex, recording at 60 fps or higher keeps the kill moment crisp.
- Clip leeway: The context up to just before the kill needs to be captured for it to come alive, so give the start point plenty of room.
- Storage management: Auto-clips pile up fast, so tidy them up periodically to free disk space.
- Audio separation: Capture game sound and your mic separately, and you can freely adjust the volume later when editing.
Putting Your Clips to Use
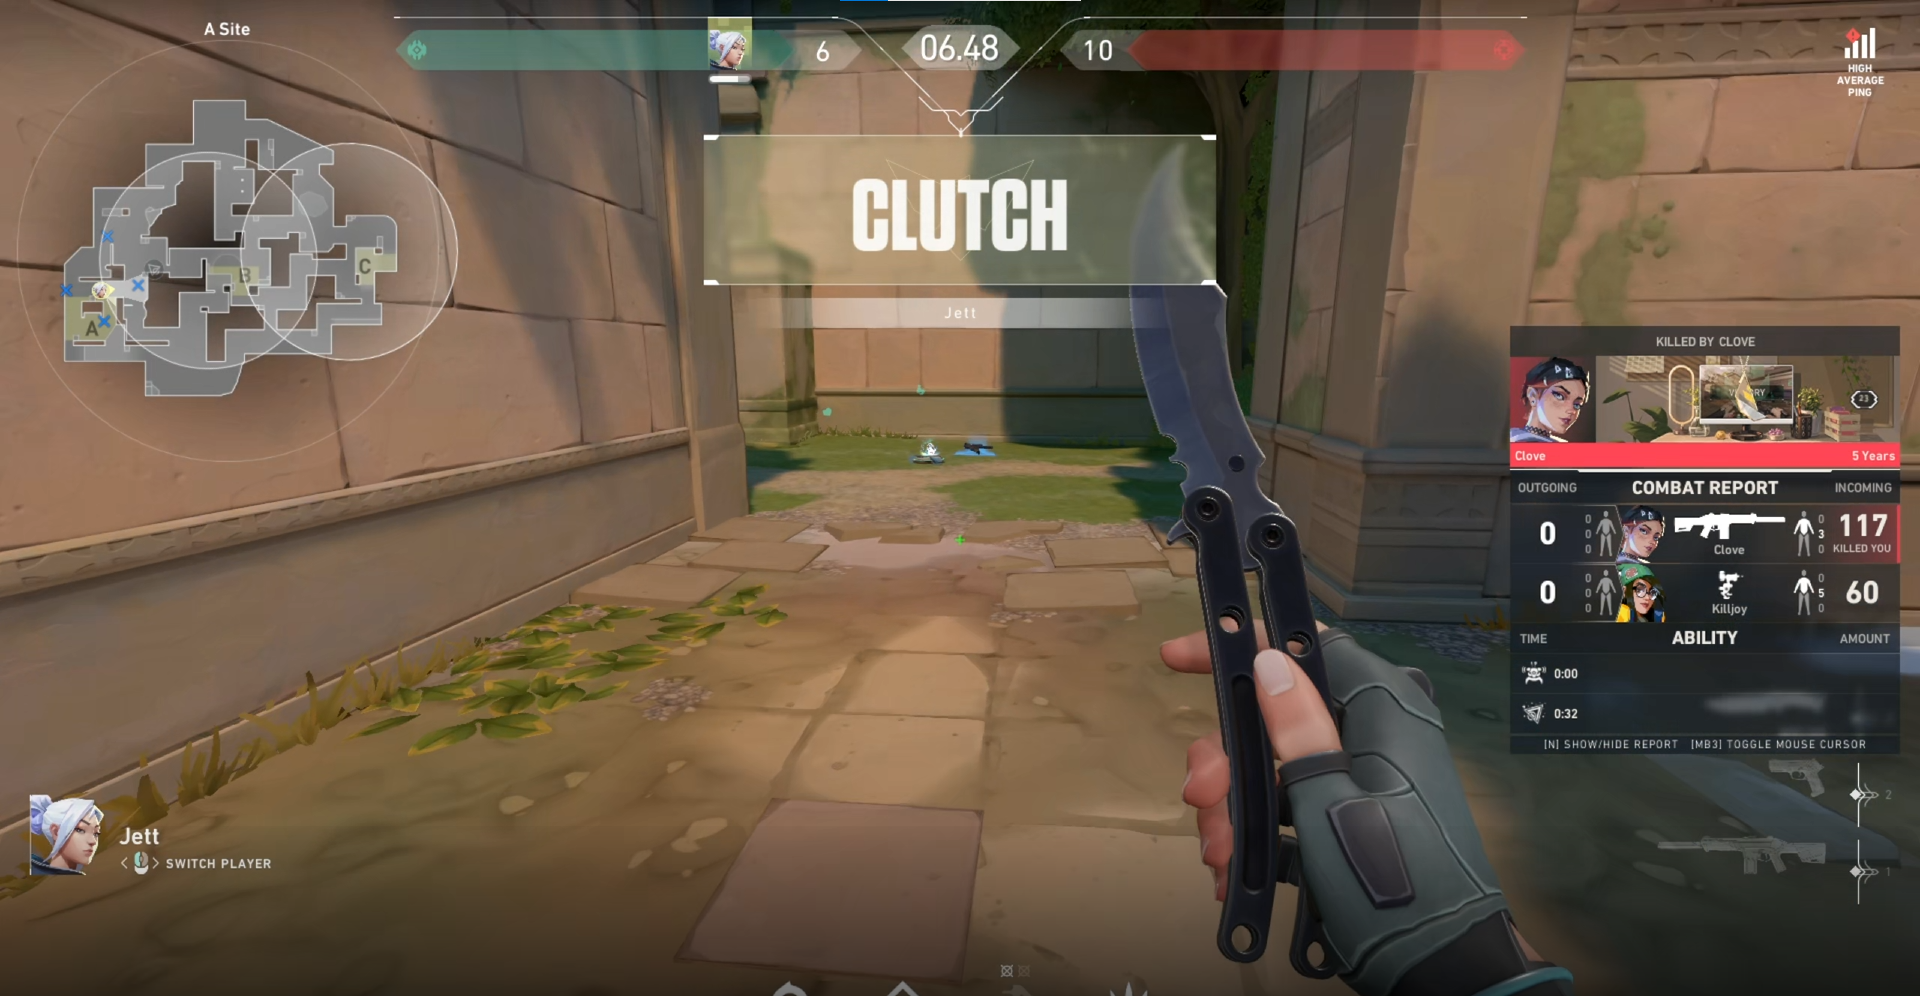
The kill clips you've collected can be woven into a short highlight video or posted to social media as-is. The more clips that automatically pile up, the wider your selection of good scenes, so even tidying the list just once per match keeps video material steadily on hand. Not just in Apex but in other shooters like Valorant or PUBG, you can collect clips the same way and keep filling up your channel.
In summary, the surest way not to miss kill scenes in Apex is auto-detection clips. Turn on auto-clips with DOR and play as usual, then when the match ends, build a flow of picking out only the good ones from the list. Even in fast fights, the decisive moment ends up in your hands every time.

