
Here is the bottom line: in most cases where a recording is corrupted or won't play, the file itself has not vanished; the recording simply was not finished to the end. A video recording file writes its index (table of contents) at the very end the moment recording stops normally. But if the program is force-closed mid-recording or the PC loses power, this finishing step is skipped, and the player, not knowing how to read the file, refuses to play it.
So recovery comes down to two things. First, remuxing, which re-packages the intact part and rebuilds the index, and second, if remuxing fails, extracting the data with a dedicated repair tool. Just follow the order below.
First, check: is the file salvageable?
Before getting into serious recovery, check the file size first. It is the fastest way to gauge whether recovery is possible.
- If the size is 0KB or just a few KB: almost no actual video data was recorded, so recovery is difficult.
- If the size is in the normal range of tens of MB or more: the video data is there and only the finishing step is missing, so chances of salvaging it are high.
- If the file is large but shows as 0 seconds or has no preview thumbnail: this is the classic missing-index symptom, and it is a candidate for remuxing.
Step 1: Try opening it in another player first
Before getting into recovery work, try opening the file in the VLC media player. VLC has features that just play somewhat-corrupted files, or automatically fix the broken parts. In VLC, go to [Tools], then [Preferences], then [Input / Codecs] and set the 'Damaged or incomplete AVI file' option to 'Always fix' to raise your odds of successful playback.
If it plays in VLC, use the same menu's 'Convert/Save' feature to re-save it as a new file. Surprisingly often, this alone produces a normal file. For a one-time scene like a Valorant clip (Valorant recording) or a single PUBG match (PUBG recording), just having it come back at this step is enough.
Step 2: Remux to rebuild the index
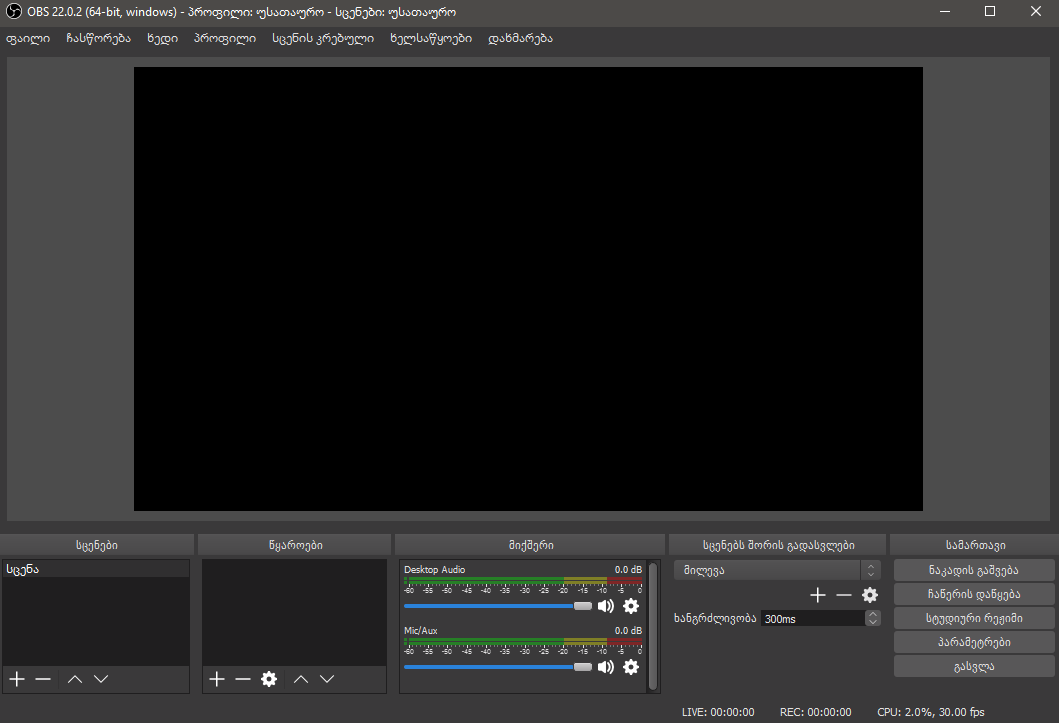
Remuxing leaves the video and audio data as-is and just wraps it in a new container to rebuild the index. It loses no quality and is fast, making it the number-one method for recovering an unfinished file. If you recorded with OBS, the feature is built into OBS itself.
- Open OBS Studio and select [File], then [Remux Recordings] at the top.
- Load the corrupted file, set the output format to mp4, and click 'Remux.'
- If it is an mkv file, the success rate is especially high. mkv is built so that even when cut off midway, it can read the data right up to that point.
If you do not have OBS or want something more powerful, you can use the free tool ffmpeg. In a command window, the single line ffmpeg -i corruptedfile.mkv -c copy recovered.mp4 copies the data as-is and re-wraps it into a new mp4. Thanks to the -c copy option, the original quality is preserved with no re-encoding.
Step 3: Use a dedicated repair tool
If it still won't open after remuxing, it is time for a dedicated tool for corrupted videos. These tools take one normal file as a 'reference sample' and fill in the missing header and codec info in the corrupted file. So if you have even one intact video recorded with the same program and same settings, the success rate goes way up.
- BandiFix: repairs mp4 and avi files corrupted by an abnormal shutdown, for free. You can try it on recordings from programs other than Bandicam too.
- Wondershare Recoverit: a paid repair program that analyzes the cause of corruption and restores the data, using a sample video in its advanced repair mode.
- Online repair services (Clever Online Video Repair and others): you can upload an mp4 or mov and attempt repair with no installation.
Prevention 1: Record in mkv and convert to mp4 later
Recording so it does not corrupt in the first place is far more reliable than salvaging a file once it is broken. The most effective habit is to record in mkv from the start rather than mp4. mp4 writes its index all at once at the end when recording stops normally, so a forced shutdown before that makes the whole thing unusable. mkv, by contrast, is built to safely write data throughout the recording, so even if it is cut off midway, everything up to that point stays intact.
Record in mkv and convert to mp4 with the remux above only when you need to edit or upload. In OBS settings, turning on [Settings], then [Advanced], then the recording option 'Automatically remux to mp4 after recording' handles this automatically.
Prevention 2: Lock to CFR instead of variable frame rate (VFR)
If a recording plays but the picture and sound drift out of sync, or the video lags in your editor, variable frame rate (VFR) is often the cause. When the frames per second are recorded erratically based on game load, the timestamps drift when converting to mp4 and the sync breaks. Forcing a constant frame rate (CFR, a fixed frames per second) fixes this.
- In OBS [Settings], then [Advanced], then Video, check the 'color format and frame' items and lock the output frame rate to an integer like 60.
- If the file is already converted, you can make a constant-frame-rate mp4 with options like ffmpeg -i input.mkv -fps_mode cfr -r 60 output.mp4.
- For editing and upload footage, keeping it in CFR is the surest way to prevent sync problems.
DOR has a low risk of file corruption
All the recovery and prevention methods here converge on one goal: making sure recording finishes safely to the end. DOR handles this part on its own. It is designed so that when recording ends, the file is automatically finished and saved, so even during a forced shutdown or sudden PC trouble, the risk of the whole file corrupting is low. You get a safe result without having to fuss over settings like mkv or CFR one by one.
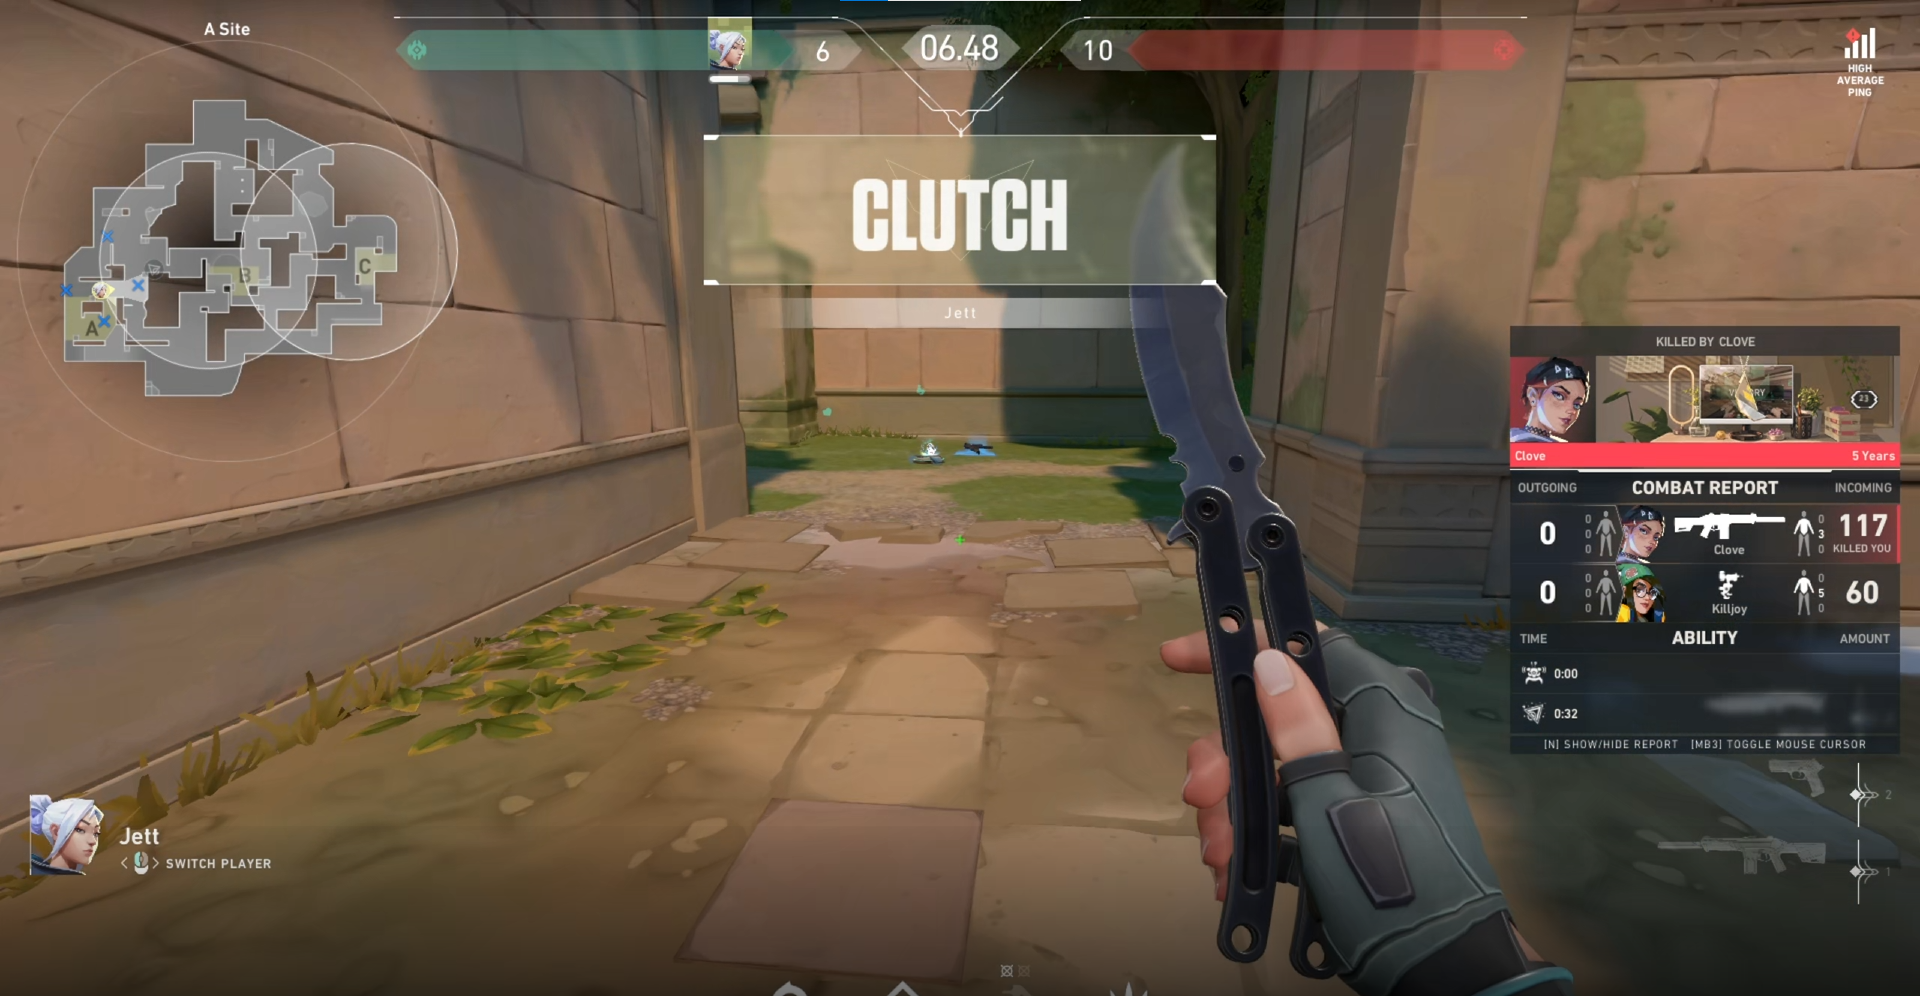
This stability hits home even more for games where a one-time standout moment matters. For scenes that never come again, like a Valorant clutch (Valorant recording) or a PUBG chicken dinner moment (PUBG recording), an environment that saves safely from the start is far more reassuring than relying on the chance of recovery.
Wrap-up
When a recording is corrupted, trying them in the order of (1) judge recovery odds by file size, then (2) open it in VLC, then (3) remux, then (4) a dedicated repair tool will salvage most cases. And going forward, just building the two habits of recording in mkv then converting to mp4, and locking CFR, makes corruption all but disappear. If keeping track of all that is a hassle, using a tool like DOR that finishes recordings safely and automatically is the most hands-off solution.
