In Delta Force, the fastest way to change how the game feels is not to turn on expensive graphics options, but to tidy your screen to suit your hands, stabilize your frame rate, and make enemies easier to see. This article lays out display, graphics, and aim settings as values you can just enter as-is. We broke it down step by step so you can follow along even on a low-end system.
First, the bottom line: stable frames and visibility
Whether it is all-out combat or an operation, what determines your accuracy is not flashy graphics but a steady frame rate and low input latency. Just setting it to fullscreen and turning off V-Sync and motion blur sharpens your aim feel. Follow the order below, dialing in the display first, then move on to graphics and aim.
Display settings step
In Settings, then the Display tab, set things in the following order. We put the items that directly affect input latency and frame pacing first.
- Display Mode: Fullscreen. Lower input latency than windowed or borderless windowed.
- Vertical Sync (V-Sync): Off. A prime item for increasing input latency.
- Frame Limit: Leave it Unlimited to secure the maximum frame rate your system can produce. If screen tearing is severe, lock it to a value just below your monitor's refresh rate.
- FOV (Field of View): Widen it to 110 to 120. You can spot enemies on your flanks and flanking routes earlier.
- Resolution: Keep your monitor's native resolution. If you are short on frames, make up for it with the upscaling below instead of lowering resolution.

Graphics settings step
In Settings, then the Graphics tab, set things to values that capture both frame rate and visibility together. The key is to keep items that make enemies visible high, and keep effects that block your view or only eat into your frame rate low.
- Texture Quality: High. It shows enemy silhouettes and terrain clearly, directly helping visibility.
- Shadow Quality: Medium. Compared to Low, the frame cost is small, while you can use the shadow of an enemy behind a corner as a clue.
- Ambient Occlusion: Medium. There are ranges where it actually produces slightly better frames than Low, so compare over a round and then choose.
- Scene View Distance: High. Distant enemies and objects are drawn clearly, helping you spot them first.
- Motion Blur: Off. It interferes with tracking enemies in fast fights and only adds GPU load.
- Scope Zoom Magnification Effect: Off. It is realistic but costs a lot to render and cuts your frame rate.
- Other effects (reflections, post-processing, etc.): Low to Medium. These are the items to lower first the more you are short on frames.
Upscaling (DLSS · FSR · XeSS)
If you are short on frames, turn on upscaling before lowering resolution outright. It renders at a lower internal resolution and then restores it sharply, pushing your frame rate up without losing much image quality.
- Nvidia RTX users: DLSS Quality mode. The range with the least image-quality loss.
- AMD and older GeForce users: FSR Quality mode.
- Intel Arc users: XeSS Quality mode.
- If you still do not get 240 frames, drop one step further and test Balanced mode.
Aim · sensitivity settings step
Adjust this in Settings, then Controls, then the Sensitivity items. Setting it to standard values at first and fine-tuning round by round is the fastest way to settle in.
- Horizontal/vertical sensitivity: Start with 1.0 as your baseline. Lower it more if you aim mostly with your wrist, and leave it as-is if you swing with your whole arm.
- ADS sensitivity method: Setting it based on MDV (Monitor Distance Vertical) keeps sensitivity consistent across magnifications.
- Monitor distance coefficient: 1.33. It keeps the feel similar even on magnified scopes.
- Mouse DPI: Set 800 as your baseline and fine-tune with in-game sensitivity. Rather than changing DPI often, it is better to let your hand adapt to one value.
- Mouse acceleration: Off. If the result differs even when you move the same distance, your close-range precision aim wavers.
FPS · visibility recommendations summary
Here are realistic target frame rates and priorities by system. The standard is to secure frames without hurting visibility.
- High-end PC: Over 200 frames is possible when optimized. Keep textures and scene view distance on High and only tidy the effects.
- Mid-range PC: 100 to 150 frames is realistic when optimized. Stabilize your frame rate with DLSS or FSR Quality.
- Low-end PC: Drop upscaling down to Balanced and lower shadows and reflections, aiming to reliably secure over 60 frames.
- Across the board: Defend texture quality and scene view distance to the end. If you see enemies late, a high frame rate is meaningless.
Dial in your settings this way and enemies appear earlier and clearer, and your aim does not waver. The same graphics philosophy carries straight over to other tactical shooters, so when you adjust your Counter-Strike settings, you can take the visibility-first principle along as-is. If you want to get more familiar with Delta Force, adapt with the values above for a few days, then fine-tune to your own feel.
As important as settings: saving your best moments
Even after you dial in all your settings, skill ultimately grows by rewatching your own play. But Delta Force's best moments never happen again. That fight where you scored a multikill, that moment you stopped the final detonation, are over once they pass. DOR saves Delta Force's kills and highlights as automatic clips, so you do not miss the decisive scenes even without pressing a separate record button.
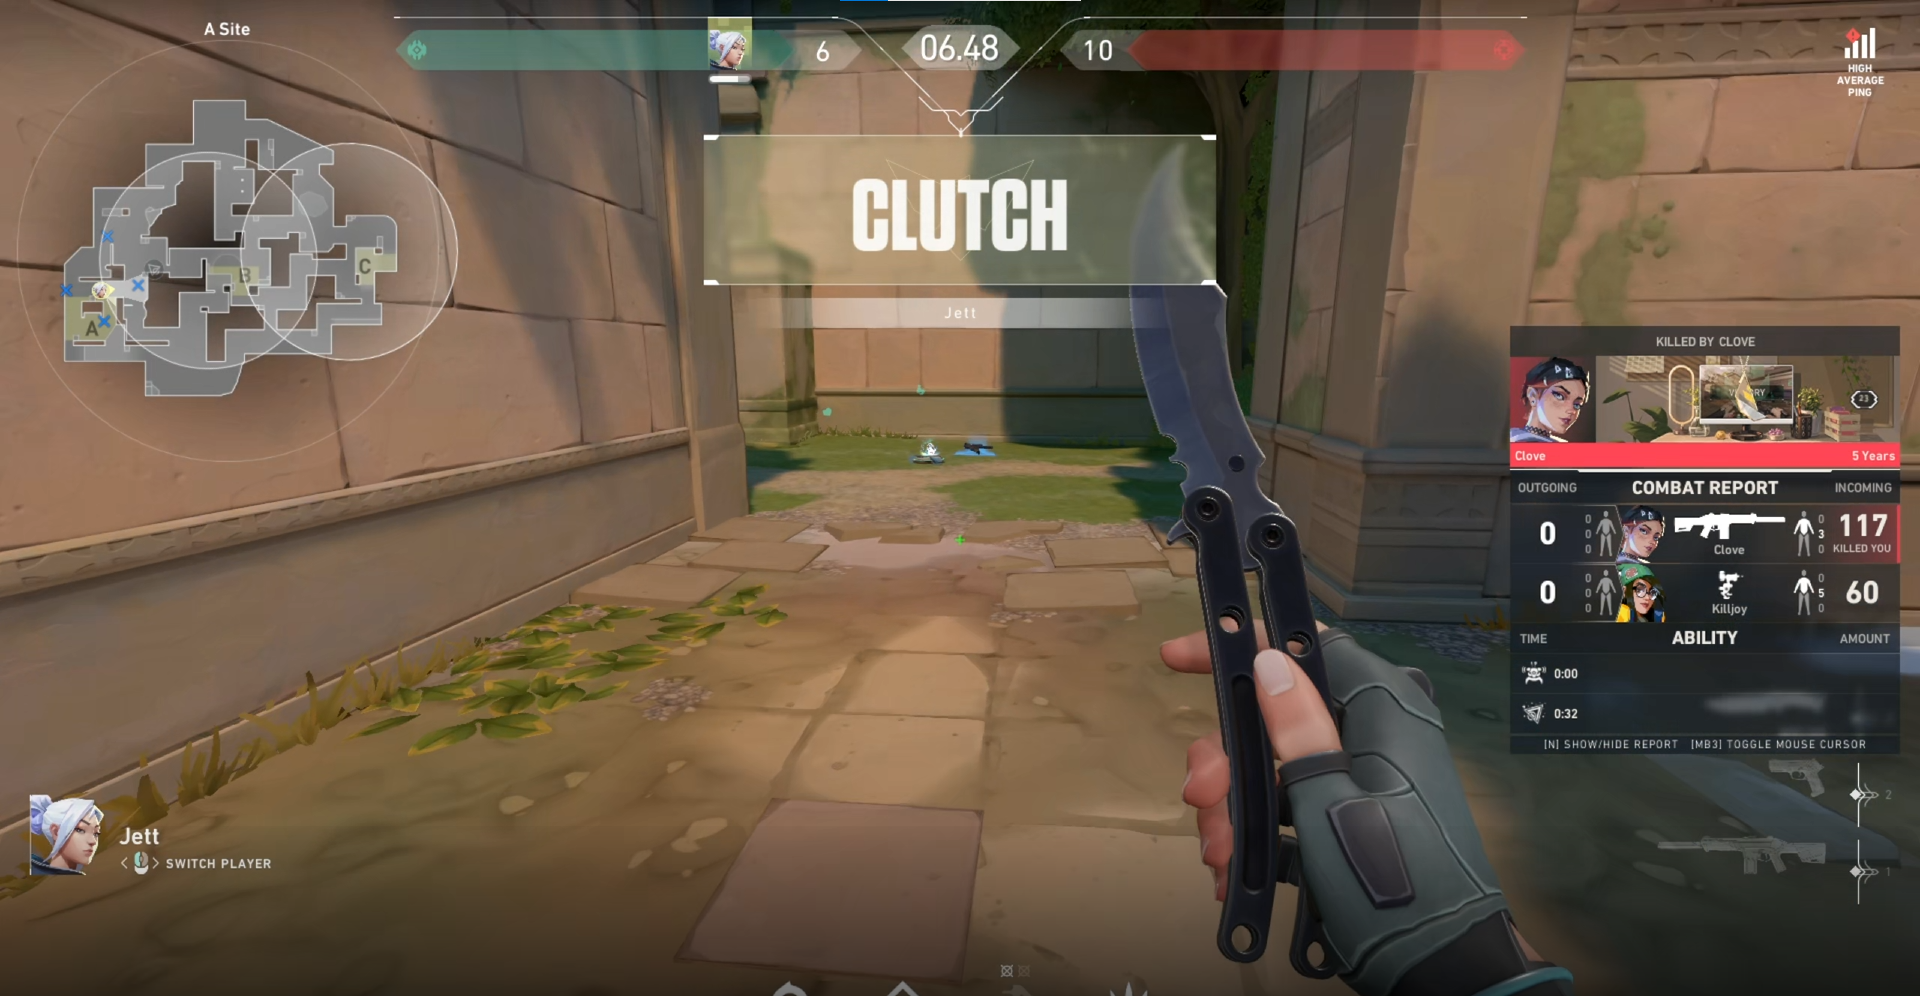
If you have made enemies easier to see with your settings, save the results as clips and check whether your aim actually got better. Skill rises fastest when good settings and good review come together.

