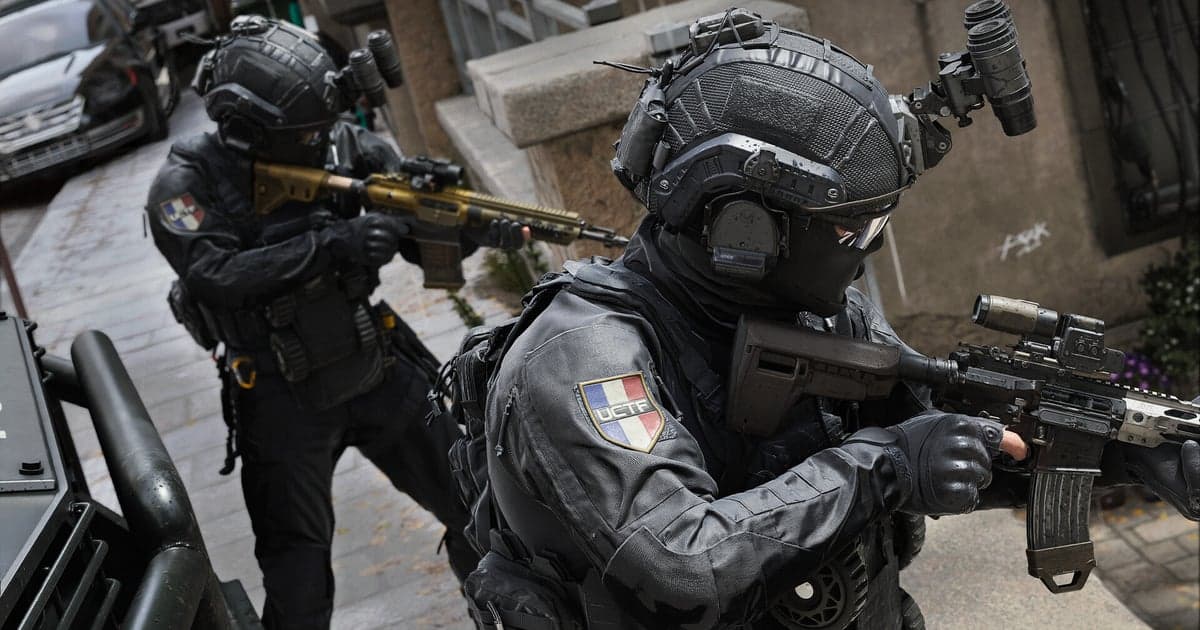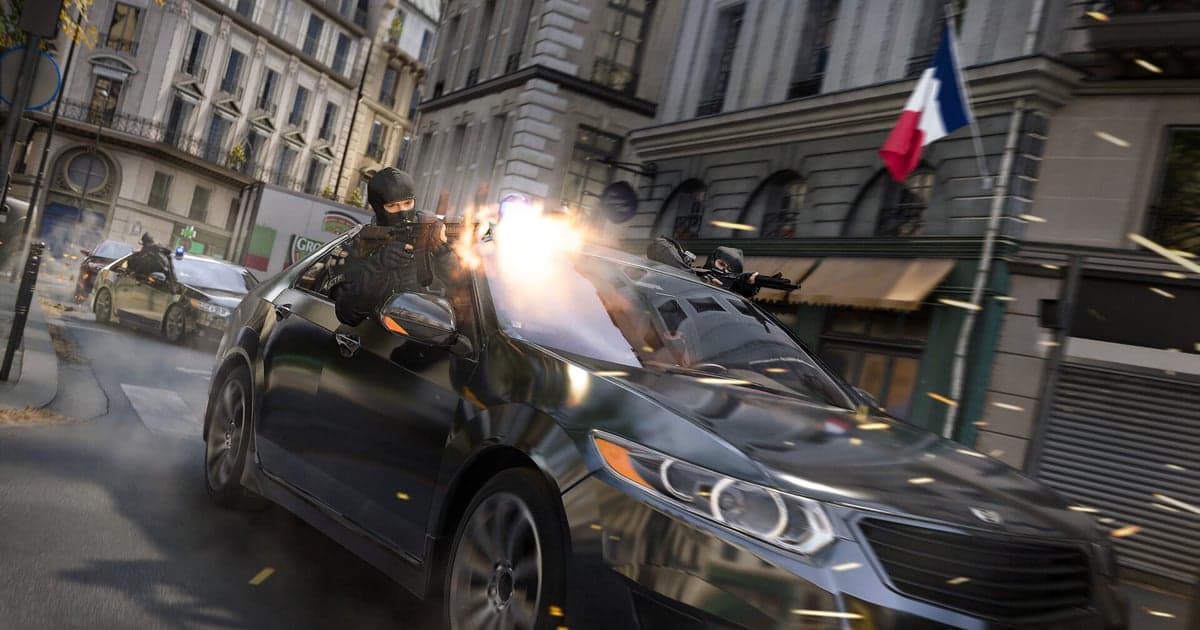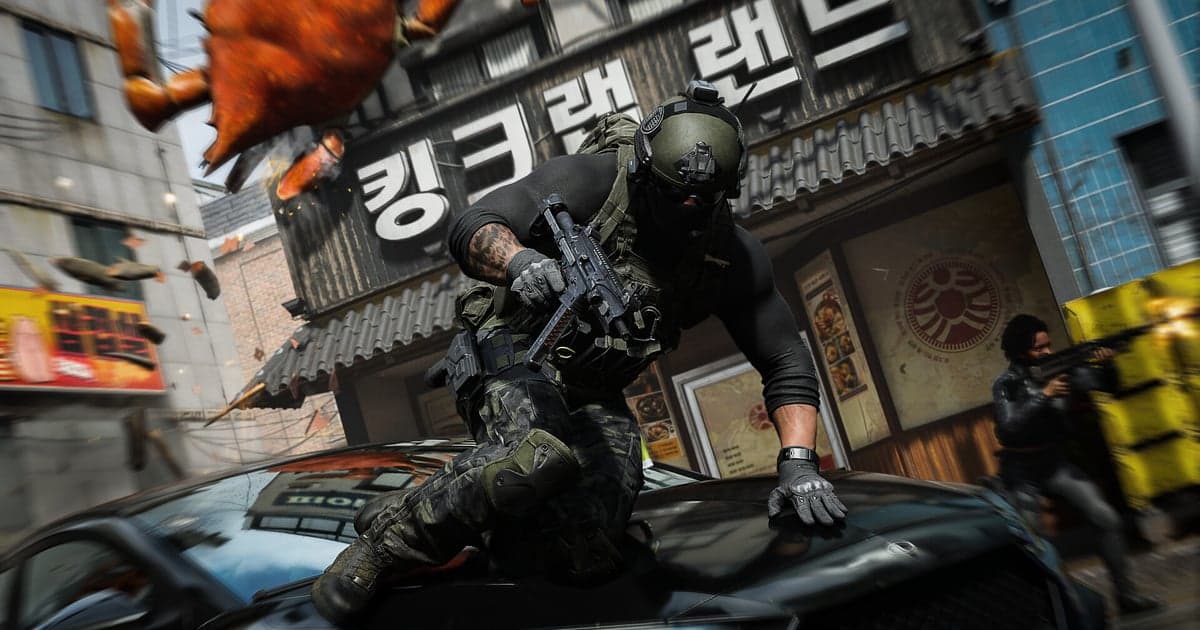
This guide covers one narrow job: a great moment just happened in Call of Duty: Modern Warfare 4 (MW4), and you want it as a file on your PC. The newest entry in the Call of Duty series releases in full on 23 October at midnight local time, according to Activision’s official blog, while the Steam store page lists 22 October, and digital pre-purchasers have been playing Campaign Early Access since 16 October. So there are already moments worth keeping. The catch is that no official page says whether MW4 itself can save a clip. As of 17 October 2026 the Steam store feature list carries no recording or replay entry, and the Activision support article on PC requirements says nothing about it either. Rather than guess, this article shows where to check for such a feature and gives you a capture routine that works right now with a PC recorder. Scope note: this is about getting the moment into a file on your own machine, nothing beyond that.
The short answer: do not wait for an in-game feature — keep recording, then press F8 right after the moment
Start with the feature question. There is no official documentation of an in-game clip or replay tool in MW4. Open the settings menu once the game is running, and search the title's articles on support.activision.com; that is where a new capture option would show up first. While you wait for confirmation the good moments keep coming, so the safer plan is to have a recorder running. Two routines cover almost everything. The first is to record the whole session as one video and trim the part you want afterwards. The second is to press a hotkey right after a moment so that only the segment that just passed is saved. They work together: a long firefight or a whole mission beat is easier to pull out of the full session video, while a single kill is faster to grab with the hotkey. If you already use Steam's built-in Game Recording, check how much space background recording is allowed to take and which drive it writes to first — the Steam Game Recording low disk space guide walks through that. Recording files pile up quickly, and once the drive gets tight new recordings simply will not start. Three values need to be decided before you launch: resolution, frame rate and clip length. Set them while the game is closed. Audio deserves one decision too. Sound is captured as a single track, and with the record-all-sounds option turned on your Discord call and music go into the same track as the game. Leave it on if you want team voice in the clip, turn it off if you want only game audio and mic. The same routine carries over to other PC shooters: in a game like Battlefield 6, where the whole match is recorded as one video rather than cut into event clips, the hotkey flow is identical. Finally, check the platform. The Steam store lists the MW4 PC build as Windows only. This routine is for the Windows PC build; if you play on a console or on Nintendo Switch 2, use that device's own capture feature.
The capture routine, step by step
- 1Set resolution and frame rate before you launch the gameThe defaults are 1080p and 30 fps, with 60 fps available; 1440p and above, or 120 fps and above, belong to DOR Pro. Neither value can be changed while a recording is running, so pick them in settings before MW4 starts. If you plan to export to a video platform later, 60 fps is worth the extra file size.
- 2Check the clip length and the hotkeysThe clip hotkey is F8 by default and the saved length is 30 seconds, selectable as 15, 30, 45 or 60 seconds. Sixty seconds suits drawn-out firefights, while 15 keeps a kill reel tight. Screen recording is F7. Make sure neither key collides with your in-game bindings before a match.
- 3Decide how audio should be capturedSound is recorded as one track. With the record-all-sounds option on, game audio and your mic are joined by every other PC sound, including Discord calls and music. Keep it on when team voice is part of the moment, and turn it off when you would rather add music over a clean game track later.
- 4Launch the game and confirm recording picked it upTitles that launch through Call of Duty HQ are detected automatically. If a new release does not appear on the list, open Settings and the game list and confirm that full gameplay recording is switched on for it. Checking once from the lobby before your first match saves a lot of guessing afterwards.
- 5Press F8 as soon as the moment endsF8 saves the segment that just passed, so pressing it within a second or two of the moment ending keeps it centred. During a long engagement you can press F8 several times and split the action across clips. When you know in advance that something will run long, start F7 screen recording and press F7 again at the end.
- 6Trim it in the library and exportSaved clips and session videos land in the folder set as the file save path and appear under My Clips in the app. Use Trim Section to set the start and end, choose 16:9, 9:16 or 1:1, and sign in to finish. Choosing the Original export preset copies the file at the quality it was recorded.
Which capture method fits which moment (checked 17 October 2026)
| Moment you want | How to keep it | Watch out for |
|---|---|---|
| A single kill or a short trade | Press F8 right after it ends (last 30 seconds by default) | Press F8 right after the moment ends. Pressing late pushes it towards the start of the segment, so press as soon as it is over. |
| A long firefight or a campaign beat | Leave the full session video alone and trim it afterwards | Full session files are large. Trim the part you want, then mark it as liked so automatic cleanup skips it. |
| Menus, launchers, anything outside the game | F7 screen recording, and F7 again to stop | It captures the whole monitor, so close any window you do not want in the frame. |
| A moment you want as a vertical video | Trim the segment and export it at 9:16 (1:1 is also available) | The 1:1 output is a square inside a 9:16 frame, and finishing the trim requires signing in. |
| The seconds before a crash | Trim the tail of the session video that just ended | When the process closes, session recording ends with it, so F8 cannot reach that moment any more. |
| Console or Nintendo Switch 2 play | That device's own capture feature | A PC app cannot record it. Everything here applies to the PC build. |
Checklist so the moment does not get away
- Resolution, frame rate and clip length were set before launching the game
- F8 and F7 do not collide with your in-game key bindings
- The record-all-sounds option is in the state you want (on means Discord audio comes along)
- The save drive has room to spare (a warning appears under 30GB free, and recording stops below 20GB)
- Checked where F8 sits so you can press it right after a good moment
- Clips worth keeping are marked as liked so automatic cleanup leaves them alone
Keeping Modern Warfare 4 moments with DOR
DOR is a free Windows desktop app. It detects supported games on launch and records the whole session to an mp4 file, from the moment the game opens until it closes. Call of Duty runs on the full-gameplay-recording path, and you keep a moment by pressing F8 right after it passes, which saves the segment that just went by. Turning kills and deaths into clips automatically is available in games where those events are registered, such as VALORANT. A saved segment can be exported from Trim Section at 16:9, 9:16 or 1:1 (signing in is required to finish), and the Original export preset copies the recording without re-encoding it to a different look. Titles launched through Call of Duty HQ are detected automatically; if a new release is missing from the list, check Settings and the game list. DOR is a Windows PC app, so this routine applies to the PC version.