
The single key to nailing both image quality and frame rate in GeForce game recording is to hand encoding off not to the CPU but to NVENC, the dedicated encoding chip inside your NVIDIA card. In this article, we go in order through the steps to turn on NVENC in OBS, recommended preset and bitrate values, the differences across the Turing, Ampere, and Ada generations, driver management, and the easiest way to skip all of these settings.
What Is NVENC and Why Should You Turn It On?
NVENC is a hardware video encoder built into NVIDIA GeForce cards. Because a separate dedicated circuit inside the chip handles the heavy work of video encoding rather than the CPU or graphics compute cores, it barely touches the GPU performance and CPU running your game. On the same PC, what used to lose an average of 20-30 frames with software encoding (x264) commonly drops to single-digit loss when handed to NVENC.
So if you use a GeForce card, the first thing to check in your recording settings is not the resolution or bitrate but the encoder. If the encoder is set to x264, no matter how well you set everything else, your game will stutter.
Steps to Turn On NVENC in OBS
Here is the order for turning on NVENC in OBS Studio. Set it once and it applies to subsequent recordings as is.
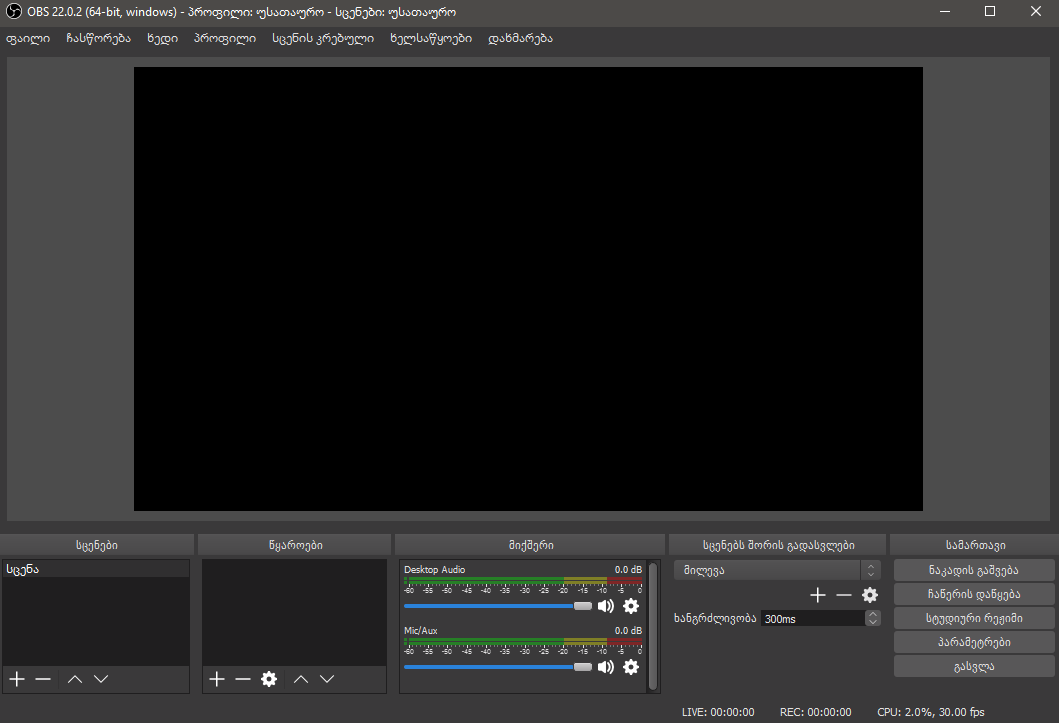
- Go to Settings → Output and switch the output mode at the top from Simple to Advanced. You need Advanced to choose the encoder and preset yourself.
- Select the Recording tab. (These are recording settings for saving to a file, not streaming.)
- In the Encoder option, choose NVIDIA NVENC H.264. If you have Ada (40 series), you can also choose NVENC AV1 when you want to save even more space.
- Set rate control to CBR or VBR, and start the bitrate at 40000 (about 40Mbps) for 1080p. To raise quality further, go up to 60000.
- Set the preset to P6 (high quality, Slower) and the tuning to high quality.
- Set the multipass mode to 2 passes (quarter resolution), and the keyframe interval to 0 or 2.
That's the standard recommended set of values. If you have plenty of disk space and only record short footage, you can raise the recording quality further, but the values above are plenty for most game recording.
How to Choose Preset and Bitrate
The preset (P1-P7) determines how much time to spend on encoding to push image quality higher. The higher the number, the better the quality and the slightly higher the load, but in most environments P6 (high quality) is the sweet spot between quality and load. For recording, leave tuning at high quality.
Bitrate directly drives image quality. 1080p 60fps game recording is clean at 40-60Mbps, and fast-moving FPS games have fewer artifacts around 60Mbps. If you go up to 1440p or 4K, you have to raise the bitrate along with it to the 80-100Mbps range to maintain quality. That said, the higher the bitrate, the larger the file size, so consider it together with your disk space.
Differences Across NVENC Generations: Turing, Ampere, Ada
NVENC's image quality and features differ depending on which generation your GeForce card belongs to. It breaks down roughly as follows.
Turing (20 series)
NVENC image quality improved significantly starting with the Turing generation. Compared to the previous Pascal (10 series), the difference in perceived quality at the same bitrate is clear, and it's rated as comparable to the x264 Slow setting at the same bitrate. If you use a 20 series, just turning on NVENC gives you plenty good quality.
Ampere (30 series)
Ampere's encoder is effectively the same generation as Turing, so its encoding quality is nearly identical to Turing's. In other words, the 20 series and 30 series look similar when it comes to recording quality alone. Instead, AV1 decoding support was added on the decoding side.
Ada (40 series)
The Ada generation steps up a notch with 8th-generation NVENC. It supports AV1 hardware encoding, which can save about 40% bitrate versus H.264 at 1080p60, and the number of encoders per chip increases to up to 3, giving headroom for high-resolution, high-frame-rate recording. If you want to save space while maintaining quality, using NVENC AV1 on the 40 series is advantageous.
Drivers Surprisingly Drive Image Quality and Stability
Because NVENC operates through the driver, an old driver can make encoding unstable or keep new options from showing up. If your recording keeps stuttering or NVENC options don't appear in OBS, suspect the driver first.
- Update the driver to the latest version in the NVIDIA App or GeForce Experience.
- If you mainly record and stream, the stability-proven Studio driver line is also a good choice.
- After a driver update, you need to restart OBS for new NVENC options (presets, AV1, and so on) to be recognized properly.
- If stuttering is frequent during recording, try a clean driver install to eliminate conflicts with previous settings.
DOR: NVENC Is Default, So There Are No Settings to Touch
If after reading this far, matching the encoder, preset, and bitrate yourself feels like a hassle, DOR does that process for you. DOR applies NVENC by default and automatically uses your NVIDIA card's encoding chip. Once installed, just launch the game and recording starts lightly on the GPU's dedicated encoder, so the NVENC switch that users have to flip manually in OBS is essentially on from the start.
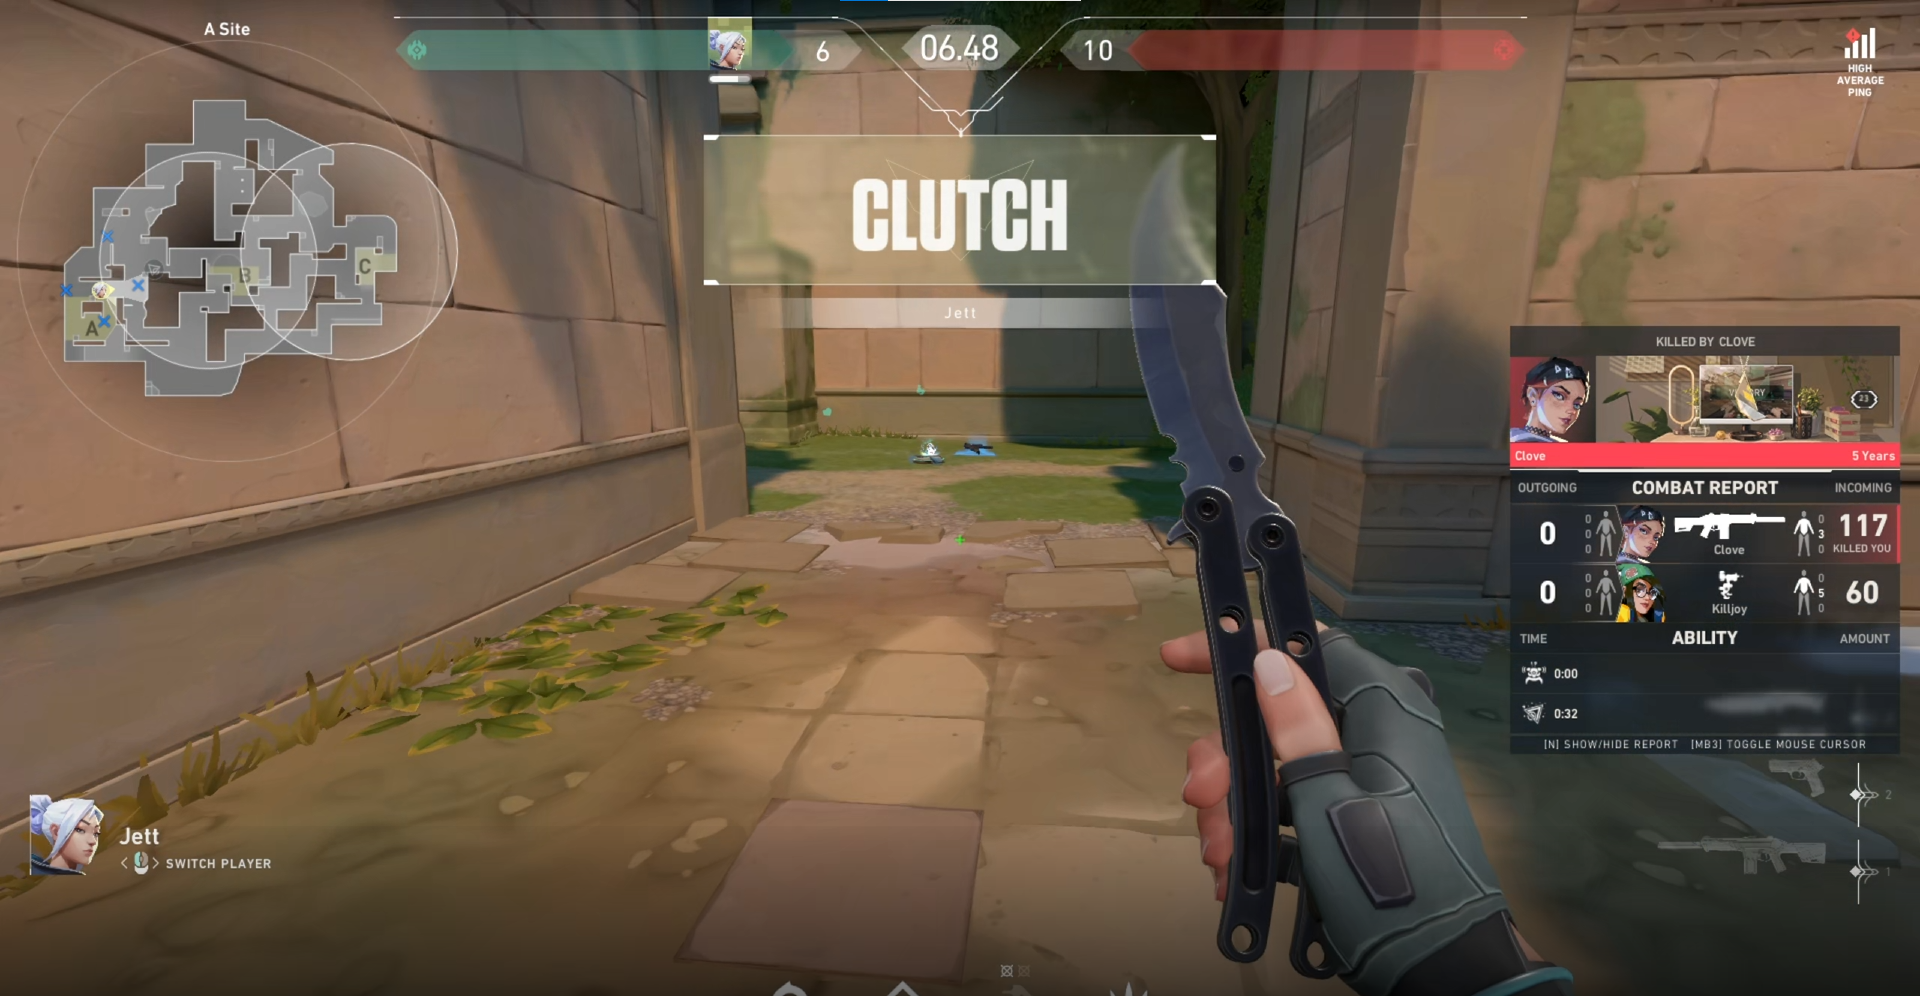
On top of that, instead of keeping long footage in one piece, DOR automatically detects key moments like kills, aces, and chicken dinners and saves them as short clips. You can collect highlights like an ace round in Valorant or a chicken dinner moment in PUBG without pressing the record button once. Even if you don't know the encoder settings, even if you forget to record a great moment, the result is the same.
Conclusion
The key to GeForce game recording is not fancy settings but the one thing of switching the encoder to NVENC. With OBS, switching the output mode to Advanced and setting NVENC H.264, preset P6, and bitrate 40-60Mbps is enough. If your card is a 40 series, you can even save space with AV1, and keeping your driver up to date improves stability too. If you want to skip this whole process, launch your game with DOR, where NVENC is the default, and let your highlights pile up automatically. You can find recommended settings and automatic clip examples on the pages for the games you play often, Valorant, PUBG.
