Here is the bottom line first: the most reliable PUBG sensitivity setup is to start, based on 800 DPI, with general sensitivity 50 and targeting (right-click) ADS around 50, and step the scope numbers down progressively as magnification rises. This article lays out, step by step, how to apply these defaults as written, plus the math for converting a pro's sens to fit your own mouse setup.
There is not just one right answer for sensitivity. But a good starting point lets you reach a setting that fits your hands quickly with just fine-tuning. Just follow the order below.

Step 1: Lock Your DPI First
Before you touch in-game sensitivity, you need to decide your mouse DPI first. That is because when DPI changes, the actual feel in your hand changes entirely even if the in-game numbers are the same. Many PUBG pros use 400 to 800 DPI, and 800 is the most common among them. We recommend 800 as a stable starting point.
- 400 DPI: A low-sens style that uses big arm movements. Precise but needs a lot of mousepad space.
- 800 DPI: The standard value most pros use. A good balance between precision and turn speed.
- 1600 DPI: Good for fast view-switching, but precise aim tends to waver.
Step 2: General Sensitivity and Targeting ADS Sensitivity
The sensitivity tab in PUBG settings is broadly two groups. One is general sensitivity for turning your normal view, the other is targeting ADS sensitivity for when you right-click to aim down sights. Based on 800 DPI, a good starting value for both is around 50. If general sensitivity is too low, it is hard to keep up with enemies in close fights; too high and you waver at distance.
- General sensitivity: Start at 50. If close-range scrambles are hard, +3 to 5; if your hand keeps overshooting, -3 to 5.
- Targeting (ADS) sensitivity: Around the same 50 as general. Tune your no-scope to 1x fight feel here.
- Vertical sensitivity multiplier: Start at 100%. Once recoil control is in your hands, leaving it as is works fine.
Step 3: Per-Scope Sensitivity, Magnification Is the Key
What sets PUBG apart from other games is that you set scope sensitivity separately for each magnification. The core principle is simple. The higher the magnification, the farther and smaller the enemy looks on screen, so you need to lower sensitivity to keep your crosshair from swaying. As you go from low to high magnification, step the numbers down in stages.
- 2x: Around 50. Close to your general sensitivity is enough.
- 3x: Mid-40s. It is mostly mid-range bursting, so lower it just slightly.
- 4x: Around 40. This is the most-used magnification, so spend time refining it here.
- 6x: Mid-30s. With the feel of nudging your crosshair finely to land headlines.
- 8x and above: 30 or below. Used for holding your breath and slowly lining up at distance, so lower it further.
Step 4: Why You Should Not Just Copy a Pro's Sens
Many people search for a pro's sens and just enter the same in-game numbers, but nine times out of ten this does not fit. That is because even with the same in-game sensitivity, a different DPI makes the actual feel in your hand completely different. So when you reference a pro's sens, you must always look at DPI and in-game sensitivity together.
The concept you use here is eDPI. eDPI is 'DPI x in-game sensitivity', and it shows in a single number how much your mouse actually turns the screen. If you match your eDPI to the pro's, the feel in your hand becomes nearly identical even if your DPIs differ.
Conversion Math Example
Say a pro uses DPI 400 with general sensitivity 100. Their eDPI is 400 x 100 = 40000. If you want to use DPI 800, then to create the same eDPI you enter an in-game sensitivity of 40000 / 800 = 50. The numbers are completely different, 100 versus 50, but the feel in your hand is the same.
- Find the pro's eDPI: pro DPI x pro in-game sensitivity.
- Find your in-game sensitivity: pro eDPI / your DPI.
- Convert scope sensitivity the same way, separately for each magnification.
Step 5: A 5-Minute Check in the Training Range
Once you have entered your setting, verify it briefly in the training range. Rather than jumping straight into a real match, running the routine below once quickly shows you where you still need to tighten things up.
- Tracking: Follow a moving bot at general sensitivity for 30 seconds. If you keep overshooting, lower it.
- Snapping: Quickly aim back and forth between left and right targets for 30 seconds. If you waver when you stop, lower it.
- Scope: Hold a headline at 4x for 30 seconds. If your crosshair sways, lower only that magnification.
- Recoil: Burst 10, 20, and 30 rounds in 4x ADS to check the vertical multiplier.
Do not try to get it perfect in one go; repeat 5 minutes a day for several days, adjusting by just 1 or 2 each time. It takes time for the feel to settle into your hands.
Other Games Follow the Same Principle
This eDPI conversion method works just as well in other shooters, not just PUBG. For example, even when you move to a game where precise aim matters like Valorant, keeping your DPI the same and moving your sens on an eDPI basis keeps your hand feel from breaking. If you keep just your DPI locked when going back and forth between PUBG and other games, adapting becomes much faster.
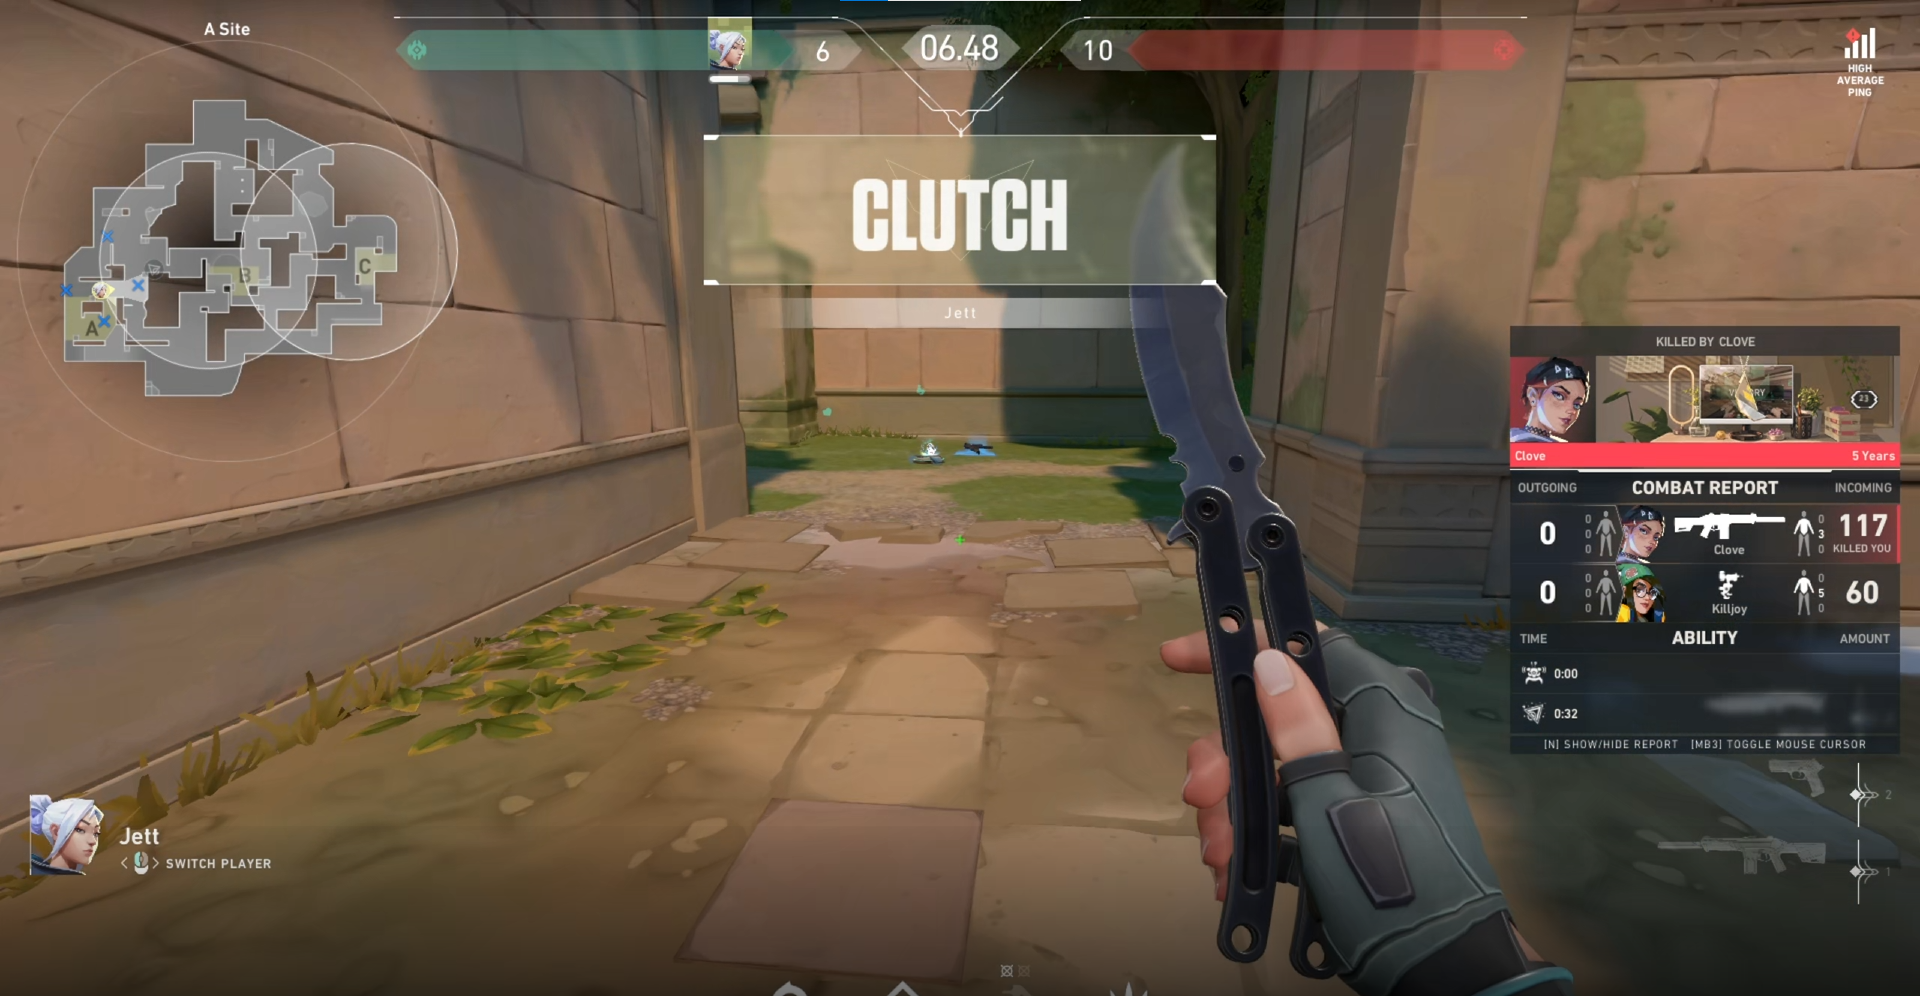
Once Your Sens Is Set, Capture the Highlights Too
Once your sens starts to settle into your hands, highlight moments like boosh clutches or 1-vs-many fights start to happen. The problem is that those moments never happen exactly the same way again. DOR automatically detects PUBG kills and highlights and saves them as clips. Without pressing a separate record button, the moments you create with your well-tuned sens get saved on their own.