
To get straight to the point, the surest way to capture the Discord voice you share with friends while gaming into your video is to record desktop (system) audio alongside it. Discord voice comes mixed into the system sound output through your speakers or headset, so if you set your recording program to capture desktop audio, the call content goes straight into the video with no separate bot needed. On top of that, splitting game sound, your mic, and Discord voice into separate tracks makes editing much easier later.
This article walks through, step by step, the setup for capturing Discord voice via desktop audio, the why and how of recording on separate tracks, and the etiquette to take care of before recording. Whether it is a Valorant duo session or a five-person League party clip, you can create videos where the vibe of the call comes through alive.
Why You Have to Capture Desktop Audio to Record Discord Voice
Discord has no built-in feature to save a call as a video. So to get the call audio into a video, you need an external recording program. The key is the path the sound flows through. Your friends' voices come out as the system sound Discord outputs to your speakers or headset, that is, desktop audio. So if you leave your recording program set to capture this desktop audio, the call audio gets recorded along with everything automatically.
Conversely, if you set it to record only your mic track, only your voice goes in and your friends' audio is left out. The common mistake of only one side's voice being audible in a collab video comes precisely from this difference.
Step 1: Turn On Desktop Audio Input
In your recording program's audio settings, turn on the desktop audio or system sound input. This item is the key that captures all your computer's output sound, including Discord voice. At the same time, activate the mic input separately so your own voice goes in on its own.
- Turn on the desktop audio (system sound) input in the audio settings
- Activate the mic input as a separate item
- Confirm that the device Discord outputs to and the device the recording captures are the same
- Set the sample rate to 48kHz so it does not get out of sync with Discord voice
Step 2: Split Game, Voice, and Mic Into Separate Tracks
This is where video quality is decided. If you record all the sound lumped onto one track, it becomes impossible to lower just the game sound or raise just the Discord voice during editing. If you record game sound, Discord voice, and your mic each onto a different track, you can pick out and adjust only the sound you want in the editing stage.
For example, the kind of editing where you raise the game effects during a Valorant teamfight moment, then keep your friends' cheers alive right after a clutch but mute only the cursing, is nearly impossible without splitting tracks. This structure especially shines if you are making a Valorant clip compilation or Valorant highlights.
Step 3: Run a Test Recording to Balance the Levels
Before the real recording, run a 30-second test recording. It is common for your friends' voices to get buried under the game sound, or conversely for the call audio to be so loud that you cannot hear the game. Balancing the levels with a per-track volume preview greatly cuts down your editing time.
- Confirm your friends' voices are not buried under the game sound
- Check that keyboard sound or noise is not excessively mixed into your mic
- Confirm the Discord voice does not cut out or sound robotic
- Check the output files to confirm each track is saved separately (split recording)
A Quick Heads-Up Before Recording: Getting Consent Is Both Etiquette and a Safeguard
Recording a call is usually fine when everyone participating consents, and some regions require the consent of all participants, so before you start recording, just letting everyone know with a quick "I'm going to record this call" and getting their consent keeps things clean. It also puts your mind at ease when you later make the clip public, and your friends can adjust how far they take their jokes, which is good for everyone.
Recording Discord Voice on a Separate Track With DOR
DOR records game sound and your mic as separate tracks, making voice adjustment easy during editing. If you set it to capture desktop audio as well, the Discord call audio goes in just as it is, and since the game sound and your voice remain on separate tracks, you can pick out and raise or lower only the sound you want in your editing program.
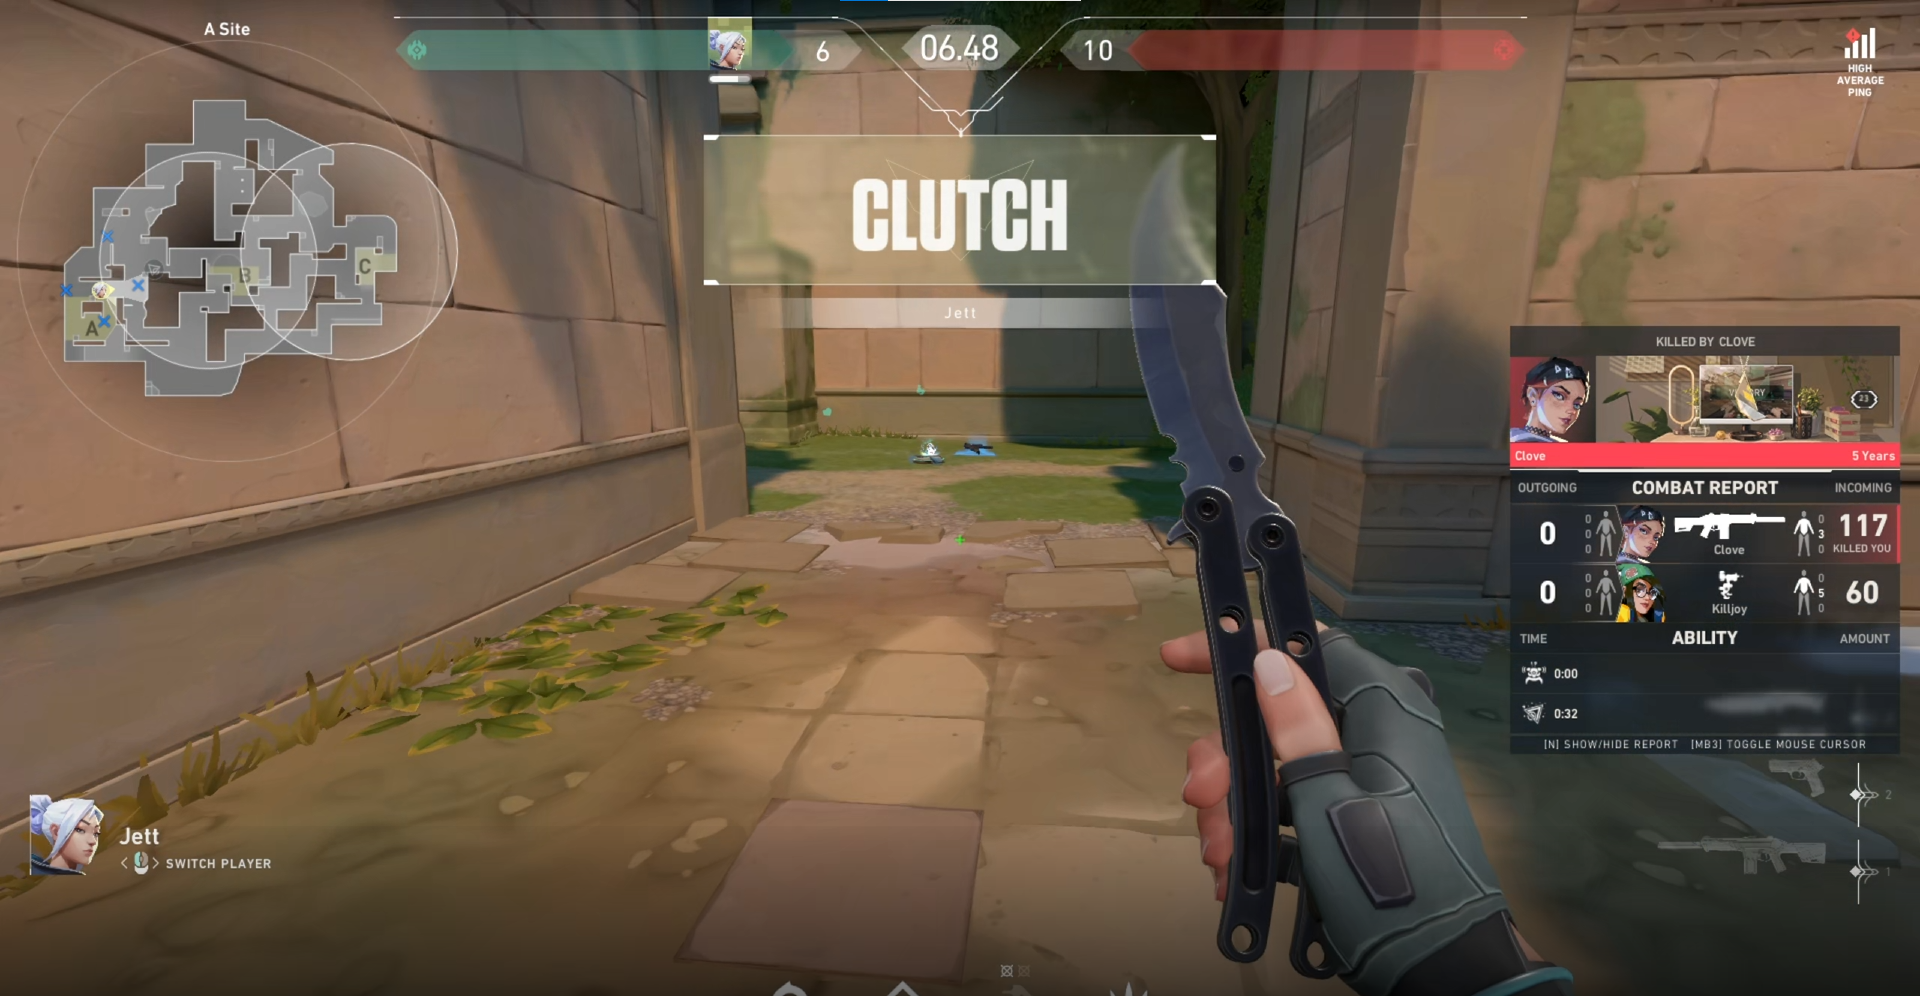
Thanks to this structure, it is much easier to make collab clips where the Discord voice stays alive. In moments like a League of Legends teamfight enjoyed in a five-person party or a Valorant clutch, where game sound and your friends' reactions erupt at the same time, you can refine and bring each one to life.
Summary: Desktop Audio + Track Splitting Is the Answer
There are two keys to capturing Discord voice into your video. Turning on desktop audio to capture the call audio, and splitting game, voice, and mic into separate tracks to secure editing freedom. Add a quick heads-up before recording to handle etiquette too, and you can reliably make great clips where the vibe of the call comes through alive.

