
The fastest way to raise your skill in Overwatch 2 is not changing your mouse sensitivity but tidying up your screen and crosshair to fit your hands. If your frames fluctuate or your crosshair widens every time you fire, your hit rate drops even with the same aim. This article lays everything out as values you can enter exactly as written, from video settings to crosshair values by hero.
The Conclusion First: Stability Above All
What changes how competitive play feels the most is not graphics quality but consistent frames and low input lag. Rather than turning on flashy options, making your frames stay steady even mid-fight directly helps your hit rate. Set the video settings below first, then move on to the crosshair.
Video Settings Step
In Settings -> Video tab, set things in the following order. You only need to adjust the values to match your monitor's specs.
- Display Mode: Leave it on Fullscreen. It has lower input lag than windowed mode.
- Frame Limit: Do not set it to Max; lock it at a value just below your monitor's refresh rate. Lower it slightly, like 141 for 144Hz or 237 for 240Hz, to stabilize frame pacing.
- Vertical Sync (V-Sync): Off. It is the main culprit behind increased input lag.
- Triple Buffering: Off.
- Dynamic Render Scale: Off. Mid-fight resolution changes create momentary stutter.
- Render Scale: Lock at 100%. If you are on mid-range specs that cannot hold 240 fps, lower it to 75%.
- NVIDIA Reflex: On if available. It reduces system latency for faster response.
- Reduce Buffering: Turn it on and play a round, then if you feel stutter, turn it off and compare again. Results vary by spec, so testing yourself is the answer.
Crosshair Settings Step
You can change the values directly under Settings -> Controls -> Crosshair (Per Hero). It is convenient to first set a default to apply to all heroes, then separately tweak only the heroes with different roles.
- Accuracy Indicator (weapon spread): Off. The crosshair widening while firing or moving only clutters your view with no real benefit.
- Color: Green or cyan tones. They contrast well with most map backgrounds and stay clearly visible.
- Opacity: 100%. Set the outline opacity to 100% as well and it stays visible even against dark backgrounds.
- Thickness: Thin, around 1 to 2. Too thick and it covers the enemy's head.
Crosshairs by Hero Type
Hitscan DPS (Widowmaker, Ashe, Cassidy, Soldier: 76)
For hitscan, where a precise single shot matters, a small dot or short cross works best. If a dot alone makes headshots hard to line up, add a very short cross.
- Type: Dot or Cross
- Center Gap: 0 to 2 (meaningless if a dot)
- Crosshair Length: Short, 3 to 5
- Thickness: 1
- Color: Green, opacity 100%
Projectile DPS (Hanzo, Genji, Pharah, Junkrat)
Projectiles need to be led ahead depending on distance, so a slightly larger circle becomes the reference point for predictive aim. Putting a small center dot inside the circle also makes close-range precise aim comfortable.
- Type: Circle + Center Dot
- Circle Size: 10 to 15
- Center Gap: Slightly wide
- Thickness: 1 to 2
- Color: Cyan or green, opacity 100%
Tanks (Reinhardt, D.Va, Zarya, Winston)
Tanks land hits on wide hitboxes more often than precise headshots, so a thick circle matched to weapon spread or the hitbox is intuitive.
- Type: Circle + Center Dot
- Circle Size: 20 to 30
- Thickness: 2
- Color: Green, opacity 100%
How to Check Whether Your Settings Worked
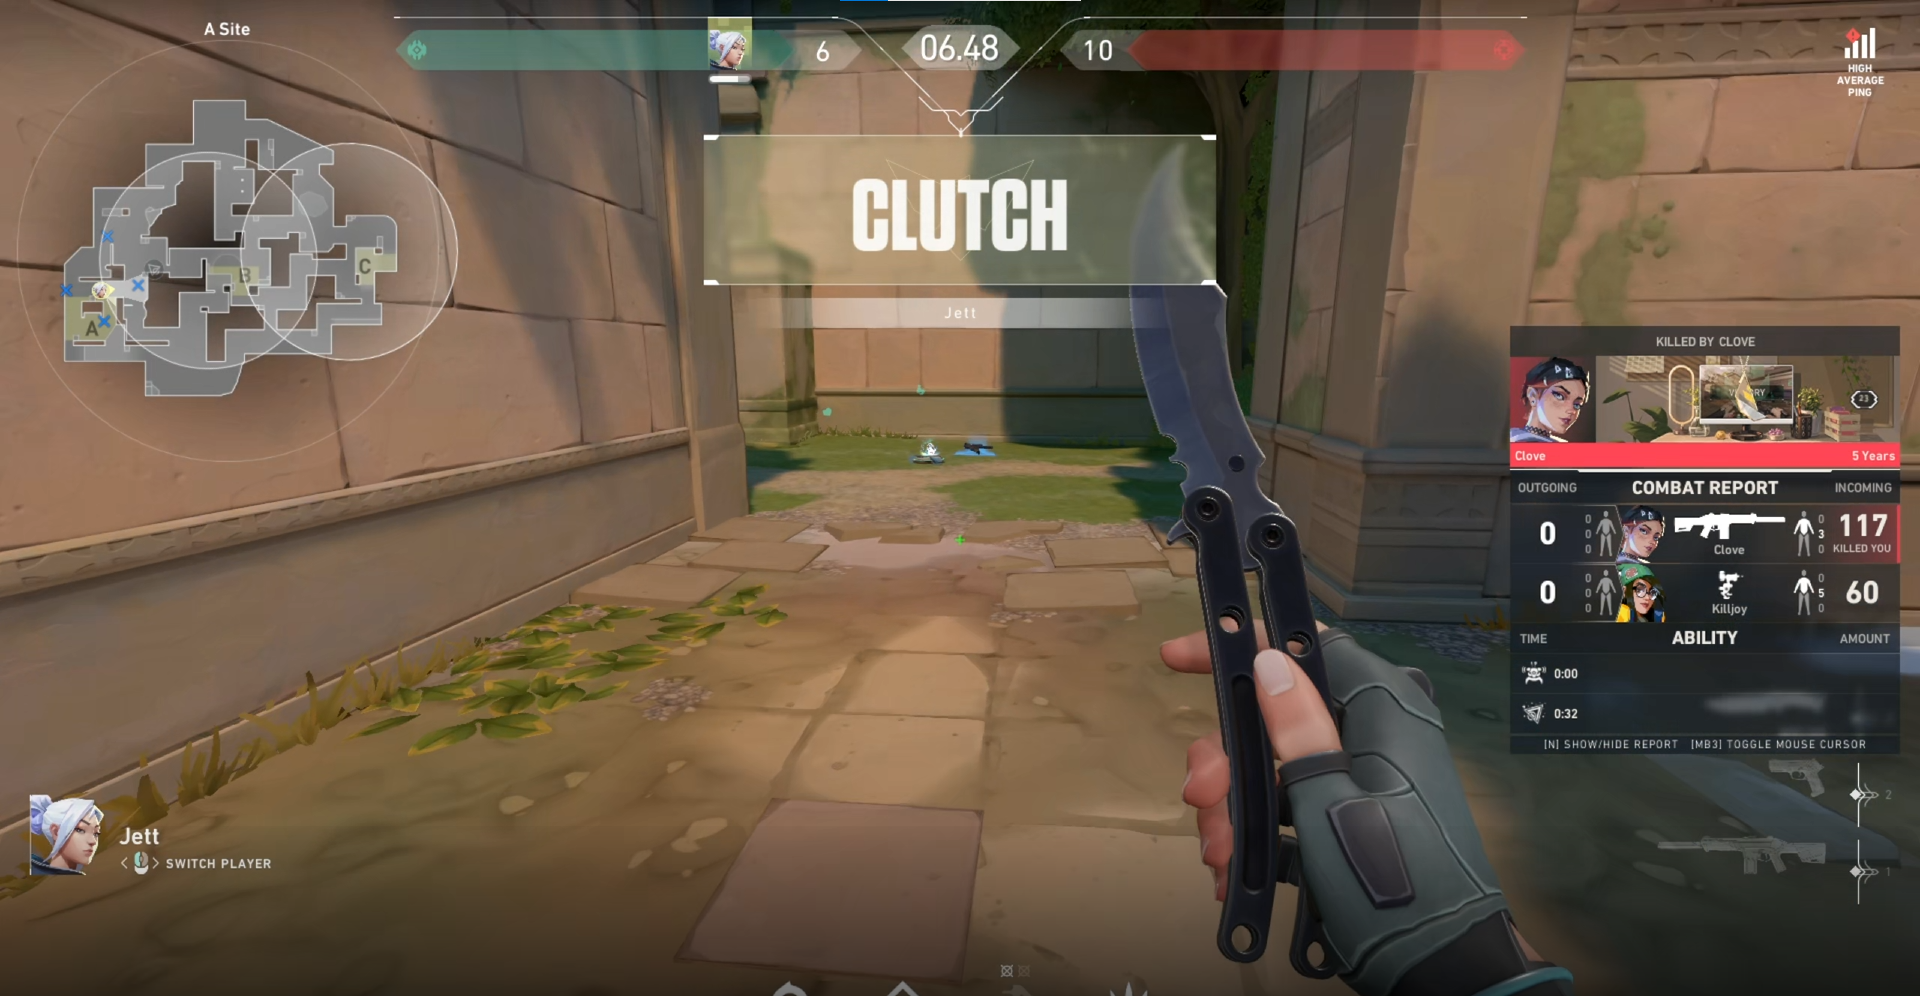
In Overwatch 2, a POTG-level play flashes by in an instant. Even if you made a great finish with a good crosshair, it is hard to watch again. DOR automatically saves Overwatch kills and highlights as clips, so you can replay them right after a round to check whether your changed settings actually improved your hit rate. The same approach works just as well in other shooters like Marvel Rivals.
Summary
Stabilize your frames, turn off the accuracy indicator, and pick a crosshair that fits your role in a clear color. Just getting these three right noticeably raises your hit rate at the same skill level. Once you have finished your settings, play a round of Overwatch and use the automatically saved clips to check whether your changes actually led to real kills.

