A VALORANT ace, League of Legends pentakill, or PUBG chicken dinner is worth saving, but recording at a PC bang is different from recording at home. Each shared PC may be protected by recovery software and venue security policies, and a reboot can erase local files or settings. This guide explains how to record and take your files home safely without bypassing those controls.
Three things to check before recording at a PC bang
| Check | Why it matters | How to check |
|---|---|---|
| Venue policy | Program installation and use of external storage devices may be restricted. | Check posted notices at the counter or ask a staff member |
| Game and voice-chat consent | Teammates' voices and other players' information may be captured in the video. | Review the game's terms and decide what you will share |
| Available disk space | Recording may stop midway if the drive runs out of space. | Check the free space on the destination drive |
Options when program installation is restricted
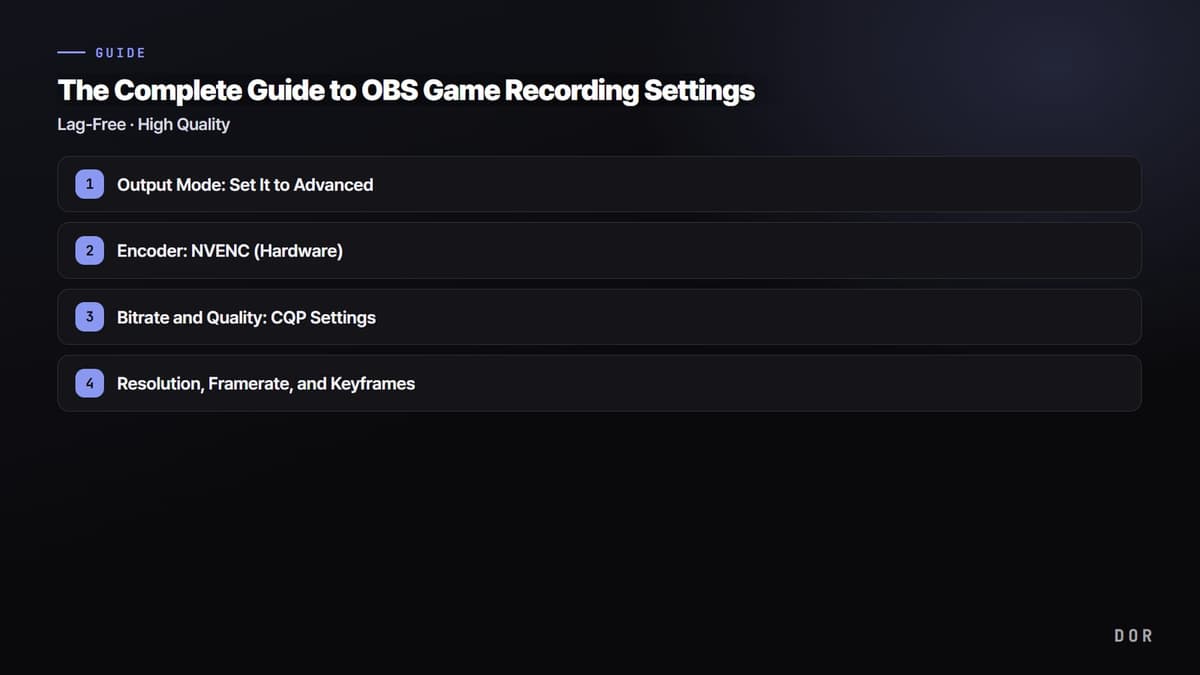
First check whether the PC already offers an approved recorder, such as Windows' built-in capture tools. Those features may be disabled in the venue's standard system image, and their shortcuts can conflict with other software. Before installing OBS or DOR, ask whether installation is permitted on that PC. Stop if an administrator prompt or security block appears.
- If the basic recording feature is already turned on, check the screen and game sounds with a 10-second test recording.
- If staff approve installation, download the installer only from the official site and reopen the app before playing to confirm that its settings persist.
- Portable apps launched from a USB drive may still count as third-party software under the venue's policy, so do not run them without permission.
- If no permitted recording option is available, do not bypass the PC's security controls. Save an in-game replay if possible, or record your next session at home.
PC bang recording setup and test sequence
- 1Create a storage folder first — Create an easy-to-find 'GameRecordings' folder in a clearly named location, then note its exact path instead of relying on a desktop shortcut.
- 2Start at 1080p and a conservative frame rate — Until you know how the PC performs, do not select the highest quality blindly. Start with the game's native resolution at 1080p and 60 fps or lower, then test.
- 3Check the game screen and audio source — Preview to make sure you don't have a black screen and that the game sounds and microphone are on the required channels.
- 4Play a 30-second test recording — Before starting the game, open the file directly to check for frame stuttering, loudness, and aspect ratio.
- 5Verify files immediately after actual use — Before leaving, play the beginning, middle, and end of the video to make sure the file is intact.
How to keep track of the recording folder
A reboot or seat reset can erase local files at a PC bang, so do not postpone finding the folder until later. Note the save path before recording, then confirm the file size and duration in File Explorer as soon as you finish. In OBS, choose File → Show Recordings to open the current folder. For more detail, see the OBS recording location and save-path guide.
- Enter the game name and date in the file name to distinguish it from other temporary files.
- Do not copy only a desktop shortcut; confirm that you are transferring the actual MP4 or MKV file.
- If the file size is 0KB or won't play, check again with the original program before moving.
- Don't assume your files will persist until you reboot, and export them as soon as you're done playing.
Transfer recorded files to USB and cloud
If USB storage is allowed, check its free space and file system first. FAT32 cannot hold a single file larger than 4GB, so exFAT or NTFS may be necessary; however, formatting erases existing data, so do not reformat a drive on the spot. Personal cloud storage is useful when you have no USB drive, but logging out before a large upload finishes can leave the file incomplete.
| Transfer method | Advantage | What to check |
|---|---|---|
| USB storage device | Can be fast regardless of internet speed | Venue policy, free space, and the FAT32 4GB file limit |
| Personal cloud storage | Can be viewed on another PC without a device | Upload completion, account sign-out, and sync-folder cleanup |
| Personal NAS/transfer service | Can be convenient for transferring large amounts of originals | Official HTTPS address, expiration date, and capacity limits |
Checklist for organizing your personal information before leaving your seat
- Log out of all game launchers, recording programs, cloud and browser accounts.
- Make sure your browser does not allow your password or payment information to be saved.
- After moving the recording file, delete the local original and temporary export files and also check the Recycle Bin.
- If you installed a cloud sync app, quit syncing and disconnect your local account.
- Check the video again before uploading to see if it contains information that should not be shared, such as real name, chat, voice, notification, or QR code.
Frequent PC bang recording problems
A black screen can appear when the game and recorder run on different GPUs or when the capture method is incompatible. If there is no sound, the default output device may not match the headset in use. For severe stuttering, lower the resolution, frame rate, and bitrate one step at a time and check whether a hardware encoder is available. After each change, verify the result with a short test clip instead of committing to a full match.