A lot of people give up before they even start, thinking "there's no way my PC can record games." But on a low-end PC, the real reason recording stutters is usually the settings rather than the hardware itself. If you offload encoding to the CPU and leave the resolution and frame rate at your game's maxed-out options while recording, any PC will drop frames. Flip that around, (1) turn on hardware encoding, (2) drop to 720p/30fps, and (3) clean up the background, and you can record on integrated graphics or a laptop that's a few years old while greatly reducing the frames you lose in-game.
In this article, using low-end and integrated-graphics PCs as the baseline, we'll go in order from why recording gets heavy, to recommended settings by spec, to how to record lightly without touching any settings at all. We've focused on games that are popular even on low-end machines, like League of Legends, Valorant, and PUBG.
Why Does a Low-End PC Lag When You Record?
Game recording is the job of compressing (encoding) each frame of your screen into a video file every moment. Who handles that compression is what determines performance. If the default is set to software encoding (x264), the CPU, already busy running the game, has to take on encoding too, and your frame rate drops sharply. The lower-end the PC, the less CPU headroom it has, so the hit is even bigger.
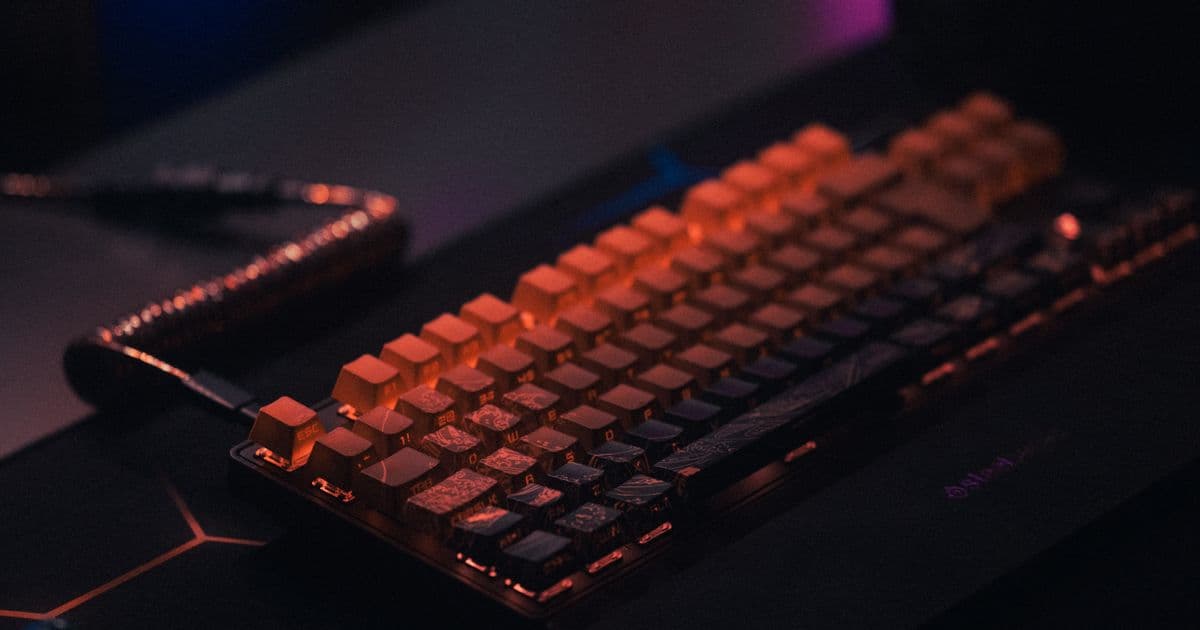
The key to fixing this is offloading encoding to the dedicated encoding chip built into the GPU. NVIDIA's NVENC, Intel integrated graphics' QuickSync, and AMD's hardware encoder (AMF/VCE) all play that role. These chips are separate circuits from game rendering, so handing encoding to them has little impact on your in-game frame rate. That's why every low-end recording guide lists hardware encoding as the first thing to do.
Step 1: Turn On Your Hardware Encoder First
This is the first step, and the one with the biggest payoff. In your recording program's settings, switch the encoder from software (x264) to whatever hardware encoder your PC has. In OBS, go to Settings > Output > Recording tab and set the Encoder field to one of the following.
- NVIDIA graphics card: choose "NVIDIA NVENC H.264." Of the three, it costs you the fewest frames and looks the best.
- Intel integrated graphics: choose "QuickSync H.264." This is the default pick for laptops and office PCs without a discrete card.
- AMD graphics card: choose "AMD HW H.264 (AMF)." From the RX 6000 series onward the quality is plenty good.
- Only when you have no hardware encoder at all: leave it on x264, but lower the CPU usage preset to "veryfast" or "superfast" to reduce the load.
Keeping H.264 as your codec is the safe choice for compatibility and editing. HEVC (H.265) and AV1 give smaller files at the same quality, but older integrated graphics may not support them or they may fail to open in editing software, so on a low-end setup H.264 is the safe bet.
Step 2: Drop the Resolution to 720p and the Frame Rate to 30fps
1080p/60fps looks great, but it's a heavy load for a low-end PC. The more pixels and frames per second there are to encode, the busier the encoder and disk get together. On a low-end or integrated-graphics machine, 720p (1280x720) at 30fps is the sweet spot between quality and load. 720p is still crisp enough for sharing on YouTube or Discord, or for highlight clips.
In OBS, go to Settings > Video, lower the "Output (Scaled) Resolution" to 1280x720, and set the "Common FPS Values" to 30. If you leave the Base (Canvas) resolution at your monitor's native size and only lower the output resolution to 720p, you can keep the game looking the same while reducing only the recording load.
Step 3: Set Bitrate and Audio to Sensible Values
Bitrate is the amount of video data per second. Set it too high and you burden the encoder and disk while bloating file size. For low-end 720p/30fps, the recommended values are as follows.
- Video bitrate: 2,500 to 3,500 kbps for 720p/30fps. Use closer to 3,500 kbps for games with lots of motion, 2,500 kbps for static ones.
- Bitrate method: for recording, CQP/CRF (quality-based) beats CBR for image quality per file size. A CQP value of 20 to 23 is recommended.
- Audio bitrate: 192 kbps is plenty for both game sound and voice. To shrink files further, 128 kbps is also fine.
- Recording format: mp4 or mkv. One good approach is to record to mkv, which keeps the file safe even if recording is force-quit, then convert to mp4 when you're done.
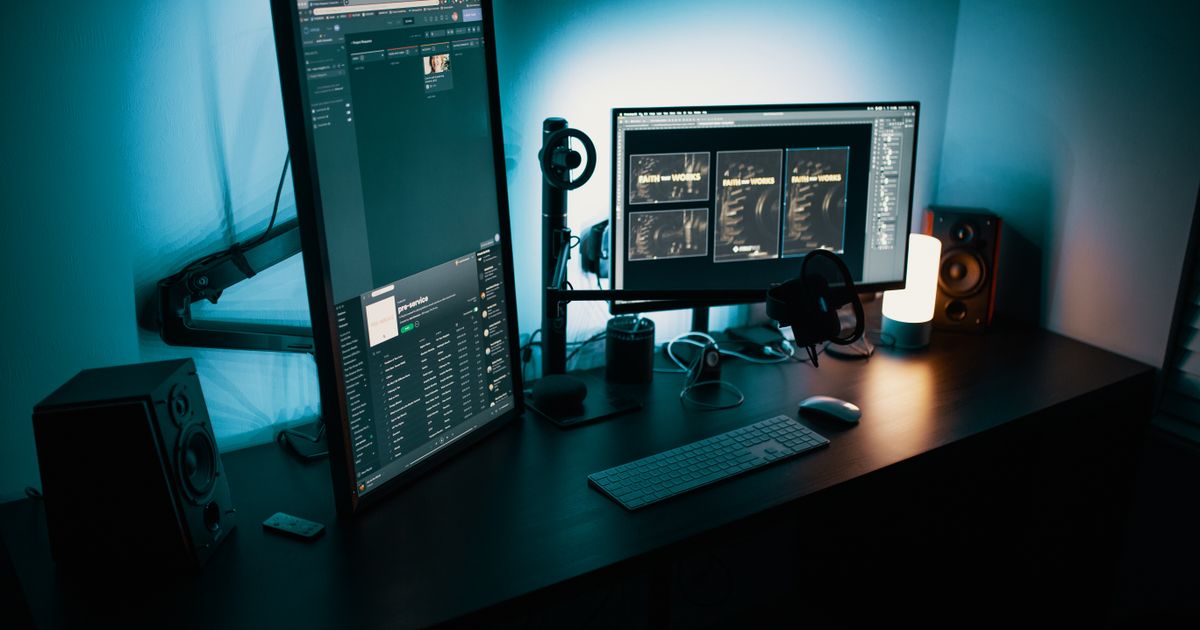
Step 4: Clean Up the Background to Free Up Headroom
On a low-end PC, an extra 10 to 20 percent of CPU and memory headroom can make or break your frame rate. Cleaning up programs you aren't using before you record frees up resources for the encoder.
- Close unused browser tabs in Chrome and the like. Each tab takes up memory.
- Quit always-on overlay programs like Discord, launchers, and messengers, or turn off their overlays.
- Go to Windows Settings > Gaming and turn on Game Mode, and turn off background auto-recording (Xbox Game Bar) since it's redundant.
- Set your recording save location to a different disk from the one the game is installed on (an SSD if possible) to reduce disk bottlenecks.
- Lowering in-game graphics options (shadows, anti-aliasing) by one notch raises your overall frame rate, including while recording.
Recommended Recording Settings by Spec at a Glance
Find the row closest to your PC and apply it as-is. Every value is a conservative baseline focused on keeping game recording light.
- Integrated graphics (Intel UHD/Iris, no discrete card): encoder QuickSync H.264 · resolution 720p (480p if needed) · 30fps · 2,500 kbps · lowering in-game graphics options recommended
- Older/entry-level discrete (GTX 1050/1650, RX 560 class): encoder NVENC or AMD HW H.264 · 720p · 30fps · 3,000 kbps · in-game options medium
- Mid-range discrete (RTX 3050/4060, RX 6600 class): encoder NVENC H.264 · 720p to 1080p · 30 to 60fps · 3,500 to 6,000 kbps · bump up to 1080p if you have headroom
- Older PC with no hardware encoder at all: encoder x264 (veryfast/superfast) · 720p · 30fps · 2,500 kbps · clean up the background as much as possible
Why DOR Fits Integrated Graphics and Low-End PCs Especially Well
If dialing in those steps yourself every time is a hassle, there's the option of using DOR, which is designed to be low-load from the ground up. DOR uses low-load background capture and NVENC hardware encoding by default, so the encoding load shifts to the dedicated GPU chip without you having to change the encoder yourself. It's built so that even on integrated graphics or a low-end PC, recording costs you few game frames.
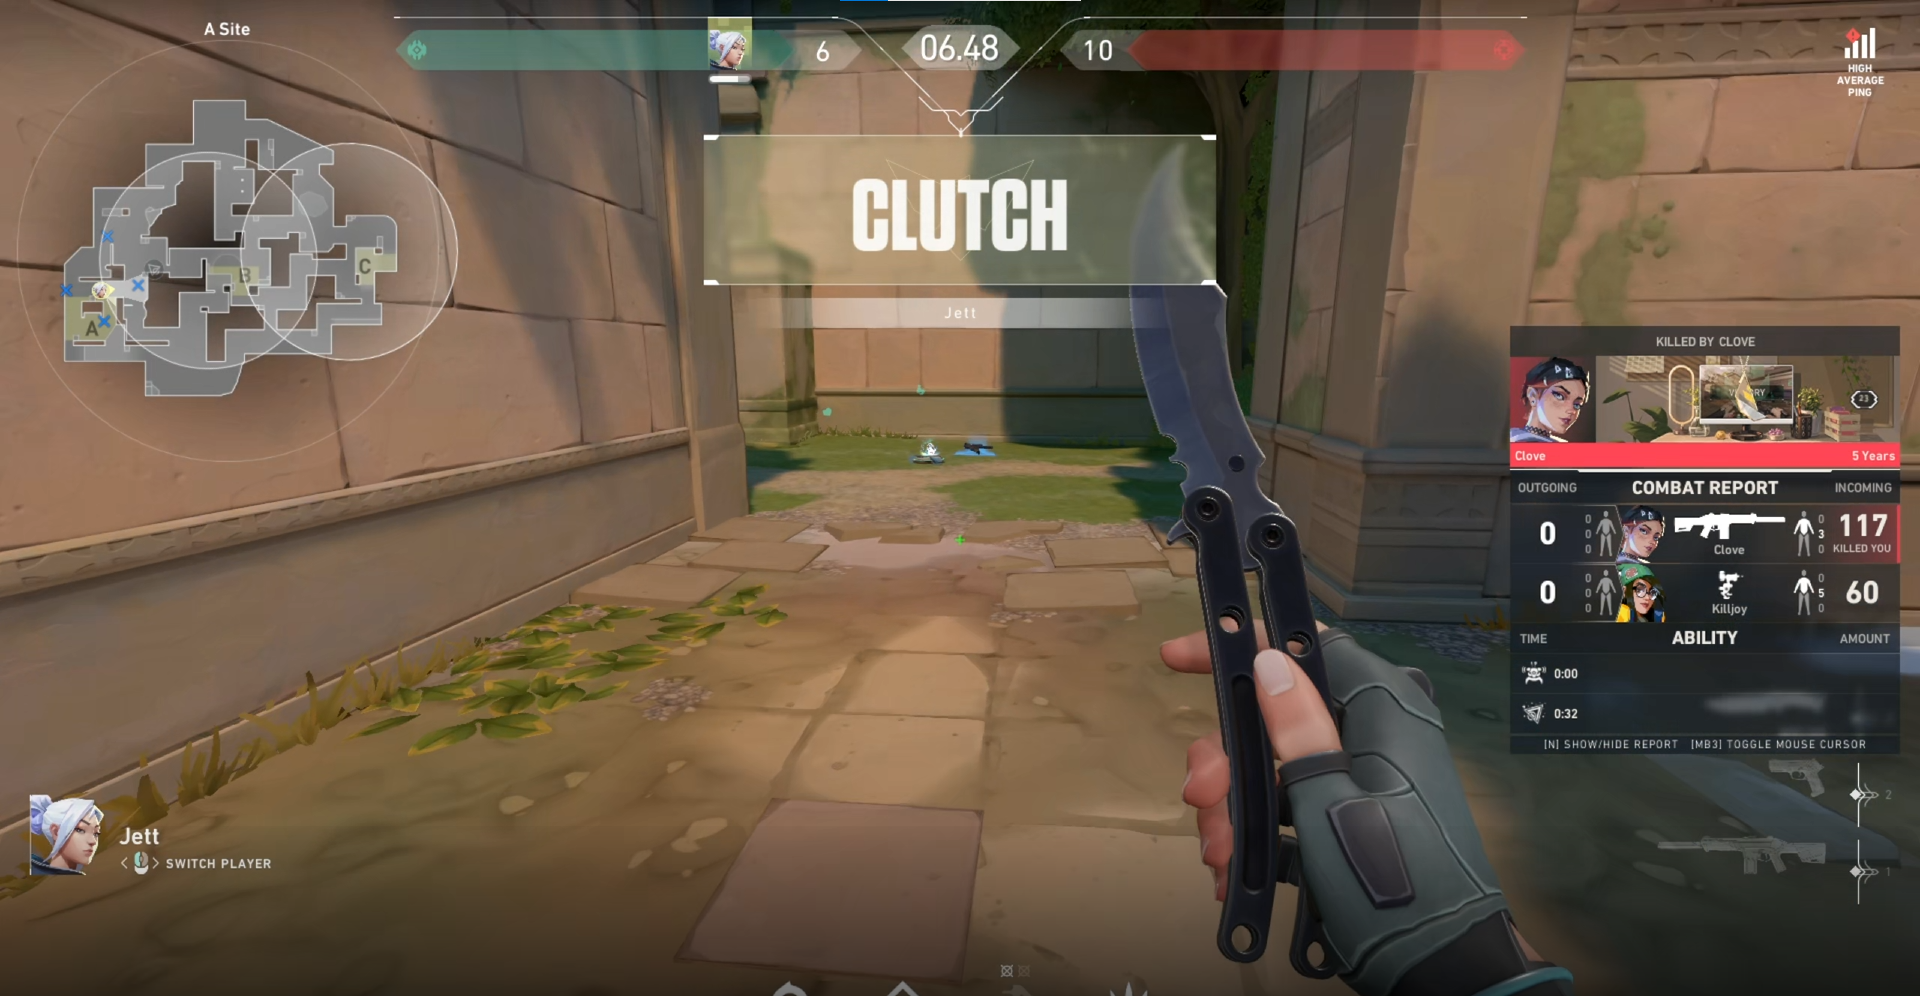
DOR also auto-detects when a game launches, captures lightly in the background, and automatically saves only the key moments, like kills, aces, and pentakills, as short clips. Instead of recording a long original in full and filling up your disk, it keeps only the highlights, so it's especially easy on low-end PCs that are tight on storage. There's no need to set up scenes, sources, or encoders yourself in a settings screen, just install it and launch your game.
Wrap-Up: Even a Low-End PC Can Record in This Order
The core of recording games on a low-end PC is simple. (1) Turn on a hardware encoder (NVENC, QuickSync, AMD), (2) drop to 720p/30fps, (3) set the bitrate to 2,500 to 3,500 kbps, and (4) clean up the background. Just follow that order and even integrated graphics or an older laptop can record while greatly reducing the frames you lose. If you'd rather skip the settings entirely, just start with DOR, which has low-load capture and NVENC as defaults.
Check out the recommended settings and auto-clip examples for the games you play most on their game pages: League of Legends, Valorant, PUBG, Overwatch.