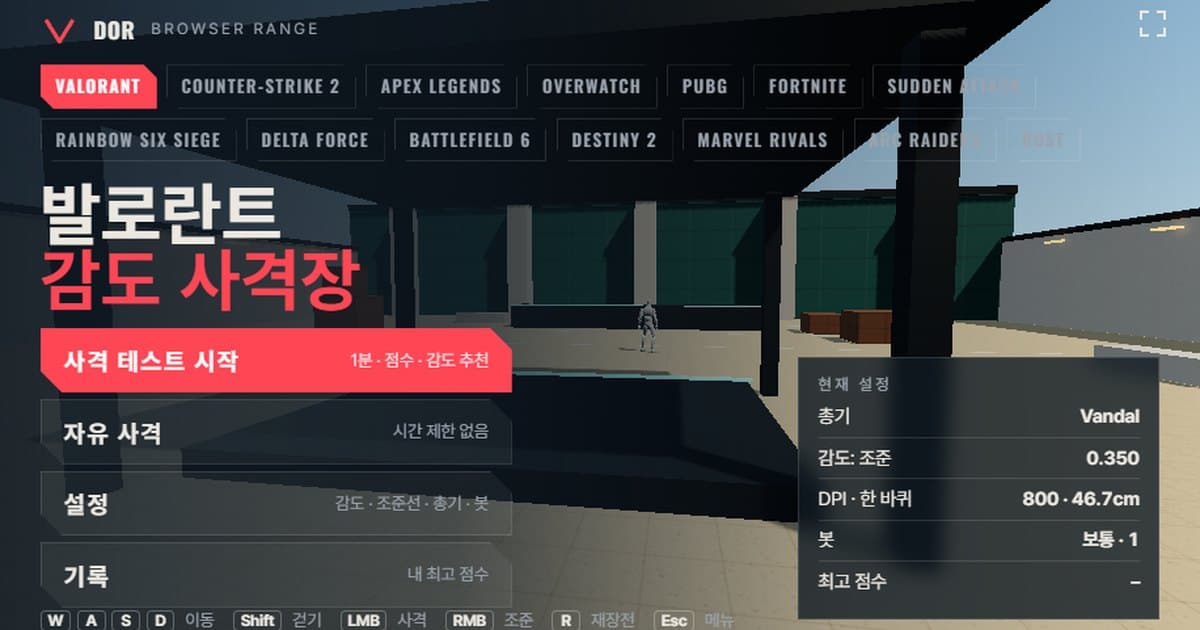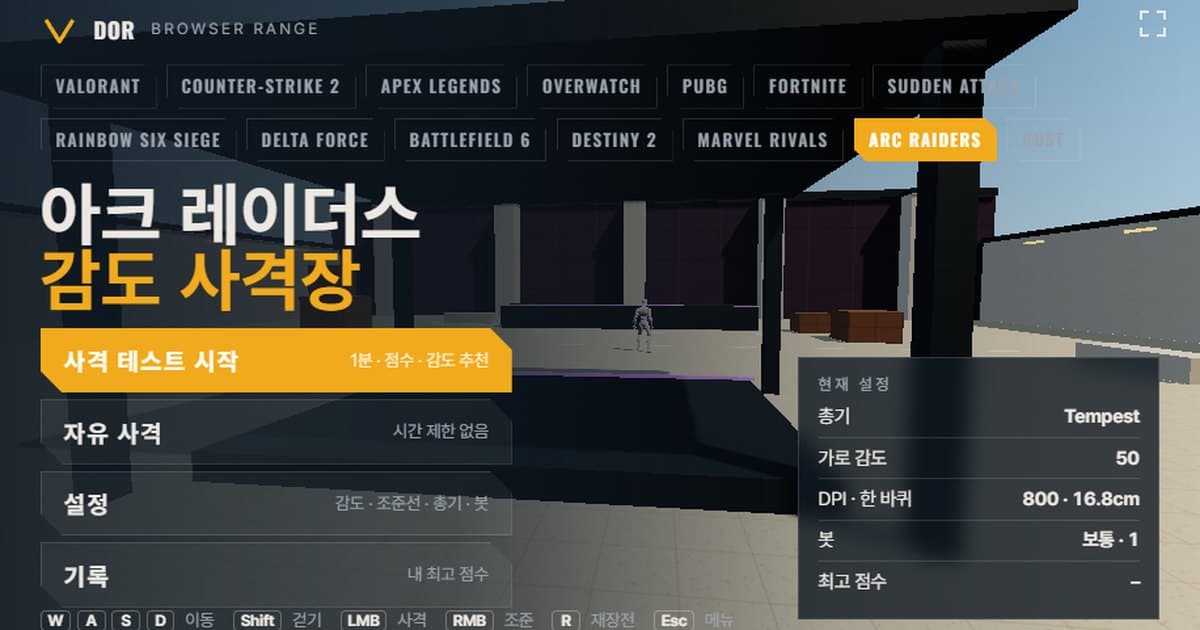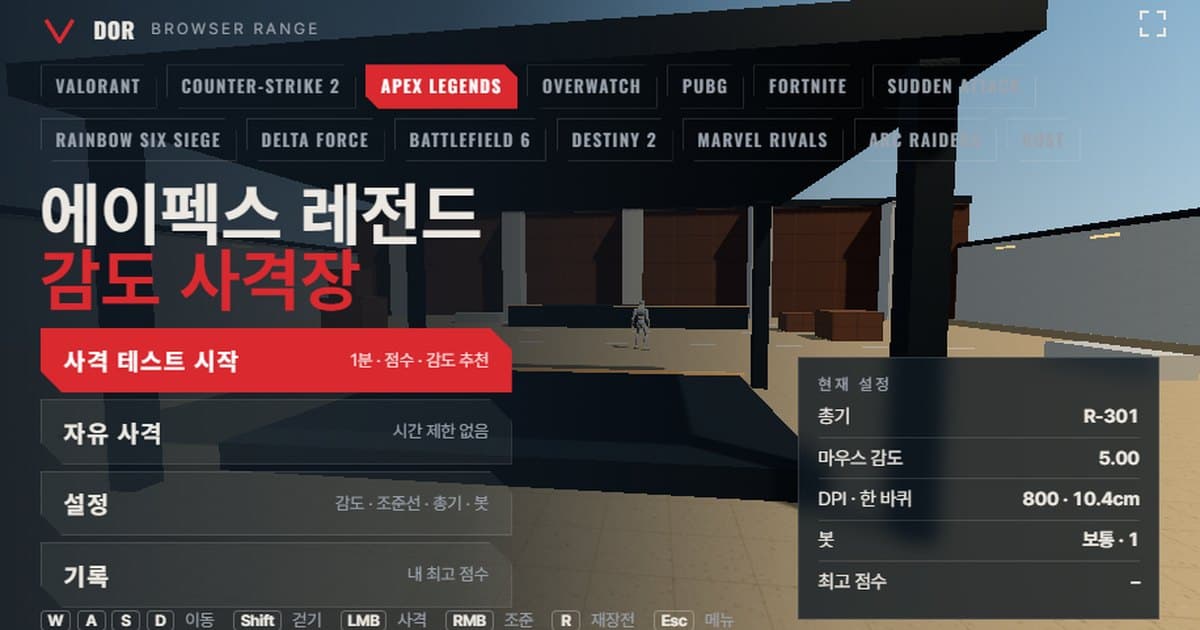
The range at the top of this article is an Apex Legends sensitivity test that runs in your browser with the game's mouse turn rate and field of view, and in one minute it measures your score, accuracy, headshot rate and the average time from a bot appearing to its kill. Enter the mouse sensitivity and DPI you use in the game as they are; when the minute is up, the result screen also suggests whether to raise or lower your sensitivity depending on whether your crosshair overshot or undershot the target. There is nothing to install, and it runs directly in Chrome or Edge on PC. Mobile and gamepads are not supported. The overall structure of the range and the list of other games are covered in the browser sensitivity range introduction. To carry a sensitivity over from another game by the numbers, start with the sensitivity and DPI converter, then shoot with that value here.
What matches Apex Legends' settings and what differs
Apex Legends runs on the Titanfall branch of the Source engine, so the turn per mouse count works out to sensitivity × 0.022°. EA has never published this constant in official documentation; it is a value measured and shared by community conversion sites such as sensconverter.app, but it agrees across several sites and is the same number as CS2, so the range uses it as is. The table below compares, item by item, what the range took from the game and what it simplified.
| Item | Apex Legends | Browser range |
|---|---|---|
| Turn rate | Sensitivity × 0.022°/count (community conversion sites; not confirmed in official docs) | Same formula. Sensitivity input range 0.5-20 in 0.1 steps |
| Field of view | Video settings slider 70-110, set to 70 on first launch (EA Help) | Fixed at FOV slider value 90 (about 106° horizontal on 16:9) |
| Movement speed | Sprint with weapon holstered about 7.59 m/s, walk about 5.07 m/s, roughly 13% slower with a weapon out (wiki community measurements) | Your character sprints at 7.4 m/s, Shift walk 3.5 m/s |
| Bot health/armor | 100 health + 50/75/100/125 shield | Basic bot 200, armored bot 250 |
| Weapon list | Dozens of weapons across light, heavy, energy, sniper and shotgun ammo | 5 weapons: Wingman, R-99, R-301, Flatline, Kraber |
It is worth knowing the FOV difference before you start. According to community analysis, the game's slider value is the horizontal FOV on a 4:3 screen and wider screens simply show more on the sides; converted to 16:9, slider 70 is about 86°, 90 about 106° and 110 about 125°. The range uses an FOV slider value of 90, the middle of the 70-110 range and about 106° horizontal on 16:9, so on a 16:9 monitor it looks the same as the game at 90; if you play at 110, targets in the range look about 1.4 times larger at the center of the screen. Since Apex's turn rate is calculated independently of FOV, however, cm/360 stays the same and the only thing that changes is how much of the screen a target takes up. The 7.4 m/s sprint speed of your character in the range sits between the wiki's measurements for a holstered weapon (about 7.59 m/s) and a weapon out (about 6.6 m/s); movement such as sliding and wall jumping is not included.
How to run the 1-minute test
The range starts on the menu screen. Settings in the menu is split into five tabs: General, Crosshair, Weapons, Bots and Audio & Video. Following the steps below takes about two minutes to reach the result screen.
- 1Enter sensitivity and DPIIn the General tab, type the value shown in the game under Settings > Mouse/Keyboard > Mouse Sensitivity, along with your mouse DPI. DPI does not affect turning and is only used for the eDPI and distance-per-turn readouts, so enter the DPI actually set on your mouse for the cm/360 display to be correct.
- 2Pick a weaponIn the Weapons tab choose one of the Wingman, R-99, R-301, Flatline or Kraber. Starting with the low-recoil R-301 makes sensitivity differences show up most clearly in the results.
- 3Adjust the crosshair and botsIn the Crosshair tab set the color and line thickness; in the Bots tab set bot speed (how long a target stays before it disappears), armor (None with 200 health or Heavy with 250 health), targets at once and whether bots strafe. In the Audio & Video tab you can mute sound effects and switch graphics to Low. Settings are saved in the browser and persist the next time you open the range.
- 4Start the testPress the Start test button: the screen enters pointer lock and a 1-minute countdown runs. Pressing the Fullscreen button first hides the browser UI and gives you a screen closer to the game.
- 5Shoot during the testKill the bots that appear for one minute. Pressing ESC in the middle pauses the round and brings the mouse cursor back; press the Resume button to continue with the time that was left. Leaving the window pauses it the same way.
- 6Check the result and repeatWhen the minute ends, the round result screen appears. Repeat 2-3 times on the same day at the same sensitivity, and if the suggestion points the same way each time, apply the suggested value with the Retry with suggested sens button and measure another 2-3 times. The best score for each setup can be viewed again under Records in the menu.
How to read the result screen
Every number on the result screen is a total for the one minute. Apex Legends is a game where a kill takes several shots once shields are included, so rather than the accuracy of a single shot, it matters more to look at the time and the number of shots it took to finish one kill.
- Accuracy: the share of shots fired that hit a bot. Fast-firing weapons such as the R-99 naturally give a lower accuracy, so only compare runs with the same weapon.
- Headshot rate: the share of hits that landed on the head. It is most meaningful when measured with weapons where each shot counts, such as the Wingman or Kraber.
- Spawn → kill average (Avg kill): the average time from a bot appearing to it going down. This is the first number to look at when comparing sensitivity candidates.
- Spawn → first shot average: the time from a bot appearing to your first shot, which reflects reaction speed and how quickly you make the first flick.
- Shots per kill: the number of rounds spent on one kill. When your tracking wobbles, this value is the first to climb.
- Overshoot / undershoot: for each kill, the range looks at how your crosshair moved toward the bot; if it crossed past the target and came back, it counts as an overshoot, and if it hit without ever crossing, an undershoot. If overshoots make up more than 60% of the judged kills, it suggests lowering sensitivity by about 10%; if undershoots do, it suggests raising it by about 10%; anything in between means keeping your current value. With fewer than 5 judged kills, the sample is too small and no suggestion is given.
Apex Legends' sensitivity system
In the game the setting lives under Settings > Mouse/Keyboard > Mouse Sensitivity. According to the wiki the slider ranges from 0.2 to 20 and moves in roughly 0.1 steps, but the settings.cfg file accepts finer values, which is why numbers like 1.35 appear in pro settings lists. The default value on a fresh install is not stated in official documentation. EA Help's recommended PC settings article only recommends 3.0-5.0 as a starting range, so treat the range's default of 5 as a placeholder taken from the top of that range. Mouse acceleration is off by default.
0.022 is the turn angle per count in degrees. It is the same constant as CS2, so if you came from CS2 you can carry the number over as is and get the same cm/360, and comparing results with the [CS2 sensitivity range](cs2-sensitivity-range) is a fair comparison. The range shows this value automatically once you enter sensitivity and DPI.
| Mouse sensitivity (800 DPI) | cm/360 | Notes |
|---|---|---|
| 1.5 | about 34.6 cm | Low sensitivity. Stable tracking, but you need a large mousepad |
| 2.0 | about 26.0 cm | Same result as the example on community conversion sites |
| 3.0 | about 17.3 cm | Bottom of the EA Help recommended range (3.0-5.0) |
ADS multiplier and per-optic settings
Apex's ADS sensitivity does not use monitor-distance matching; it multiplies the hipfire turn rate by a multiplier. The ADS mouse sensitivity multiplier defaults to 1.0, and at 1.0 the mouse distance needed for a 360° turn is the same as hipfire no matter which optic magnification you look through. That is why 4x and higher optics feel like the screen moves very slowly. Turning on per-optic settings lets you enter a different value for each of 1x, 2x, 3x, 4x, 6x, 8x and 10x; the claim that these sliders cap at 2.0 comes from a single community calculator and is not confirmed in official documentation. The General tab of the range also has a Scoped sensitivity multiplier field (default 1.0), but the calculation differs from the game. The range computes the turn rate while right-click aiming as hipfire turn rate × multiplier ÷ the weapon's aim zoom, so at 1.0 the on-screen speed matches hipfire and the actual cm/360 grows by the zoom factor. To recreate the game's ADS multiplier of 1.0, raise the range's Scoped sensitivity multiplier to 1.3, the same as the weapon's aim zoom; for the Kraber's 3x scope the slider stops at 2.0, so type 3.0 into the number box next to it. If you use separate per-optic values, use the range results only to judge your hipfire sensitivity.
The FOV slider and the range's FOV
Field of view is set as an integer between 70 and 110 on the Field of View slider under Settings > Video. According to EA Help it starts at 70 on first launch and many competitive players use 110, while the EA accessibility page notes that going above 90 can affect performance. The range uses the FOV slider value of 90 (about 106° horizontal on 16:9) set in its profile and offers no slider. Since FOV does not affect turn rate, this is no problem for comparing sensitivities, but if you play at 110 keep in mind that targets look larger in the range. Community analysis says the game rounds the 4:3 FOV to an integer when calculating ADS sensitivity, which does not apply to the range because it has no ADS multiplier of that kind.
Weapons in the range
The five weapons were chosen so that Apex's ammo types and roles do not overlap. The figures are the values in the range's profile, approximations based on public wikis as of past patches. The actual game changed the damage and magazine size of several weapons in 2025-2026 patches, so use the in-game weapon info for exact current values.
| Weapon | Fire rate (rpm) | Mag | Reload (s) | Head · body damage | Aim zoom |
|---|---|---|---|---|---|
| Wingman | 156 | 6 | 2.1 | 68 · 45 | 1.3x |
| R-99 | 1080 | 17 | 1.8 | 17 · 11 | 1.3x |
| R-301 | 810 | 18 | 2.4 | 21 · 14 | 1.3x |
| Flatline | 600 | 20 | 2.4 | 27 · 18 | 1.3x |
| Kraber | 24 | 4 | 4.3 | 435 · 140 | 3x scope |
Each weapon suits a different drill. For flicks and one-taps the Wingman is the right choice: each shot carries so much weight that the overshoot/undershoot ratio comes out clearly and the headshot rate is easy to read. For tracking and spray practice, use the R-99 and R-301. At 1080 rpm the R-99 turns any time the crosshair leaves the target straight into shots per kill, and the R-301's low recoil makes it good for seeing the difference in sensitivity itself. The Flatline sits in between: slower fire with higher damage per shot, so it cannot hide a shaky aim. The Kraber is only for practicing long-range one-taps through its 3x scope; for judging sensitivity it yields too few kills in one minute, so suggestions rarely appear.
Limits of a browser range
- Input path: the game reads the mouse through raw input. The range also requests raw input (unadjustedMovement) from the browser when locking the pointer, bypassing Windows' Enhance pointer precision, but on browsers that do not support this option it falls back to normal pointer lock, so it is safer to turn off mouse acceleration in your OS settings before measuring.
- Polling interval: browsers batch mouse movement per display frame, so input from a 4000-8000 Hz mouse is not applied as finely as in the game. The total turn is the same, but very fast flicks may feel slightly different.
- No recoil patterns: spread grows while spraying and there is some recoil magnitude, but the unique recoil patterns of each Apex weapon are not reproduced. Practice recoil control separately in the in-game Firing Range.
- Simplified movement accuracy: the range adds the same amount of spread to every weapon while moving and in the air and reduces spread while aiming, so there is no per-weapon movement accuracy or ADS movement speed reduction (0.5x for rifles per the wiki) as in the game. The Movement & firing error toggle in the Crosshair tab only decides whether that spread is shown as a blooming crosshair. Apex-specific situations such as shooting while sliding are also absent.
- Fixed FOV: only FOV slider value 90 (about 106° horizontal on 16:9) is supported. If you use a 21:9 monitor or 110 FOV, your sense of target size may differ.
- How to compensate: use the range to narrow your sensitivity candidates down to two or three, and make the final call after the in-game Firing Range and about 10 real matches.
Checking your sensitivity in real matches: DOR
You can check whether the sensitivity you picked in the range holds up in real matches by reviewing recordings of your fights. When DOR detects Apex Legends it records your matches automatically, and you can save a clip of any moment with a single hotkey. Clips can be trimmed in the browser editor and shared as a dor.gg link. It is free and runs on Windows. Reviewing a clip to see which way your first shot missed in a fight lets you line it up against the range's overshoot/undershoot numbers. See the Apex Legends recording page for details.
 #Apex Legends