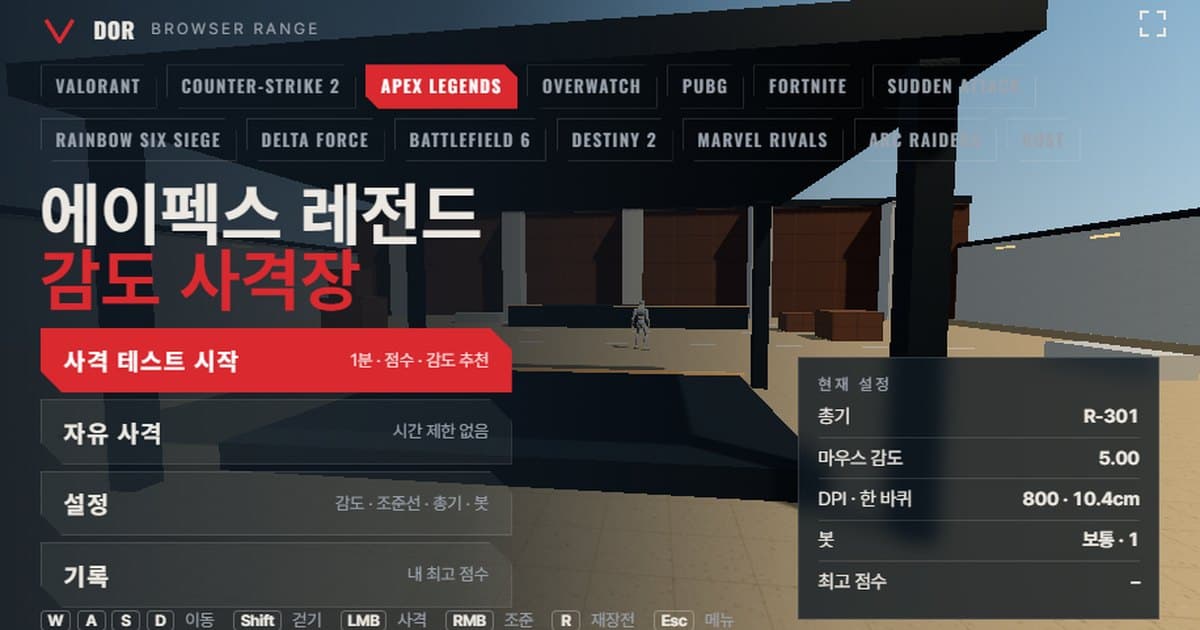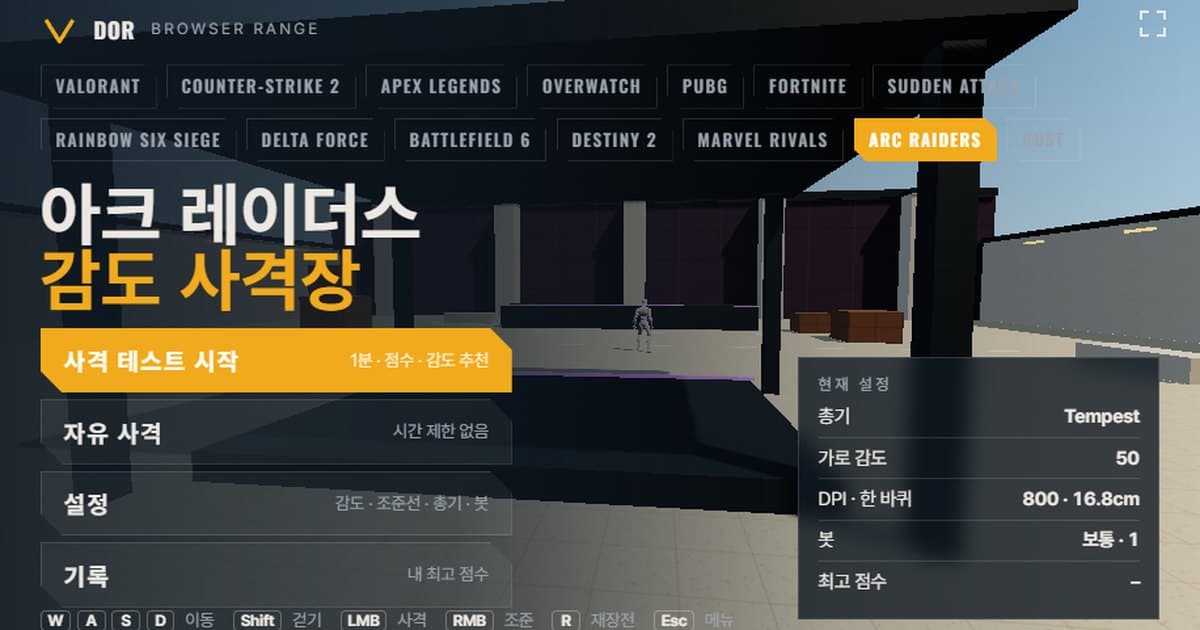
ARC Raiders sensitivity is set under ESC > Settings > Mouse and Keyboard, where Horizontal Sensitivity and Vertical Sensitivity are separate sliders that each run from 0 to 100 with a default of 50 (per the ARC Raiders wiki). The range at the top of this post is a browser shooting range that copies that horizontal sensitivity and the turn rate at the default FOV of 70. Enter the horizontal sensitivity you use in the game and your mouse DPI, shoot bots for one minute, and you get a score, accuracy, headshot rate and average kill time, plus a suggestion to raise or lower your sensitivity depending on whether you overshot or stopped short of targets. There is nothing to install; it opens straight away in Chrome or Edge on PC. It needs mouse lock, so it does not work in mobile browsers.
ARC Raiders is an over-the-shoulder third-person extraction shooter, so the way you see the action differs from a first-person range. That is why this post starts with a table of what is the same and what is different, then covers how to convert the in-game sensitivity system (horizontal and vertical sensitivity, FOV scaling, zoom sensitivity multipliers) into cm/360. Ranges for other games and the overall structure are laid out in the browser sensitivity range introduction.
What matches ARC Raiders' settings and what does not
The range takes the turn coefficient used by community converter sites as-is, so with the same sensitivity and DPI the mouse distance needed for one full turn matches the game. FOV is fixed at the game default of 70. However, ARC Raiders is third-person and the range is first-person, so the space your character occupies on screen and the occlusion around the crosshair differ. Use it to tune the feel of wrist and arm rotation; the angles you see opponents from behind cover have to be learned separately in real matches.
| Item | ARC Raiders | Range |
|---|---|---|
| Turn rate | 0.001361°/count × horizontal sens × (FOV ÷ 70), per community converter sites | Same formula, FOV fixed at 70 |
| FOV | Settings > Graphics > FOV 60–80, default 70 (converter sites treat it as vertical; not confirmed in official docs) | Fixed at 70, about 102.4° horizontal at 16:9 |
| Perspective | Over-the-shoulder third-person, no official first-person mode | First-person |
| Movement speed | Sprint about 6.32 m/s, default jog about 3.65 m/s (community stopwatch measurement, no official figure) | Default movement 6.32 m/s, Shift walk 3.48 m/s (player movement) |
| Bot HP / armor | Base HP 100, shields work through charge and damage reduction | HP 100, 140 with armor on (the Light Shield's 40 charge simplified into extra HP) |
| Weapon list | Many per class, stats change per tier | Seven: Venator, Stitcher, Rattler, Tempest, Osprey, Il Toro, Torrente |
| Recoil / spread | Per-weapon recoil, reduced horizontal recoil per tier, crouch accuracy, etc. | Only simple vertical recoil and crosshair bloom while moving |
Numbers change with every patch. For example, the Frozen Trail 2.0 update on 8 October 2026 cut the Heavy Shield's movement penalty from 15% to 10%. The range's bot armor (140 HP) is built on the Light Shield's 40 charge, so this change does not affect it, but weapon values are re-checked whenever official patch notes come out.
How the 1-minute test runs
Press 'Start test' on the menu screen to run a one-minute round; 'Free fire' lets you shoot without a time limit and ends with 'See results'. Settings are split into five tabs: General, Crosshair, Weapons, Bots, and Audio & Video. Sensitivity and DPI are in the General tab.
- 1Enter sensitivity and DPIIn the General tab, enter the horizontal sensitivity (1–100) you use in the game and your mouse DPI. DPI does not affect turning inside the range; it is only used to display the cm/360 distance, so just copy the game's horizontal sensitivity value as-is.
- 2Pick a weaponIn the Weapons tab, choose a gun that fits what you want to practise. At first, setting a baseline with the starting rifle Rattler or the semi-auto pistol Venator makes the results easier to read.
- 3Lock the bot settingsIn the Bots tab, set targets at once, bot speed, armor and bot movement. Keep these values unchanged while comparing sensitivities, so that score differences can be attributed to sensitivity.
- 4Start and shoot for one minutePress 'Start test'; after a countdown the mouse locks and bots appear. Time is measured from the moment a bot appears until it is killed, so it pays to keep the crosshair near the centre of the screen while waiting.
- 5Read the resultsAfter one minute, the result screen shows your score (kills), accuracy, headshot rate, average kill time, overshoot/undershoot counts and a sensitivity suggestion. Press 'Retry with suggested sens' to restart immediately with that value.
- 6Repeat 2–3 times the same dayA single result swings a lot. Repeat 2–3 times with the same setup and change the in-game setting only when the suggestions point the same way. The Records screen keeps your best score per setup, so you can compare across days.
Pressing ESC during a round pauses it and releases the mouse lock so the cursor reappears. 'Resume' continues; 'Quit' discards that round. The 'Fullscreen' button hides the browser UI, giving a screen ratio close to the game. If a message says mouse lock failed, wait a second or two and press Resume again.
The numbers to watch on the result screen
- Accuracy: hits divided by shots fired. In a game like ARC Raiders, with 100 HP plus shield mitigation, a single hit changes the length of a fight a lot, so look at this before the score.
- Headshot rate: the share of your hits that landed on the head. The range applies per-weapon head damage, but community reports say the dummies in the in-game practice range do not apply the headshot multiplier, so the numbers will differ from in-game practice.
- Avg kill: the average time from a bot appearing to it dropping. When a sensitivity suits you, this value drops first.
- Spawn → first shot average: close to reaction time. It is affected more by focus and fatigue than by sensitivity, so treat results from a day when it runs higher than usual as reference only.
- Shots per kill: rounds spent per kill. Guns with large magazines like the Torrente push this value up easily, so compare only within the same weapon.
- Overshoot / undershoot: how often your aim went past the target (overshoot) or stopped short (undershoot) while tracking. Under 5 kills the sample is too small and no suggestion appears; when one side exceeds 60%, the range proposes a value adjusted 10% in that direction. When the two are close, it tells you to keep your current sensitivity.
Where ARC Raiders sensitivity lives and how to convert it: horizontal/vertical sens and FOV scaling
The sensitivity options sit on the ESC > Settings > Mouse and Keyboard screen as separate horizontal and vertical sliders; the 0–100 range and the default of 50 come from the ARC Raiders wiki settings page and are not confirmed in Embark's official docs. Sources disagree on whether decimals are accepted: the wiki lists integers, while one converter site states it takes one decimal place, and nothing has been verified in the game itself. The range accepts whole numbers.
Per the community converter sites, each point of sensitivity turns 0.001361° per count. Two converter sites (sensconverters, aiming.pro) use the same value, so it is reliable enough at the default FOV 70, but it is not a figure published by Embark. At the default sensitivity of 50, that is about 0.0681° per count.
At FOV 70 the bracket becomes 1, so it simplifies to cm/360 = 914.4 ÷ (DPI × sens × 0.001361). At 800 DPI and sens 50 that is about 16.8 cm. The turn coefficient 0.001361 comes from converter sites.
| Horizontal sens (800 DPI) | °/count | cm/360 |
|---|---|---|
| 24 | 0.0327 | about 35.0 cm |
| 35 | 0.0476 | about 24.0 cm |
| 50 (default) | 0.0681 | about 16.8 cm |
FOV is under Settings > Graphics, with a range of 60–80 and a default of 70. One converter site explains that turn speed scales in proportion to FOV, which is why (FOV ÷ 70) appears in the formula above, but that proportional rule comes from a single source and other converter sites apply no FOV correction. Changing FOV to 60 or 80 can produce up to about a 14% difference through this term, so if you use a non-default FOV it is safer to measure your 360 distance directly in the game. The convention that the slider is vertical also comes from converter sites; on that basis 60, 70 and 80 correspond to roughly 91.5°, 102.4° and 112.3° horizontal at 16:9.
One more thing. PCGamingWiki and Steam discussions report that when the mouse polling rate exceeds 250 Hz, the game applies a fixed negative mouse acceleration. There is no official confirmation, but when measuring your 360 distance in the game, keeping the mouse at 250 Hz or lower is more likely to match the converter value. The range does not reproduce this acceleration, so people who play at 1000 Hz or above may feel a slight difference in turn distance between the range and real matches.
Aiming (ADS) and scope magnification
There is no per-weapon ADS sensitivity slider. Instead there are only two levels: a zoom sensitivity multiplier (regular over-the-shoulder aiming, 0–100, default 100) and a scope zoom sensitivity multiplier (guns with magnified optics like the Osprey, 1–200, default 100). If the converter site's explanation that the game scales turn speed with FOV is right, a multiplier of 100 is close to slowing automatically with the zoom ratio, but that too is inference, not an official explanation. The range's scoped sensitivity multiplier (default 1.0) is a simple multiplier applied while aiming with right click, and the Osprey is set up with the 5.66× scope listed on the wiki. Official patch notes 1.29.0 include an item saying weapon mod parts affect ADS transition speed on scoped weapons, so ADS timing in real matches depends on your attachment setup. If sensitivity by scope magnification is unfamiliar, the zoom ratio explanation in the PUBG scope sensitivity calculator follows the same principle and is a useful reference.
The seven weapons in the range
| Name | Fire rate (rpm) | Mag | Reload (s) | Head · body damage | ADS zoom |
|---|---|---|---|---|---|
| Venator (pistol, semi-auto) | 300 | 10 | 1.8 | 32 · 16 | 1.0 |
| Stitcher (SMG, auto) | 680 | 20 | 2.2 | 11 · 7 | 1.0 |
| Rattler (rifle, auto) | 500 | 12 | 4.0 | 18 · 9 | 1.0 |
| Tempest (rifle, auto) | 550 | 25 | 2.5 | 15 · 10 | 1.0 |
| Osprey (sniper, bolt-action) | 30 | 8 | 3.5 | 90 · 45 | 5.66 (scope) |
| Il Toro (shotgun, pump) | 38 | 5 | 3.5 | 63 · 63 (pellet total) | 1.0 |
| Torrente (LMG, auto) | 800 | 60 | 5.0 | 16 · 8 | 1.0 |
For one-tap practice, the Venator or Osprey is the right pick. The Venator is semi-auto, giving a rhythm of single, deliberate shots, and the Osprey's 5.66× scope lets you feel the scope zoom sensitivity multiplier. Spray with the Rattler, Tempest and Stitcher; the Tempest in particular has the lowest head multiplier outside the shotguns at 1.5×, which suits body-shot tracking practice. For flicks, use a gun where one shot carries a lot of weight, like the Il Toro, so overshoot/undershoot builds up clearly. The Torrente is only accurate when crouched in the game, so in the range it is mostly for extended tracking with its long magazine.
Limits of a browser range and how to make up for them
- Input path: the game reads raw input directly, but the browser receives pointer-lock input that has passed through the OS. Turning off 'Enhance pointer precision' in Windows reduces the difference.
- Frame timing: browser input arrives bundled per display refresh, so the advantage of 4000/8000 Hz mice disappears. If, as community reports suggest, you play the game at 250 Hz or lower polling, the perceived difference is smaller than in other games.
- Recoil pattern: the range's recoil is a simple vertical rise; there are no per-weapon traits like horizontal recoil that shrinks with tier upgrades or the Torrente's crouch accuracy. Recoil control has to be learned separately in the in-game practice range.
- Accuracy while moving: only the crosshair bloom when moving and jumping is reflected; detailed movement like slides or slopes is absent.
- FOV and perspective: only FOV 70 at 16:9 is provided, and the game's over-the-shoulder third-person view and the character occlusion that comes with it are not reproduced. If you use ultrawide or FOV 80, use range results only for relative comparison.
- Shields: real shields work through charge and damage reduction, but the range simplifies them into extra HP. Think of it as a tool for judging aim direction (overshoot/undershoot) rather than time-to-kill.
The fix is simple. Narrow your sensitivity candidates to two or three with the range, shoot each for ten minutes with the same gun in the in-game practice range, then review recordings of several real matches before making the final call. If you want to tune another extraction shooter the same way, the Delta Force range is built on the same structure.
After settling on a sensitivity, check it in real matches: DOR
Range scores and real matches are different. Once your sensitivity is locked in, the next step is to re-watch your real fights. When DOR recognises ARC Raiders it records your matches automatically, and you can save a clip of any moment with a single hotkey. Clips are trimmed in the browser editor and shared as dor.gg links. It is free and runs on Windows. After a few matches on the new sensitivity, collecting the fight scenes lets you check whether the overshoot/undershoot tendency from the range repeats in real play. Support details are on the ARC Raiders recording page.
 #ARC Raiders