Search for recording software and the top results are usually paid tools wearing a free label. The trial stamps a watermark across your footage or cuts off at ten minutes, then asks for your card. This guide skips all of that. Every tool here is genuinely free with no watermark and no time cap, sorted into three jobs: recording gameplay, recording tutorials or screen walkthroughs, and running very long sessions. If you are recording for the first time, skim how to record PC games for the full workflow before picking a tool.
Which one should you choose? Decide the job before the tool
The decision takes one sentence: write down what you record. If you play League of Legends and want your kills saved without touching a hotkey, you need a tool that clips highlights automatically, and that job belongs to DOR. If you explain software or teach on screen, you need free control over scenes and sources, which is exactly what OBS Studio does. If you just need a quick capture right now with zero installs, the Game Bar already built into Windows is enough. For overnight or multi-hour recordings, stability and file management matter most, which again favors OBS. Once the job is written down, the table below usually leaves you with exactly one row.
Free recording software compared
| Software | Best for | Watermark · time limit · auto clips · difficulty |
|---|---|---|
| DOR | Gameplay, automatic kill and highlight clips, full match recordings | No watermark · no time limit · saves kills and highlights as individual clips automatically · easiest setup, it detects your game on its own |
| OBS Studio | Tutorials, screen walkthroughs, streaming, long sessions | No watermark · no time limit · no auto clips · medium difficulty, you configure sources and the encoder yourself |
| Windows Game Bar | Instant short captures with nothing to install | No watermark · background capture length must be configured · no auto clips · easy, just learn one shortcut |
| NVIDIA app | Instant replay saves on GeForce GPUs | No watermark · no time limit · automatic highlights only in supported games · easy but requires a GeForce GPU |
Final checks before you install
- Downloaded from the official site, and confirmed there is no watermark or time limit without paying
- Ran a ten-minute test in the real scenario and checked frames and audio
- Listened to how microphone and system audio mix together
- Confirmed the output folder and the free disk space left
From choice to first recording in 30 minutes
- 1Write the job in one line — Gameplay clips, a screen tutorial, or a marathon recording. If that line points at one row of the table, your decision is already made.
- 2Install from the official site — Download only from the official website, not from ad-boosted mirror sites. Bundled installers posing as free recorders are the most common trap in this space.
- 3Run a ten-minute test — Record your real use case for ten minutes. Check frame drops for games, microphone levels for tutorials, and how fast the file grows for long sessions.
- 4Review and trim — Open the output folder, verify audio and quality, and keep only the moments worth keeping. Raw recordings fill a disk quickly, so trimming is part of the setup.
For gameplay, DOR is the fastest answer
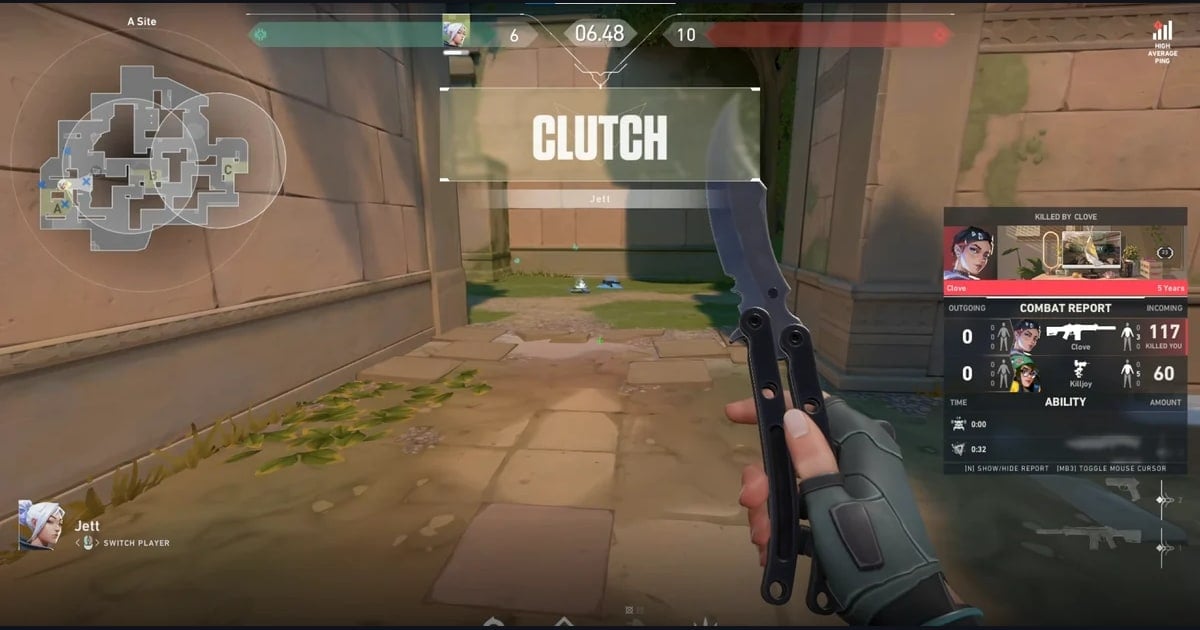
What separates DOR for gaming is that you never press record. DOR is free and installs from a single Windows installer. It detects the game you are playing automatically, so there is no manual source setup, then saves your kills and highlights as individual clips while also keeping a full match recording. NVENC hardware encoding is on by default, keeping the load light while you play, and when the session ends you can trim clips in the browser editor and review or share them on the dor.gg web app. For a line-by-line comparison against other free tools, see the free game recorder comparison.
Official sources
OBS setup steps in this guide follow the official OBS Studio quick start guide, and the Windows Game Bar capture behavior and limits follow the official Xbox support article on recording game clips. Menu names and limits change with updates, so treat the latest official documentation as the final word.