The three biggest settings for streaming to CHZZK from OBS are the Server and Stream Key on the Stream tab, the Video Bitrate and Audio Bitrate on the Output tab, and the resolution and FPS on the Video tab, and the direction is the same for all three: copy the values CHZZK's official guidance states. This guide maps where each field lives using OBS Studio 32.0.0 menu names and deliberately gives no CHZZK numbers of its own (checked October 6, 2026). Start by looking in CHZZK's official help for whether such guidance exists, since this page does not replace it. If you are unsure whether you even need to stream rather than record, read streaming vs recording first.
Bottom line: every number comes from CHZZK, not from OBS
In short, OBS only provides the boxes, and what belongs in them is set by CHZZK's official help pages and guidance. Instead of copying a bitrate table from a random page, check whether CHZZK's guidance lists a number for each field and enter it exactly if it does. If a field has no official value, do not invent one; confirm it with a test broadcast instead. If you are also deciding whether to keep a local recording of the same session, the recording settings guide for streamers covers that side. This page was checked on October 6, 2026, and the OBS names below follow the 32.0.0 tag's English strings.
Six steps in entry order
- 1Open CHZZK's official guidance firstCHZZK is a Korean streaming service, and its official help on chzzk.naver.com and help.naver.com is written mainly in Korean. There, look for how to connect OBS, where the server (URL) and stream key are shown, and whether any video and audio values are given. Checking whether such guidance exists comes first, and this article does not copy those numbers for you.
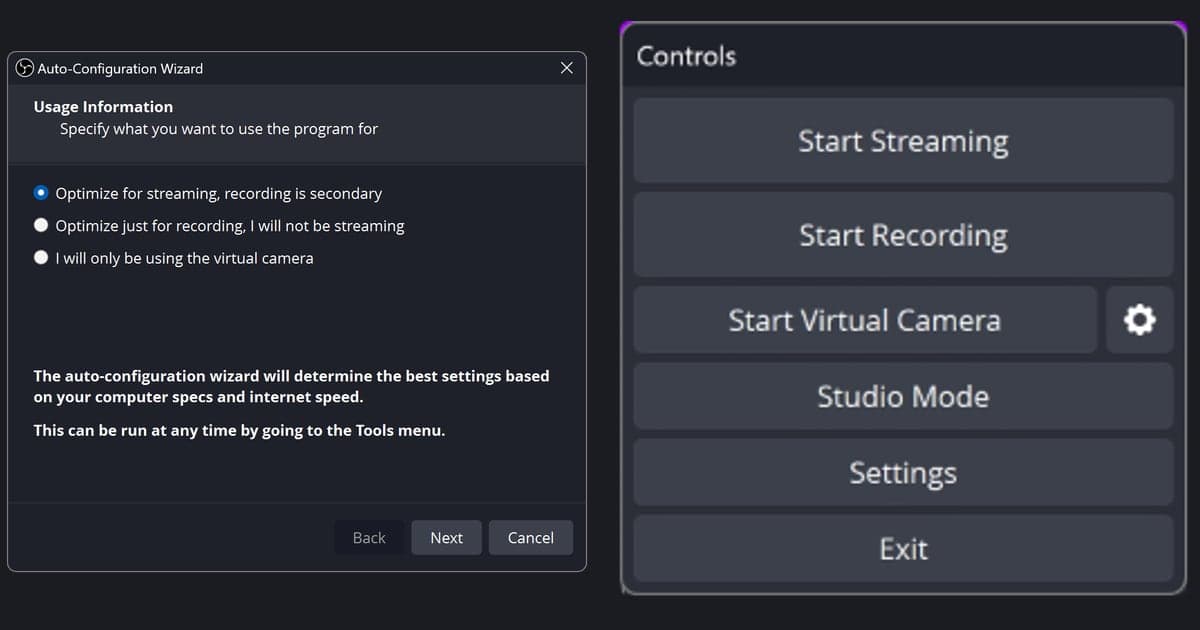
- 2Open the OBS Settings windowUse File > Settings in the menu bar, or the Settings button in the main window. The names here follow the 32.0.0 strings, so your screen may differ slightly on another version. If the Auto-Configuration Wizard appeared on first launch you may use it, but the official OBS Quick Start Guide says to double-check Settings > Output before you start streaming or recording.
- 3Fill Service, Server and Stream Key on the Stream tabPick the Stream tab in the left list. If CHZZK appears under Service, select it; otherwise choose Custom.... When the Server and Stream Key fields are shown, paste the values copied from the official guidance. The Show/Hide button toggles whether the key is visible, and the warning OBS displays for a missing key also points you to the Stream tab.
- 4Match the encoder and bitrates on the Output tabOn the Output tab, choose Simple or Advanced under Output Mode, then check the Video Encoder and the bitrates. In Simple mode the Video Bitrate and Audio Bitrate fields sit on this tab; in Advanced mode the video bitrate lives inside the encoder settings and the audio bitrate in the per-track settings, so positions differ. Enter official numbers exactly. For anything the guidance does not state, this article offers no value either, so do not raise numbers on a hunch; test with what you have.
- 5Cross-check the Video and Audio tabsPut Base (Canvas) Resolution, Output (Scaled) Resolution and FPS on the Video tab, plus the device choices on the Audio tab, next to the official guidance. Resolution and FPS must be read together with the Output tab bitrates, so confirm the combination against the official wording.
- 6Test, then start streamingClick Apply or OK in the Settings window to save (Cancel discards your changes), then press Start Streaming in the Controls dock. The OBS Quick Start Guide recommends a few minutes of testing before your first broadcast. If you see stutter or dropped frames, read the OBS Knowledge Base article Stream Connection Troubleshooting, and press Stop Streaming when you finish.
Where each value goes in OBS at a glance
| Item | OBS menu name (32.0.0 English) | Where the value comes from |
|---|---|---|
| Destination | File > Settings > Stream tab, Service | If CHZZK appears in the list, pick it; if not, pick Custom... |
| Stream server (URL) | Server field | Copy the address written in CHZZK's official help and guidance |
| Stream key | Stream Key field, Show/Hide button | Paste only your own key, obtained as CHZZK's official guidance describes |
| Encoder and bitrate | Output tab: Output Mode, Video Encoder, Video Bitrate, Audio Bitrate (Simple mode) | Enter the number exactly if the official guidance has one; leave unlisted fields alone |
| Resolution and FPS | Video tab: Base (Canvas) Resolution, Output (Scaled) Resolution, FPS | Compare against the video values in the official guidance |
| Start and stop | Controls dock: Start Streaming / Stop Streaming | Confirm with a short test broadcast once every value is in |
Pre-broadcast checklist
- I read the server (URL) and stream key myself from CHZZK's official guidance
- Service on the Stream tab is set to the CHZZK entry or to Custom...
- I switched the stream key back to hidden after pasting it
- Output and Video numbers match the official values, with no unsourced presets
- The Audio tab shows the sound devices I actually intend to use
- I ran a short test before Start Streaming and will press Stop Streaming at the end
After the broadcast: carrying on into recording
DOR is a free Windows desktop app, and it is not a tool for broadcasting or for connecting to CHZZK. Still, on a day you play a supported game such as League of Legends without streaming it, you can record the match itself, separate from any stream setup. DOR detects the game automatically and saves the full match as an mp4, and for League of Legends it also keeps highlights such as kills as automatic clips. The only factual point about OBS is that you do not have to build scenes, sources and output settings first; it is not a claim that one is better. With an NVIDIA graphics card, NVENC hardware encoding is the default, and if you talked into a mic during that match, game sound and microphone are recorded together. When a moment in the DOR recording is worth keeping, the library's trim tool lets you set a start and end and cut it in 16:9, 9:16 or 1:1. The steps are in how to trim game clips.