Search for PUBG sensitivity settings and almost everything is written for 800 DPI. Pro settings tables are dominated by it. What rarely gets explained is *why* 800, and what to do if your mouse is set to 1600. This guide covers why 800 became the standard, how to find your own sensitivity at 800 DPI, and how to set per-scope values. For the full step-by-step setup covering general, ADS, and scope sensitivity, see our PUBG sensitivity settings guide.
The short answer: what to type in at 800 DPI and what to fix by measuring
The answer first: at 800 DPI the commonly recommended starting ranges are 45–55 for general (third-person) sensitivity, 40–50 for aim (ADS), and 30–45 cm per 360. Moving from 1600 DPI to 800 you cannot simply double the number (PUBG's slider is not a verified linear scale), so enter the ratio-based estimate and then re-measure cm/360 under the same conditions to correct it. After that comes the real test. Even when the range numbers line up, whether your crosshair overshoots or falls short in a real fight only shows in the fight itself. With DOR running, it detects PUBG, records the whole match and saves kills as separate automatic clips, so put the clips from the day you changed sensitivity next to the earlier ones and compare. Below we start with why 800 became the standard, then the calculation and correction order.
Why 800 DPI specifically
It is not a magic number. 800 sits in the range where sensor noise and pointing resolution balance out best. Too low and you need huge arm sweeps while fine adjustments get coarse. Too high and hand tremor plus sensor noise get amplified straight onto your screen, making precise aim wobble. Modern sensors are stable anywhere from 400 to 1600, so you mostly just need to avoid the extremes — and 800 is right in the middle.
There is a practical reason too. Pro settings tables and community sensitivity posts are almost all written at 800 DPI, so using it lets you drop someone else's numbers straight in. A shared reference point makes comparison and discussion easy.
Record eDPI as a starting reference
eDPI records DPI and the slider value in one number, but PUBG's raw slider has no verified single linear rotation formula. It does not guarantee physical hand sensitivity; measure cm/360 in the same mode.
Enter your current DPI and in-game sensitivity below to calculate eDPI. Because this tool does not apply an unverified PUBG yaw value, measure cm/360 directly in the training range. When moving a sensitivity from another game, match the measured cm/360 rather than eDPI.
Sensitivity calculator
Match real 360° mouse travel instead of relying on eDPI alone.
Input environment calibrationLock mouse software and PC settings, then correct the model with a real measurement.0/3 manually checked
Enter the mouse travel for exactly one in-game turn to use it instead of the theoretical distance.
A web page cannot read G Hub, Synapse, or Windows mouse settings automatically. Verify the items above manually.
Polling rate changes latency and smoothness; FOV and resolution change perception. None of them belongs in the physical cm/360 formula.
Matching cm/360 preserves hipfire turn distance only. FOV, ADS, zoom, and acceleration can still change perceived aim.
Moving from 1600 DPI to 800 DPI
PUBG's raw sensitivity slider does not follow a verified single linear rotation formula, so halving DPI does not guarantee that doubling the slider exactly preserves sensitivity. Treat 1600 DPI at 25 to 800 DPI at 50 as a starting estimate only, then measure cm/360 before and after in the same mode and use the calibration tool below.
- 1Record your current setup first — Record the current DPI, sensitivity, mode, FOV, and measured cm/360 together.
- 2Estimate from the DPI ratio — Use the DPI ratio to get a starting value, but do not treat it as exact in PUBG.
- 3Confirm it in the range — Remeasure cm/360 under the same conditions and make small corrections.
Starting values at 800 DPI
Below are ranges commonly recommended for 800 DPI. They are starting points rather than answers — begin here and adjust in the range. Pick the upper end if you fight close and need to spin fast, the lower end if you mostly hold long angles.
| Setting | Sensitivity at 800 DPI | Measured check | Character |
|---|---|---|---|
| General (third person) | 45 – 55 | Measure cm/360 directly | View swings and close fights |
| ADS sensitivity | 40 – 50 | Measure directly in ADS mode | Baseline for first-person aim |
| Distance per 360° (cm) | 30 – 45cm | — | Where most pros land |
Calibrate each scope from a measured distance
As magnification rises, the narrower field of view makes the same turn look larger on screen. PUBG's internal sensitivity curve and zoom compensation cannot be converted by simply dividing a base value by magnification. Enter a target cm/360 plus the current sensitivity and measured cm/360 for each scope below to get a first correction.
Scope-by-scope measured calibration
Use measured cm/360 at each zoom level for a first-pass correction.
Once the numbers match, check it on video
Calculators give you a starting point; real fights confirm it. The problem is that mid-fight you rarely remember *why* a shot missed. Whether your aim overshot because sensitivity was too high, or whether recoil control slipped, only becomes clear on video.
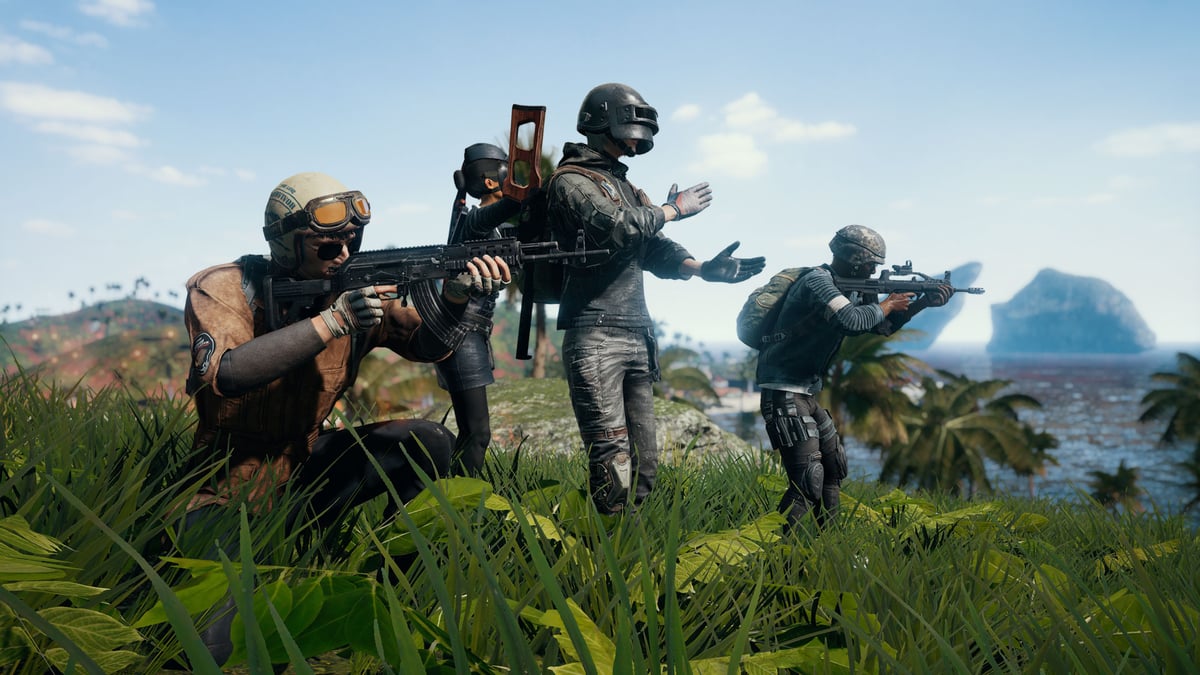
Leave DOR running with PUBG and your kills and engagements are saved as separate clips automatically. Put a clip from before and after the change side by side and you can see immediately whether your crosshair sails past the target or falls short. No setup, just launch your game — and it is free. How auto-saving works in PUBG is covered on the PUBG recorder page.
- 130 minutes in the range with the new sensitivity — Repeat recoil control and quick flicks while DOR records.
- 2Check whether you overshoot or undershoot — Constantly sailing past the target means sensitivity is too high; needing two corrections means it is too low.
- 3Adjust the slider by only 5–10% at a time — Big jumps force your hand to re-adapt. Move in small steps and hold each for about a week.
Wrapping up
800 DPI became standard because of sensor stability, pointing resolution, and how easy it makes sharing settings. But the DPI number is not the answer. Use inverse DPI scaling only as a starting estimate, then measure cm/360 before and after in the same mode and calibrate each scope from its measured distance. Make the final call in the range and on real engagement clips, not in the calculator.