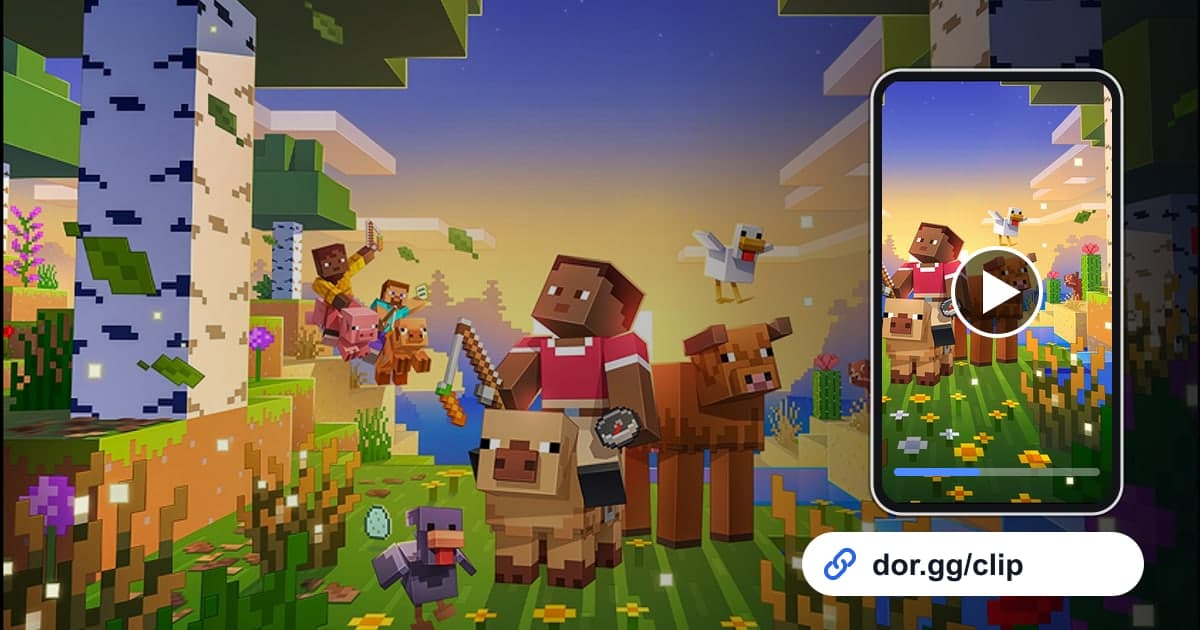
When you finish a build you worked on for days, or take down the Ender Dragon with friends, a few screenshots do not capture how you got there. This guide covers playing Minecraft on PC while DOR records it, then finding just the scenes worth showing in a long recording, trimming them, and sending them to friends as a link. Minecraft has no match boundaries, so knowing how to find scenes and how to manage disk space matters more than in other games; this guide focuses on those two things.
Send the result, or send the process
How you trim a Minecraft video depends entirely on why you are sending it. To show a result, like a finished building or a working redstone machine, a walk-around segment of a few dozen seconds is enough. But a building rising from bare ground, or a run from entering the End to defeating the dragon, only becomes a story when you cut the beginning, the tough part and the finish separately and join them. How to prepare Minecraft recording itself is covered in how to record Minecraft.
Sending a Minecraft scene as a link, in order
- 1Install DOR and launch MinecraftDOR is a free Windows desktop app; once installed, it detects Minecraft launching on your PC and starts recording automatically. Minecraft uses whole-session recording, so everything from the moment you open the game to the moment you close it is kept as one video, with no per-match highlights. If you talk with server friends on voice, your microphone is recorded along with the game sound.
- 2Check free disk space before a long sessionPlay for hours on a build or a server event and the recording grows accordingly, filling your disk fast. DOR stops recording automatically when free space falls below 20 GB, so on a day with an important event, free up plenty of space on the drive where recordings are saved before you start. Clearing out old recordings you have already shared also helps.
- 3Remember roughly when the moment happenedWith no automatic clips in Minecraft, finding a scene inside a multi-hour video takes the longest. When a moment worth sending arrives, like finishing a building or entering the End portal, note roughly how long you had been playing, and later you can jump straight to that area in the library.
- 4Trim the segment in the libraryWhen you close the game, the recording is saved as an mp4 and appears in the DOR app library. Set a start and end near the time you noted, and choose an output ratio of 16:9, 9:16 or 1:1. Scenes packed with on-screen detail, like redstone machines, are easier to read in 16:9, while a short narrow escape your friend will watch on a phone suits 9:16.
- 5Split an Ender Dragon run into three and mergeEntering the End and defeating the dragon takes a while, so sending it whole tends to drag. Cut the portal entry, the tough part such as breaking End Crystals or surviving a close call, and the dragon going down as separate segments, then merge them in DOR Studio, which opens in a browser with no install. A line of text between segments makes the flow easy to follow.
- 6Show a finished build alongside its first blocksRather than showing only the finished building, putting a short shot of bare ground or the foundation in front makes it obvious how much you built. Merge the start, middle and finished segments in the studio and balance background music against the original sound. If a friend wants to edit the process themselves, you can download the segment they need as an mp4 and hand it over.
- 7Send the dor.gg link to your server friendsPaste the finished video's dor.gg link into the messenger or Discord chat where your server friends gather. Instead of passing around hours of raw footage, only the link to the trimmed scene travels, so friends can rewatch the event in a phone browser even when they are not logged in to the game.
Where each Minecraft scene sits in the recording, and what to fix before sharing
| Situation to show | Clue for finding it in the recording | What to fix before sharing |
|---|---|---|
| Finished build | When you place the last block and look around | Put a short ground-breaking shot before it to show the contrast |
| Raw build footage | From when you started working to when you stopped | Download the segment you need as an mp4 and hand it to a friend who edits |
| Server event with friends | When friends logged in and gathered in one place | Check that no one's personal details show in the chat |
| Ender Dragon kill | From when you entered the End portal | Cut into three segments, entry, tough moment and kill, and join them |
| Redstone machine demo | When you first flipped the lever or pressed the button | Keep it 16:9 so the sequence fits on one screen |
| A narrow escape | Around the moment your health dropped sharply | Include a few seconds before the danger so it makes sense |
Before you send a Minecraft video
- Before a long session, I checked that the recording drive has comfortably more than 20 GB free.
- I noted roughly when the scene I want to send happened.
- The finished build video includes a short ground-breaking or foundation shot.
- The Ender Dragon video runs until the dragon goes down.
- No one's unwanted details show in the server chat or name tags.
- In the redstone video, the whole operating sequence fits on screen.
How DOR records Minecraft
DOR is a free Windows app: launch Minecraft and it detects the game and saves everything from launch to exit as one mp4 in the library. There are no matches in this game, so there are no automatic highlight clips; you find the scene in the recording and pull it out with the trim tool. The disk tends to fill quickly, and recording stops automatically when free space drops below 20 GB. Tips for reducing stutter over hours of recording are in recording long gameplay sessions. With an NVIDIA graphics card, NVENC hardware encoding is the default. Pass your polished scene along as a dor.gg link, and a friend who opens it watches in a browser with nothing to install. If you are looking for a server to hold events on, see the Minecraft server finder.