DOR install होने के बाद War Thunder अपने आप record होता है: game launch करें और बाकी DOR संभाल लेता है। न record button, न replay file ढूँढने का झंझट, क्योंकि vehicle चुनने वाले hangar से लेकर battle results screen तक DOR सब capture करता है।
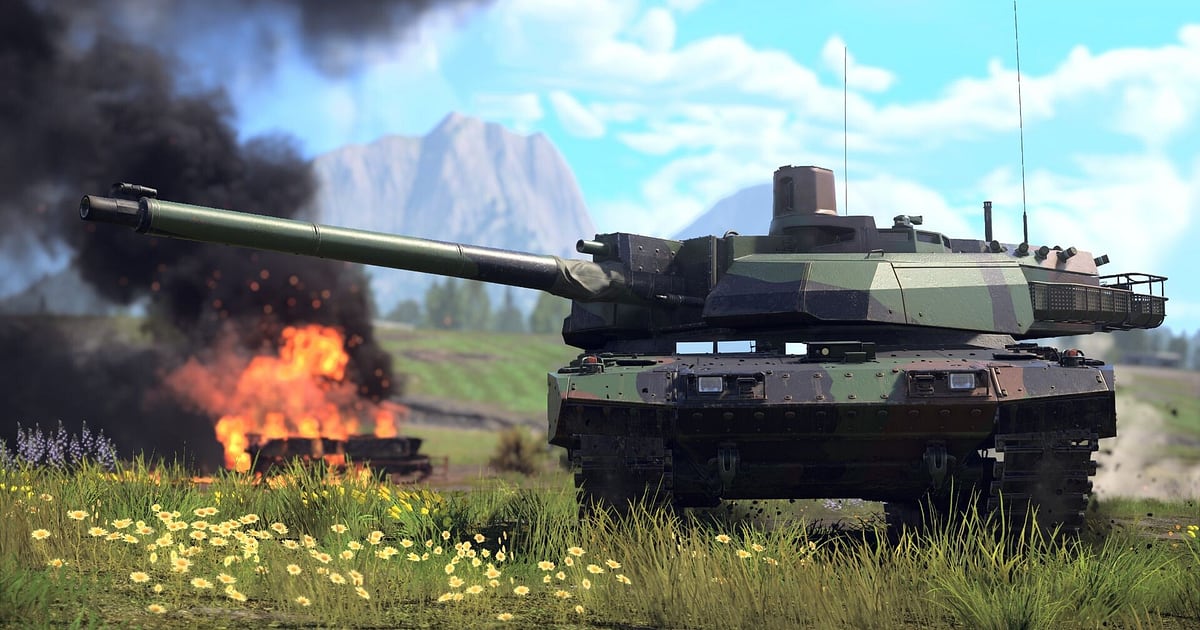
Tank में ground battles खेलें, air battles के लिए plane पर जाएँ और उसी दिन बाद में ship निकालें, recording चलती रहती है। Realistic ground battles में side armor में लगा shot जिसने ammo rack उड़ा दिया, और tail chase के आखिर में wing काट देने वाली dogfight, दोनों video में आ जाते हैं।
यह गाइड पहली बार War Thunder record करने वालों के लिए है। इसमें तैयारी, recording confirm करना, kills save करना, hangar screen से battles ढूँढना, season record video बनाना, replays record करना और heavy game के लिए settings शामिल हैं।
- Hangar से पहली sortie से आखिरी results screen तक पूरे दिन के tanks, planes और ships एक video में रखें।
- Turret ring से ammo rack one shot या dive bombing run की direct hit को अलग clip के रूप में save करें।
- AI Voice Notes से 'दाएँ ridge पर Tiger' जैसी squad calls ढूँढें और सीधे उस fight पर जाएँ।
- Ground one shots, air kills और ship torpedo hits मिलाकर एक season record video बनाएँ।
- Free camera में दोबारा देखे गए replays भी record करें और उन्हें cinematic edits के material की तरह इस्तेमाल करें।
War Thunder record करने से पहले: install और recording mode
War Thunder record करने के लिए बस DOR चाहिए। यह free Windows app है, और PC पर save होने वाली recordings में watermark नहीं होता।
War Thunder में full session recording होती है, तो hangar में vehicle चुनने का समय, battle loading, battles और results screens, सब एक battle एक file की जगह एक video में जाते हैं। Simulator battles जैसे लंबे matches भी record होते रहते हैं।
हाँ, hangar और battlefield के बीच घंटों खेलने पर file बड़ी होती जाती है, तो अगर game वाली drive में जगह कम है, recording save location बदलने से recordings को बड़ी drive पर भेजें। नीचे की table में पहली War Thunder recording से पहले check करने वाली बातें हैं।
| Item | War Thunder के लिए | Notes |
|---|---|---|
| Install | DOR, free Windows app | आपकी recordings पर कोई watermark नहीं |
| Game version | Steam पर Windows PC version | आपके PC पर चल रहे War Thunder को DOR detect करके record करता है |
| Recording mode | Full session recording | हर battle की अलग file नहीं, launch से exit तक एक video |
| Display mode | Fullscreen, windowed और borderless सब record होते हैं | Game capture block हो तो monitor capture पर switch हो जाता है |
| Resolution और frame rate | Default 1080p 30fps | 60fps भी मिलता है, और हल्का 720p/30fps mode भी |
| Storage | 30 second के 1080p clip के लिए लगभग 30MB | लंबे sessions के लिए recording drive पर भरपूर free space रखें |
DOR से War Thunder record करें: step by step
- 1DOR install करेंDOR download करें, install करें और चलता छोड़ दें। अगर squad के साथ voice पर calls देते हैं, तो confirm करें कि DOR में आपका headset mic select है। Game audio और आपका mic एक ही video में साथ record होते हैं।
- 2War Thunder launch करें और hangar खोलेंSteam से War Thunder शुरू करें, DOR game detect करके तुरंत recording शुरू कर देता है। जहाँ vehicles और BR चुनते हैं वो hangar screen भी capture होती है, तो battle button दबाने से पहले कुछ करने की ज़रूरत नहीं।
- 3पहली sortie से पहले recording check करेंपहली battle load होने से पहले एक बार DOR app खोलकर confirm करें कि recording चल रही है। अगर game detect न हो, तो recorder game detect न करे तो क्या करें follow करें। उसके बाद battlefield पर focus करें।
- 4Kill cam आते ही clip save करेंजब kill cam में दुश्मन का turret उड़ता दिखे, या dogfight के आखिर में दुश्मन का plane गिरा दें, तो battle खत्म होने से पहले clip save shortcut दबाएँ। आखिरी हिस्सा अलग clip के रूप में save होता है, तो battles से भरे session को शुरू से scroll करने की ज़रूरत नहीं पड़ती।
- 5Quit करें और My Clips खोलेंआखिरी results screen देखें और game बंद करें। Session video और save किए सारे clips DOR app के My Clips में साथ दिखते हैं। जिन battles को clip करना भूल गए, वो भी session video में हैं।
अपनी recordings ढूँढें
Recordings DOR app के My Clips में मिलती हैं, जिसे library भी कहते हैं। War Thunder हर बार खोलने और बंद करने पर एक session बनता है, और clip save shortcut से save किए moments अलग clips के रूप में दिखते हैं।
लंबे session में कोई खास battle ढूँढनी हो, तो results screen पार करके hangar में लौटने के पल को battles के बीच की सीमा मानें। याद रखें कि वो कौन सी battle थी, hangar screens गिनें, और आप सीधे उसकी शुरुआत पर पहुँच जाते हैं।
Ground battles में vehicle खोने पर अगला vehicle चुनने की screen आती है, तो बाल बाल बचने वाला moment उस hit के ठीक बाद है जहाँ selection screen नहीं आई। Start और end point set करके scene trim करें, फिर 16:9, 9:16 या 1:1 में export करें। पूरा तरीका game clips कैसे trim करें में है।
जो kills रखने हैं उन्हें Like करें। जगह भरने पर पहले वो पुराने videos साफ़ होते हैं जिन्हें आपने Like नहीं किया।
जो moments रखने हैं उन्हें save करें
हर battle record होने पर भी, kills उसी पल clip कर लें तो ढूँढना बहुत आसान हो जाता है। Clip save shortcut दबाएँ और आखिरी हिस्सा clip के रूप में save हो जाता है। Default length 30 seconds है, और settings में 15, 30, 45 या 60 seconds चुन सकते हैं।
हर branch के लिए अलग length ठीक बैठती है। Gunner sight खोलकर एक round में खत्म किए tank one shot के लिए 15 seconds काफ़ी हैं, जबकि cover से आते दुश्मनों को एक एक करके गिराने वाला ambush, या dive की शुरुआत से pull out तक का bombing run, 30 seconds में आता है।
लंबे turn fight के बाद जीती dogfight, torpedoes से डुबाया ship, या match पलटने वाला आखिरी capture point, इनके लिए 45 या 60 seconds करें ताकि पहले का build up भी आ जाए। Length settings आखिरी कुछ seconds तुरंत save करना में हैं।
AI Voice Notes से बोली गई बातें ढूँढें
Squad sorties में ऐसी calls भरी रहती हैं: 'दाएँ ridge पर Tiger', 'turret ring पर मारो, एक shot में खत्म', 'B point खाली है, अभी जाओ' और 'मेरी tail पर एक है, हटाओ इसे'।
DOR game audio और आपका microphone साथ record करता है, और AI Voice Notes इन calls को recording timeline पर text के रूप में लिख देता है। Match के बाद ढूँढें कि ridge वाले tank की call सबसे पहले किसने दी, या tail से मदद माँगने के बाद cover कब आया, और उस line को select करके सीधे उस scene पर पहुँचें।
हार का review करते समय calls को screen पर असल में हुई चीज़ों से मिला सकते हैं, जिससे अगली sortie की planning में मदद मिलती है। अगर mic धीमा सुनाई दे, तो mic audio के साथ games record करना से input device check करें।
AI Highlight से montage बनाएँ
हर battle में save किए clips से सिर्फ़ kills का montage बनाएँ। Library में ammo rack one shot, dogfight tail chase, dive bombing hit, अचानक हुआ capture, hits खाने के बाद बाल बाल बचकर पीछे हटना और ship torpedo hit के clips check करें, फिर AI Highlight select करें।
DOR इन्हें जोड़कर एक video बना देता है। Season record video के लिए ground one shots और air kills मिलाएँ, या किसी एक vehicle के clips इकट्ठे करके दिखाएँ कि आप उसे कैसे खेलते हैं। Order खुद तय करना हो, तो game clips कैसे merge करें देखें।
DOR Studio में edit करें
DOR Studio बिना कुछ install किए browser में खुलता है। Round लगने के पल से turret उड़ने तक trim करें और shake zoom लगाएँ। Punch zoom उस frame पर जमता है जहाँ दुश्मन का plane आपकी sights में आता है, और handheld effect gunner sight view पर ठीक बैठता है।
Vehicle का नाम और BR text में डालें, नीचे cinematic background track रखें, battles के बीच glitch transitions लगाएँ, और आपका War Thunder edit तैयार। चौड़े आसमान और terrain वाले shots 16:9 में सबसे अच्छे लगते हैं, जबकि phones के लिए single kills 9:16 में ठीक हैं; framing tips vertical Shorts के लिए games record करना में हैं। Result को mp4 में download करें या तुरंत link share करें।
dor.gg link से share करें
Trim किए moments dor.gg links के रूप में भेजें। जो भी link खोलता है वो बिना app के browser में ही चला लेता है। Squad के Discord या clan chat में ताज़ा one shot post करते समय vehicle और map की एक line जोड़ें।
War Thunder में कौन सा vehicle और कौन सा map, उतना ही मायने रखता है जितना shot खुद, और वो line दूसरों को अपने vehicle में वही play try करने देती है। हर branch के लिए कौन से scenes काटें और कितने लंबे रखें, यह War Thunder kill videos share करना में है, और Discord पर post करना Discord पर clips share करना में।
War Thunder recommended settings और troubleshooting
War Thunder graphics card पर भारी पड़ता है, तो recommended spec या उससे ऊपर पर game frame rate और recording दोनों stable रख सकते हैं। Recording के लिए default 1080p 30fps काफ़ी है। Smooth turn fights के लिए 60fps चुनें, या PC limit के करीब हो तो 720p/30fps mode।
RTX series जैसे supported NVIDIA graphics cards पर DOR NVENC hardware encoding से record करता है, तो in game frame rate पर असर कम रहता है। Game में replay चलाएँ तो DOR वो screen जैसी है वैसी record करता है, तो free camera और missile tracking views, और HUD छुपाए replays भी video में आ जाते हैं।
घंटों चलने वाले sessions के लिए बिना stutter लंबा gameplay record करना देखें। अगर anti cheat game capture block करे, तो DOR monitor capture पर switch हो जाता है। DOR में कोई cheat feature नहीं है और यह आपकी game files या play data को कभी छूता नहीं।
| Symptom | क्या check करें | Fix |
|---|---|---|
| Recording black screen है | Game settings में display mode | DOR fullscreen, windowed और borderless record करता है, और game capture block होने पर monitor capture पर switch हो जाता है। fullscreen recording ठीक करना follow करें। |
| बड़ी fights में frame rate गिरता है | In game graphics settings और recording frame rate | Recording को 720p/30fps mode पर करें और recording के दौरान FPS drop ठीक करना follow करें। |
| घंटों खेलने के बाद files बड़ी हो जाती हैं | Recording resolution और drive का free space | सिर्फ़ kills clip करें और game recording file size कम करना देखें। |
| आपको replay view भी चाहिए | Game में replay playback | DOR चलते हुए replay play करें, free camera view जैसा है वैसा record होता है। |
| डर है कि recorder से account पर असर पड़ सकता है | DOR कैसे काम करता है | DOR सिर्फ़ screen capture करता है, इसमें कोई cheat feature नहीं है और यह game files या play data बदलता नहीं। |