To blur only part of a video, apply a blur (or mosaic) effect to the clip, then use a mask so the effect shows only inside the area you draw. The tools whose official guides document this are Premiere Pro and CapCut on desktop, and anything that moves, such as a nickname or chat box, needs mask tracking to stay covered. This guide assumes Windows 11 and a gaming clip where you want to hide names or chat; if you have never opened an editor, skim gaming video editing for beginners first so timeline and track terms feel familiar.
The short answer: mask the effect, track it if it moves
A blur effect applied on its own covers the whole clip, so the mask is what limits it to the part you want hidden. If you already use an editor, check whether it has masks before switching, and if you have not picked one yet, compare options in free video editors for gaming clips. Menu names change between versions, and everything here reflects official guides as checked on October 6, 2026. Adobe's mask-creation page was last updated January 7, 2026, its mask-properties and tracking pages on March 9, 2026, and the CapCut guides are dated August 27 and 31, 2026.
Blur part of a video in Premiere Pro and CapCut
- 1Apply the effect in Premiere Pro — With the clip on the timeline and showing in the Program Monitor, select it in the Timeline panel. Open Window > Effects, choose the effect and drag it onto the clip. Adobe's example is Video Effects > Stylize > Mosaic; for a soft blur, use Gaussian Blur from the Blur and Sharpen list.
- 2Draw the mask in Effect Controls — Open the Effect Controls panel and use the dropdown arrow beside the effect name to expand its controls. Create a shape mask with the Ellipse, Rectangle or Polygon tool, or draw one by hand with the Pen Tool, where each click adds a vertex and Alt+click on a vertex makes a Bezier point. The mask shows in the Program Monitor and the effect is limited to it. A horizontal nickname strip is simple to cover with the Rectangle tool.
- 3Refine the edge and strength — Use the properties under the mask name. Feather softens the mask edge, and dragging the handle outside the dotted guide increases it. Expansion grows the masked area when positive and shrinks it when negative. Opacity is described as the opacity of the mask effect. Invert flips masked and unmasked areas, so if the blurred side looks backwards, check this setting first. Raise the Blurriness value in Effect Controls to strengthen Gaussian Blur.
- 4Track the mask if the target moves — When the target moves on screen, select the mask in Effect Controls, expand its properties and click Track selected mask forward and backward. Afterward, play the clip from the start in the Program Monitor, look for stretches where the mask drifts off the target, and adjust the mask or keyframes there.
- 5Duplicate the clip in CapCut and add Blur below — Put the video on the timeline, right-click it, choose Copy, then paste to create a second track. In the Effect tab open Video effects, search Blur and drag it onto the lower (original) track. Use the slider in the right panel for strength and drag the edges of the effect bar to choose where it applies.
- 6Add a Mask and Reverse on the upper track — Select the upper track and pick a shape such as Rectangle or Circle under Mask in the Video tab of the right panel, with the playhead at the start of the clip. Drag the mask edges in the Player window until they sit over the area to blur, then click the Reverse button at the top right of the mask panel.
- 7Check movement in CapCut, then Export — For a moving target, CapCut's face-blur guide describes selecting the Mask, then Track mask > Track so the mask moves automatically. That guide's overall flow differs from the steps above, so read it in full before using the feature. Play the result back, then click Export at the top right.
Ways to blur part of a video (only what official guides document)
| Tool | Method documented officially | Worth knowing |
|---|---|---|
| Premiere Pro (mask) | Place the clip on the timeline, open Window > Effects, pick an effect and drag it onto the clip. Adobe's example is Video Effects > Stylize > Mosaic, and Gaussian Blur appears in its Blur and Sharpen effects list. In Effect Controls, draw a mask with the Ellipse, Rectangle or Polygon tool or the Pen Tool, and the effect is limited to the masked area. | Under the mask name you get Feather, Expansion, Opacity and Invert, which flips the masked and unmasked areas. |
| Premiere Pro (mask tracking) | In Effect Controls, select the mask, expand its properties and use the tracking buttons, starting with Track selected mask forward and backward. Backward, forward and one-frame options also exist. | Adobe names blurring faces as a use and says results are best when the masked area holds a subject with clear edges and high contrast. Review the result in the Program Monitor. |
| CapCut desktop (duplicate + Mask) | Put the video on the timeline, copy and paste it to make a second track. In the Effect tab under Video effects, search Blur and drag it onto the lower (original) track. On the upper track, choose Rectangle or Circle under Mask in the Video tab, fit it over the area to blur, then click Reverse. | Blur strength is a slider in the right panel, and you drag the edges of the effect bar to set where it applies. Based on CapCut's own guide (dated August 31, 2026). |
| CapCut desktop (moving target) | Another CapCut guide (dated August 27, 2026) says to select the mask, choose Track mask, then click Track, and CapCut moves the mask automatically. For faces it also lists Face Mosaic and Phantom Face under Effects > Body effects. | That guide first blurs the whole video, exports it and re-imports it, so its flow differs from the duplicate method above. Follow one method, not a mix. |
| Clipchamp | We could not confirm a blur procedure in the official documentation. Elements baked into a video cannot be deleted directly; the documented way to hide them is to place a sticker, a colored background or text with a solid background over them. | Elements at the edge of the frame can be removed by cropping the video: use the crop button on the floating toolbar, drag the handles, then press done. |
Check these before you export
- Decide first whether the target stays still or moves. Moving targets need mask tracking in Premiere Pro or Track mask in CapCut, and Adobe says tracking works best on a subject with clear edges and high contrast.
- After tracking, play the clip from start to finish in the Program Monitor and look for frames where the mask misses part of the nickname or chat text, then adjust the mask and keyframes if needed.
- Make sure the mask covers all of the text. A positive Expansion grows the area outward, so after softening the edge with Feather, confirm the letters are still fully covered.
- If the blurred side comes out backwards in Premiere Pro, check the Invert setting first, which flips masked and unmasked areas; in CapCut, check the Reverse setting.
- The FAQ in CapCut's face-blur guide says that once you blur and save without keeping the original, restoring it is generally not possible. Keep the original file separately and make the blurred version a copy.
- Play the exported file yourself from start to finish and confirm the information you meant to hide never shows, even for one frame. A blur is not guaranteed to prevent exposure, so the final check is by eye.
Before the blur: recording that builds your originals
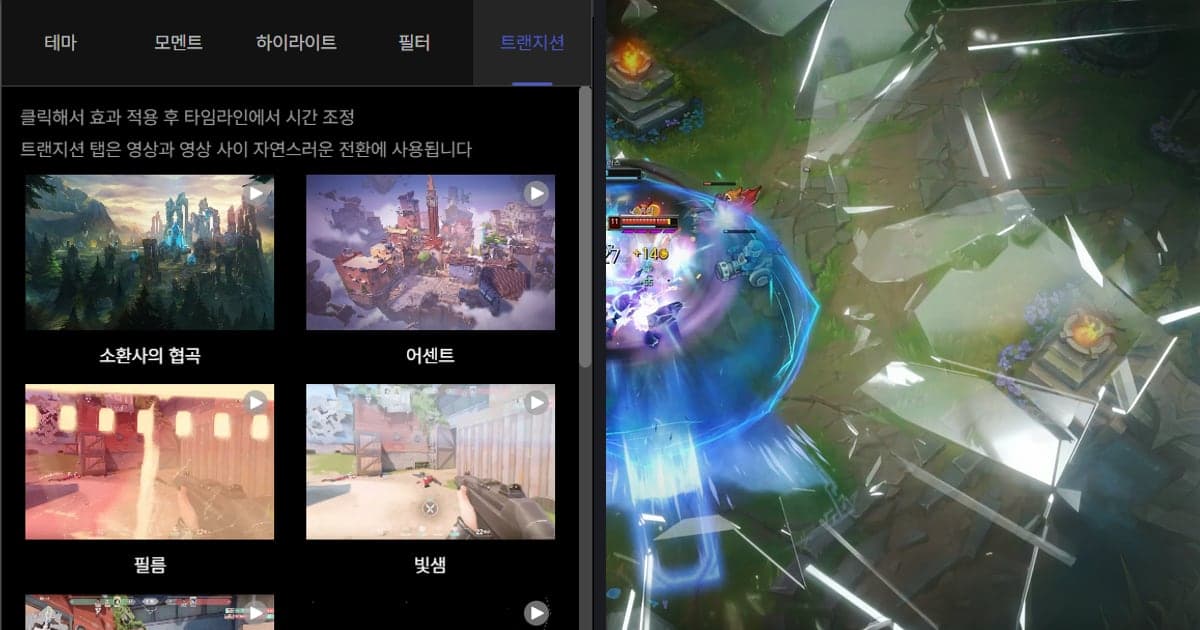
The blur steps in this guide use Premiere Pro and CapCut, and DOR covers the stage before them: recording, plus what its browser studio offers. DOR detects supported games and automatically records the full match as mp4, and in seven games (VALORANT, League of Legends, PUBG, FC Online, Fortnite, Counter-Strike and Overwatch) it also creates highlight clips such as kills automatically. Recordings collect in the app library, so you can start blurring from a copy and leave the original untouched, and keeping only the stretch around the scene to hide on the editor timeline leaves less footage to mask. Finishing touches like adjusting length, text and background music can be done without installing anything in the DOR browser clip editor. On NVIDIA graphics cards NVENC hardware encoding is the default, and game sound and microphone are recorded together, so after covering a nickname on screen, listen for whether the name can still be heard in voice.
Official sources and how this was checked
Checked on October 6, 2026. The Premiere Pro steps follow Adobe's Create masks help page and its mask-properties and track-masks pages, Gaussian Blur and the Blurriness value follow the Blur and Sharpen effects page and the focus pull tutorial in the same help, the CapCut steps follow CapCut's blur-video guide and its face-blur guide, and the Clipchamp way to hide elements follows Microsoft's page on removing elements. Menu names are shown in English as in those pages. They can differ between versions, so check the help page for the version you use.