The fastest way to turn a 16:9 gameplay clip into a vertical Short or TikTok is to open it in CapCut desktop, switch Ratio to 9:16, run Auto reframe under Basic, and click Export. Inside CapCut that is five steps even with auto captions; the walkthrough below lists six because the last one is the upload. This guide covers only the clicks inside CapCut desktop; the tool-agnostic decisions, such as crop versus side blur, where to place the crop and what resolution to record at, are in how to make a vertical (9:16) game video. Every menu label below is quoted from CapCut's official help and resource pages as of September 16, 2026, and where the docs disagree between app versions both spellings are given.
Bottom line: vertical conversion takes three steps
Here is the minimum. (1) Import the clip into CapCut desktop and pick 9:16 under Ratio. (2) Choose 9:16 in Auto reframe inside the Basic section, or use Crop on the toolbar above the timeline (fixed 9:16) and Resize so the kill feed and minimap stay inside the frame. (3) Click Export at the top right, check Resolution, Frame rate and Bitrate, and save. If you need subtitles, add one pass through Captions (or Text) > Auto captions > Generate/Recognize in between; styling and fixing misheard words is covered in how to add subtitles to game clips. If your goal is simply to collect kill clips, cut them to 9:16 and share a link, none of this setup is required: leave DOR running and, for the seven auto-clip games such as VALORANT and LoL, highlights become clips on their own, with 9:16 available right in the library, and you open CapCut only when you want auto captions or keyframe animation on top.
CapCut desktop: the vertical workflow
- 1Import the clip — Open CapCut desktop (Windows 10 64-bit or later), start a new project, and use Import in the Media section on the left to load your 16:9 gameplay clip, then drag it onto the timeline.
- 2Switch Ratio to 9:16 — Select 9:16 under Ratio and the canvas flips to portrait. Landscape footage leaves empty space on a portrait canvas; CapCut's official resource page says you can fill that space with blurred edges, a solid color or a custom visual.
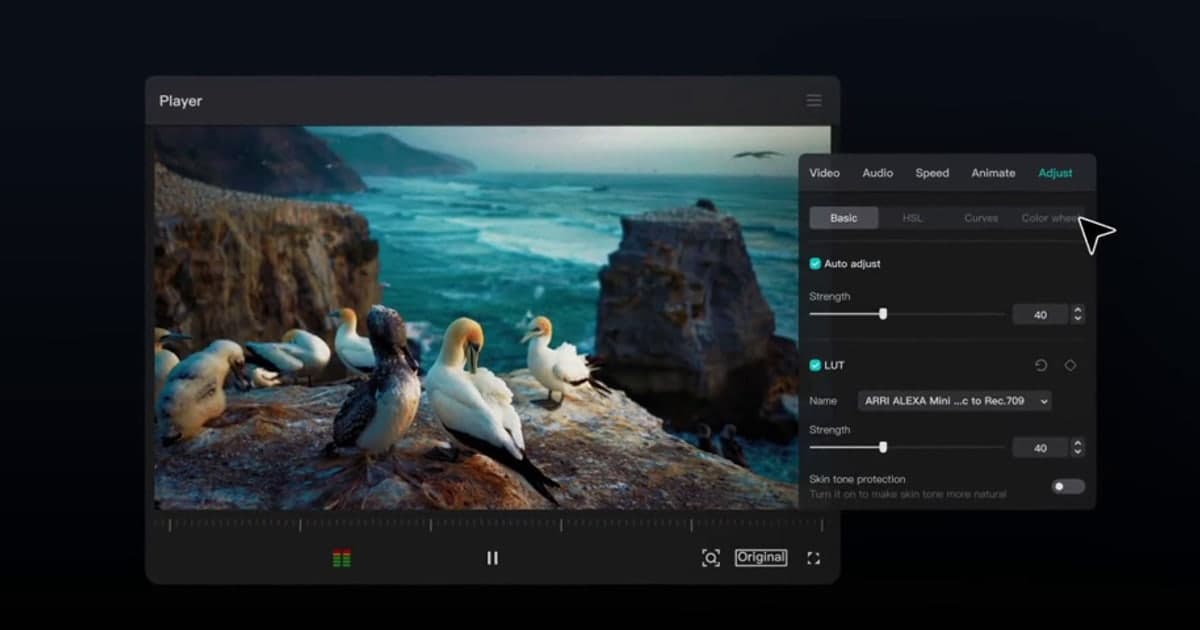
- 3Place the frame with Auto reframe or Crop — Under Basic, open Auto reframe and pick 9:16 to let CapCut reframe the shot; you can then Export directly or choose Import as new project. To place it yourself, click Crop on the toolbar above the timeline and pick the fixed 9:16 ratio, or use Resize to scale and drag. A vertical canvas cuts off the left and right sides, so check the preview to make sure the kill feed, minimap and crosshair are not pushed out of frame.
- 4Generate auto captions — Open the Captions tab, choose Auto captions, select the audio source and language, and click Generate. Depending on the app version the same feature appears as Text > Auto captions > Recognize, so follow whichever you see. Double-click a caption block on the timeline to fix timing or text. CapCut's help notes that background noise, accents, fast speech and low audio quality raise the error rate, so check the segments with heavy gunfire most carefully.
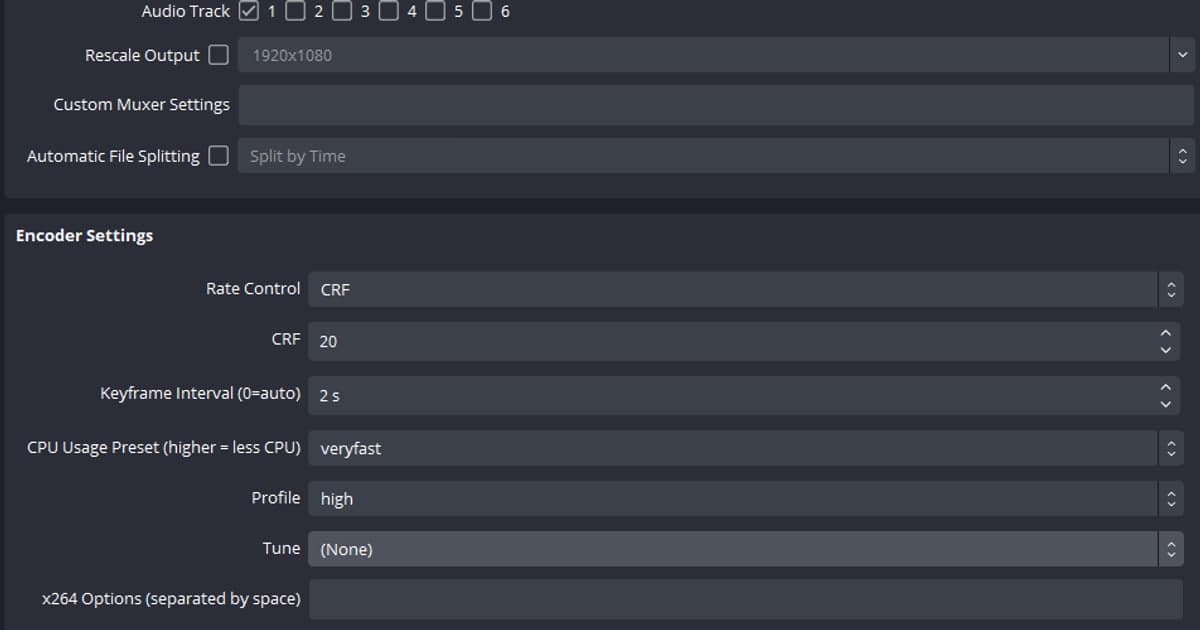
- 5Export — Click Export at the top right. The panel lists Resolution, Frame rate, Bitrate, Codec and Format. The official help says 2K (2560x1440) and 4K (3840x2160) are available and frame rate goes up to 60fps depending on the source. The docs do not list the individual option values, so pick them in the app, and remember that Shorts accept at most 1080p.
- 6Upload to Shorts or TikTok — In YouTube Studio click Create at the top right, then Upload videos, and pick your file; anything square or vertical and up to three minutes is classified as a Short automatically. For TikTok, go to www.tiktok.com/tiktokstudio, click Upload at the top, choose the MP4, and adjust the caption, cover and audience settings.
Shorts and TikTok vertical specs (official help pages checked September 16, 2026)
| Platform | Aspect ratio and resolution | Length and size limit |
|---|---|---|
| YouTube Shorts | Square or vertical aspect ratio; maximum upload resolution 1080p (per YouTube Help "Get started creating YouTube Shorts") | Up to three minutes (uploads from October 15, 2024 onward) |
| TikTok (TikTok Studio web upload) | MP4 or WebM, 720x1280 or higher (the official page states no ratio figure) | Up to 30 minutes, under 10 GB |
| Instagram Reels | Check Instagram's official help center (not covered in this guide) | Check Instagram's official help center |
Pre-export checklist
- Canvas is 9:16, and if you kept the landscape frame instead of using the fixed 9:16 Crop, the empty top and bottom are filled with blurred edges or a solid color
- Kill feed, minimap and crosshair are all visible in the preview
- For Shorts: up to three minutes and 1080p or lower
- For TikTok web upload: MP4, at least 720x1280, up to 30 minutes and under 10 GB
- No templates or premium stickers, transitions or filters were used (they add a watermark)
- Misheard words in the auto captions were corrected on the timeline
DOR covers the source clips automatically and the 9:16 cut in its library
Half of the workflow above is really 'get a clip worth posting', and CapCut does not help with that. DOR is a free Windows app that detects supported games such as VALORANT, League of Legends, PUBG and Overwatch, records the full match to MP4 (NVENC hardware encoding is the default), and for seven games (VALORANT, LoL, PUBG, FC Online, Fortnite, Counter-Strike, Overwatch) cuts kills and other highlights into clips on its own (VALORANT also gets round clips); how DOR auto-highlight clips work explains the details. In the library, the trim tool lets you set start and end points and choose a 9:16 output ratio, then share the result as a dor.gg link. DOR Studio in the browser (dor.gg/studio, no install, free) goes further: merge several clips, pick the TikTok/Shorts/Reels vertical ratio, add text, background music and volume changes, then download an MP4 or share a link (clips must be at least 3 seconds and under 500 MB). So the practical flow becomes: kill clips are automatic in DOR, the 9:16 cut with text and BGM happens in Studio, and you bring that MP4 into CapCut only when you want auto captions, keyframe animation or precise in-frame placement. DOR records supported games only, so for anything else start from the CapCut steps directly.
Official sources checked
Shorts criteria come from YouTube Help on what counts as a Short, TikTok web upload requirements from TikTok Help on creator tools, and the export options from CapCut Help on exporting videos, all read on September 16, 2026. The 1080p upload cap for Shorts is stated in the same help center's "Get started creating YouTube Shorts" article. CapCut desktop does not publish a version number on these pages, so this guide is dated rather than versioned; if a label changes, the same help pages are where to re-check.