The fastest way to edit game clips in the free version of DaVinci Resolve is to create a new project, set Timeline frame rate in Project Settings to the fps you recorded at (for example 60), pull highlights on the Cut page, and render with the YouTube 1080p preset on the Deliver page. Get those three points right and a 1080p60 gameplay video never touches a paid Studio feature. As checked on September 16, 2026, the current major version is DaVinci Resolve 21, and the official product page states that the free version works with virtually all 8-bit video formats at up to 60fps in resolutions as high as Ultra HD 3840 x 2160. If you have not settled on an editor yet, start with our free video editor comparison for gaming; this guide assumes DaVinci is installed and covers only the DaVinci-specific procedure. The trap to know up front: a new project defaults to 1920 x 1080 HD at 24fps, so a 60fps recording will mismatch unless you change it, and once the first file lands in the Media Pool that setting is locked (per the Resolve 21 Reference Manual).
Verdict: the free version is enough for 1080p60 game clips
The minimum procedure has four steps. First, click New Project in the Project Manager. Second, open Project Settings with the gear button at the bottom right of the page bar (or File > Project Settings), and under Master Settings set Timeline resolution to 1920 x 1080 HD and Timeline frame rate to your recording's fps. When you import the first clip and its frame rate differs, a dialog asks whether to change the project: click Change to match the media or Cancel to keep your setting. Third, on the Cut page, switch the viewer to Source Tape, scrub the whole bin, mark In and Out, and press Append to add each moment to the end of the timeline. Fourth, on the Deliver page pick the YouTube 1080p preset and click Add to Render Queue, then Render All, for an MP4 with H.264 video and AAC audio. Because the free ceiling is 8-bit, 60fps and Ultra HD 3840 x 2160, the same steps cover 4K60 8-bit recordings too. If terms like trim, ripple and transition are new to you, read the beginner's guide to gaming video editing first. And if your goal stops at cutting a kill, picking an aspect ratio and sharing a link, you can skip every setting above: DOR auto-records supported games, auto-clips highlights in some of them, and its browser studio handles trim, merge, ratio, text and BGM, while node color grading, audio filters and Fusion remain DaVinci territory.
Project Settings, Cut, Render in six steps
- 1Create a new project — Launching DaVinci Resolve opens the Project Manager. Click New Project at the bottom, type a name, check the Media Location (Change Location lets you move it), and click Create. One project can hold several timelines, so a project per game or per week keeps source footage tidy.
- 2Match resolution and frame rate to your source in Project Settings — Click the gear button at the bottom right of the page bar or choose File > Project Settings (Beginner's Guide 20 also lists Shift-9). Under Master Settings > Timeline Format set Timeline resolution to 1920 x 1080 HD and Timeline frame rate to the fps of your recording, 60 for a 60fps capture. Remember the default is 24fps. For a vertical TikTok or Shorts cut of a Valorant clip, tick Use vertical resolution to swap width and height (a 1920 x 1080 HD timeline becomes 1080 x 1920); Beginner's Guide 20 also notes that the Quick Export window lists a TikTok preset next to YouTube, Vimeo and Dropbox. The manual says to choose a frame rate before importing media: once files are in the Media Pool, this setting cannot be changed.
- 3Import clips and handle the first-import dialog — Drag your recordings into the Media Pool on the Media or Cut page. The first time you import into an empty Media Pool, if the media frame rate does not match Timeline frame rate, a dialog asks whether to change the project. Click Change to match the media or Cancel to keep your setting. This prompt appears only for the first clip in a project, never for later files, so afterwards check each file yourself via the Clip Info dropdown at the bottom right of a Media Pool thumbnail (Resolution, Frame Rate, Codec) or the List view columns.
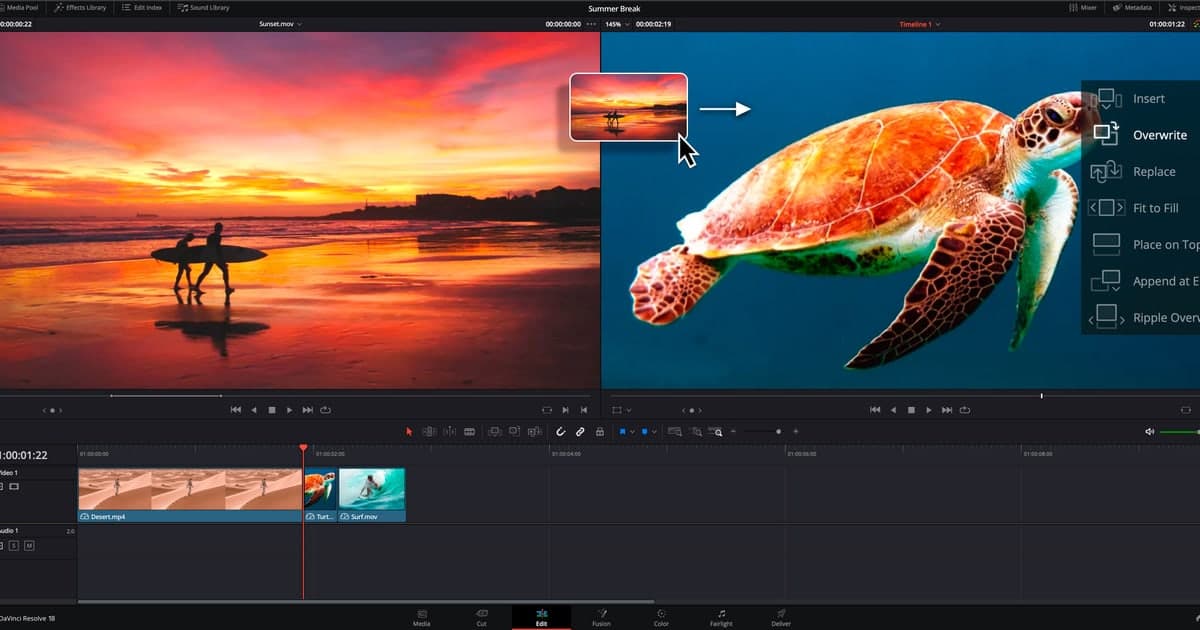
- 4Pull highlights with Source Tape on the Cut page — For pulling many short moments out of long recordings, the Cut page beats the Edit page. Turn on Source Tape at the top of the viewer and every clip in the current bin and its subfolders is shown as one continuous stringout in the scroll area under the viewer, so you scrub through everything without opening clips one by one. Press I and O around a moment, then click Append among the edit buttons under the Media Pool: it ignores the playhead and always adds after the last clip on the timeline. To drop something in the middle, Smart Insert places it at the edit point nearest the playhead. Q toggles between the Timeline viewer and the Source viewer.
- 5Split and delete to tidy the timeline — On the Cut page, move the playhead and click the Split Clips scissor icon at the far left of the edit commands, or press Ctrl-\ on Windows. On the Edit page, Ctrl-\ splits clips on tracks with Auto Select enabled; to razor several clips, press B for Razor Edit mode and click. There are two deletes, and the manual names them with macOS keys: the Delete key (or the right-click menu's Delete) lifts the clip and leaves a gap, while Forward Delete performs a ripple delete that closes the gap. A Windows keyboard has no key named Forward Delete, so check which keys are bound to Delete and Ripple Delete under DaVinci Resolve > Keyboard Customization. For a highlight reel you almost always want the ripple delete.
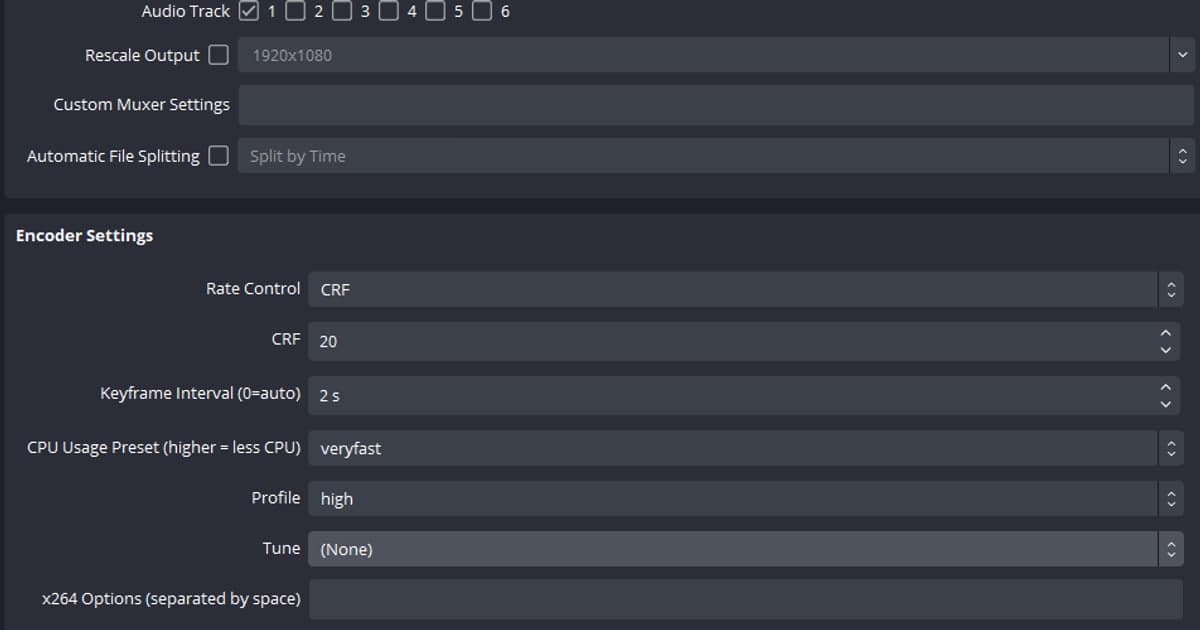
- 6Render with the YouTube 1080p preset on the Deliver page — In Render Settings on the Deliver page pick the YouTube 1080p preset (the arrow menu beside the preset offers 720p, 1440p and 2160p). It uses Format MP4, Video Codec H.264, Encoding Profile High and Audio Codec AAC, and renders a single clip at the timeline's frame rate. Set File Name and Location with Browse, confirm Resolution and Frame Rate match the timeline, optionally enable Normalize Audio, then click Add to Render Queue and Render All in the Render Queue. The manual notes that workstations with NVIDIA GPUs offering NVENC show alternative accelerated options in the MP4 settings, but since the official Studio page lists H.264/H.265 hardware acceleration as a Studio feature, those options may not appear in the free version. If even choosing a preset is too much, File > Quick Export works from any page with the same preset family, and it exports only the In/Out range when one is set on the timeline.
Free vs Studio, only what matters for game clips
| Feature | Free version | Needed for game clips? |
|---|---|---|
| 1080p60 timeline editing (8-bit) | Yes (official: up to 60fps, 8-bit) | Essential if you recorded 1080p60 8-bit |
| Ultra HD 3840 x 2160 at 60fps timeline | Yes (the free ceiling) | Only if you recorded in 4K |
| 10-bit, 120fps, resolutions above 4K | Studio only | No, as long as you recorded at 8-bit and 60fps or below |
| H.264/H.265 hardware-accelerated decode and encode | Listed as a Studio feature on the official Studio page | Nice for faster renders, not required to edit |
| DaVinci AI Neural Engine, noise reduction, Magic Mask | Studio only | No |
| YouTube 1080p preset, Quick Export, Cut page | Yes | Essential; the whole export path in this guide |
Pre-render checklist
- Frame Rate in the Media Pool Clip Info matches Timeline frame rate in Project Settings.
- You fixed the frame rate before importing media (per the Resolve 21 Reference Manual, once files are in the Media Pool, Project Settings will not let you change it).
- Your recorder was set to a constant frame rate; if audio drifts, suspect the original recording settings before any DaVinci setting.
- Output resolution is equal to or lower than the timeline, and output frame rate equals the timeline (Beginner's Guide recommendation).
- Render Settings show Format MP4, Video Codec H.264 and Audio Codec AAC, matching YouTube's recommended upload settings.
- You checked for leftover In/Out points on the timeline; both Quick Export and the Deliver render export only that range when one exists.
The path that needs none of this: when the goal is cut and share
If what you actually want is to cut the kill, pick an aspect ratio and share a link, there is no reason to go through project settings, frame rates and a render queue. DOR is a free Windows app that detects supported games, auto-records full matches as mp4, and in seven games, League of Legends, Valorant, PUBG, FC Online, Fortnite, Counter-Strike and Overwatch, automatically clips highlights such as kills into its library. In the library's trim tool you set a start and end, choose 16:9, 9:16 or 1:1, and get a dor.gg link that plays in a mobile browser; the install-free DOR browser clip editor, DOR Studio, goes further with merging several clips, length and cut-point adjustment, platform ratios for YouTube, TikTok, Shorts and Reels, text with font styles, background music, volume control and effect templates, then finishes with an mp4 download or a shareable link. The limits are clear: only supported games are recorded, auto-clips exist for the seven games above, and Studio accepts files of at least 3 seconds and at most 500MB. Node-based color grading, Fairlight audio filters, Fusion compositing and keyframe animation are beyond it, and for those the free DaVinci Resolve is the right answer (automatic captions are not: the Resolve 21 Reference Manual marks Create Subtitles from Audio as Studio Version Only); even then, feeding the clips DOR already collected into the DaVinci Media Pool saves the hours you would spend scrubbing raw recordings.
Official sources and how to verify
The free-tier ceiling (8-bit, 60fps, Ultra HD) and the Studio additions come from the official DaVinci Resolve product page by Blackmagic Design; the labels and behavior of Project Settings, the Cut page and the Deliver page were checked against the DaVinci Resolve 21 Reference Manual (July 2026 edition) and Beginner's Guide 20. To confirm the YouTube preset values, compare them with YouTube's recommended upload encoding settings: MP4, H.264 High Profile, AAC-LC at 48kHz, and the frame rate you recorded at. Minimum system requirements and how hardware acceleration behaves in the free version can change between releases, so check the release notes on the Blackmagic support page directly rather than relying on third-party summaries. All figures here were confirmed on September 16, 2026.