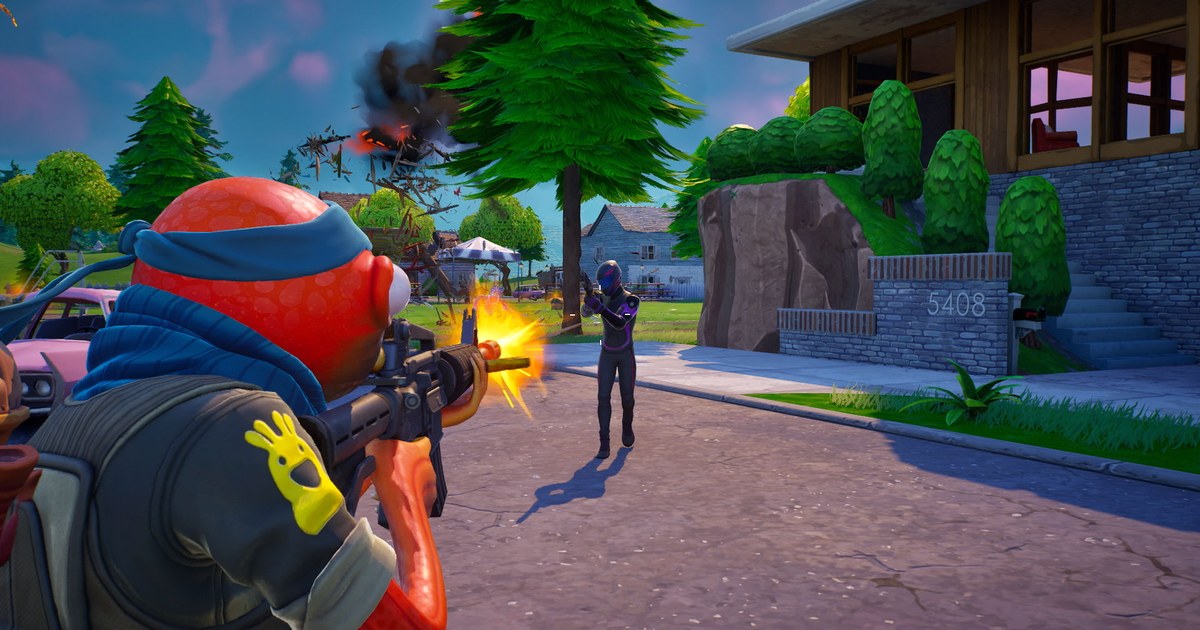
Editing a Fortnite montage is the fun part. Finding the clips is what eats your week. A clean box fight win, a long range snipe or a final circle clutch is never something you can plan to record, so most people end up scrubbing through hours of footage.
This guide covers the whole workflow for Fortnite on Windows PC: collecting footage, choosing plays, merging, music, effects, the thumbnail and a vertical version for YouTube Shorts.
On PlayStation or Xbox, gather footage with the console's built in capture or the in game replays; on Nintendo Switch or mobile, use the device's own capture or screen recording, then follow the sections on choosing clips, music and thumbnails.
For the basics of saving short kill clips in the first place, see how to clip Fortnite. Everything here was checked on November 12, 2026.
Getting footage: auto kill clips vs Replay Mode
There are two good ways to get montage footage. The first is Fortnite's own Replay Mode. On PC, turn on replay recording and your matches are saved, so you can later reshoot a kill from free camera angles such as the drone cameras.
When a play deserves cinematic camera work, replays are the strongest tool you have. One caution: big updates can make older replays unplayable, so export any match you want to reshoot before the next major patch. The second way is a recorder that saves kill moments for you.
DOR detects kills and deaths in Fortnite and turns those moments into clips automatically, so you are not hunting through dozens of matches for the one usable fight. That makes it ideal for building a montage library a little every day.
The combination we recommend: let auto clips collect your everyday kills, and use Replay Mode only for the one or two plays that anchor the montage. The game agnostic version of this workflow is in how to make a montage from kill clips, so this guide focuses on decisions that are specific to Fortnite.
The biggest one is that building and editing speed is part of the show. Instead of cutting only the elimination, keep the few seconds of builds and edits before it so viewers can follow the play.
How to make a Fortnite montage on PC
- 1Let kill clips pile up automaticallyInstall DOR on your PC and launch Fortnite. Your matches are recorded automatically and kill and death moments appear as clips in the app's My Clips. Once you decide to make a montage, play normally for a week or two to build a library, and turn on replay recording too in case a match deserves a reshoot.
- 2Be strict when choosing playsFilter your clips with the table above. For a one minute montage, aim for 8 to 12 clips. Similar kills in a row feel repetitive, so mix box fights, snipes and trick shots. If you hesitate over a clip, cut it; the pacing almost always improves.
- 3Trim and merge the clipsTrim each clip in the app from just before the builds or edits to just after the elimination notice. Then merge them into one video in DOR Studio at dor.gg/studio and order them the way the table suggests. For cutting on the beat, read the beat sync section of how to make a gaming montage video.
- 4Pick the musicThe track decides how the montage feels. Fast tempos suit box fight heavy edits, while heavy beats suit snipes and trick shots. If you are uploading to YouTube or TikTok, pick royalty free tracks or sources with clear usage terms such as the YouTube Audio Library. To keep licensed emote and lobby music out of your recordings, open Settings, go to Audio, and mute Licensed Audio under Creator Options.
- 5Use effects only where they countDOR Studio includes effect templates such as shake zoom, punch zoom, handheld and glitch transitions. Decide where each one goes, for example a punch zoom on the elimination and a glitch transition when the track changes, and the edit stays readable. For which effect fits which moment, see gaming montage effects.
- 6Make the thumbnail and a Shorts versionBuild the thumbnail from a single frame of your flashiest multi kill or trick shot, with a few large words. Then cut a 9:16 version from the same footage. YouTube treats square or vertical videos up to three minutes as Shorts, so exporting just your best three to five clips vertically gives viewers a way into the full montage.
Which Fortnite plays belong in a montage
| Play | When it works | Where it goes in the montage |
|---|---|---|
| Box fight | The edit, peek and elimination happen within about five seconds | Two or three back to back early on to set the pace |
| Long range snipe | The travel time and the elimination notice are both clearly visible | The build up before a drop, or a change of mood |
| Trick shot or air kill | One shot while jumping or falling, and the result is obvious at a glance | On the first beat of a drop, or as the closer |
| End game clutch | The player count or numbers disadvantage is visible on screen | The late peak, where the track hits hardest |
| Build fight win | You can see the climb to high ground before the kill | Mid montage, between box fights |
| Multi kill | Two or more eliminations chain without a break within seconds | The final clip and a thumbnail candidate |
Before you upload
- All PC footage shares the same resolution and frame rate.
- No more than two kills of the same type play back to back.
- You checked the music's usage terms and no in game licensed music slipped in.
- Effects sit only where you planned them, such as eliminations and track changes.
- You have a thumbnail frame and a 9:16 Shorts version ready.
Collect Fortnite kill clips automatically with DOR
DOR is a free Windows game recorder. When you launch Fortnite it detects the game, records the whole match, and turns kill and death moments into clips that land in My Clips automatically. The slowest part of making a montage, finding the kills, gets done while you play.
You can trim clips in the app to 16:9, 9:16 or 1:1, and in DOR Studio at dor.gg/studio you can merge several clips, change the aspect ratio, add effect templates like shake zoom and glitch transitions, text, background music and volume changes, then export an mp4 or share a dor.gg link.
On supported NVIDIA graphics cards such as the RTX series, DOR records with NVENC hardware encoding. The free plan records at 720p or 1080p and 30 or 60 fps (1080p at 30 fps by default), and 1440p, 4K, 120 fps and 144 fps are available with DOR Pro.