To make a kill montage, collect only your kill scenes, join them on one timeline, put effects on a few scenes you want to stress, and export an mp4. Getting the scenes is the first hurdle: on PC, DOR makes VALORANT kill clips automatically, while Apex Legends has full-match recording only, so you trim kills out of the recording yourself. For a moment you want to keep long term, such as an ace, read how to save a VALORANT ace clip first; this guide covers turning your saved clips into a montage. Menu names below are as checked on October 6, 2026 and can change with app updates.
Bottom line: same order, fewer effects
The short answer is that the order of merging clips and adding effects is the same in any tool. If you already know Premiere Pro or CapCut, stay there; if you would rather finish in a browser with nothing to install, DOR Studio is an option. Putting effects on one or two kills you most want to show, and joining the rest plainly, keeps the structure simple. The mechanics of joining several clips have their own page: how to merge game clips.
Six steps to build a kill montage in DOR Studio
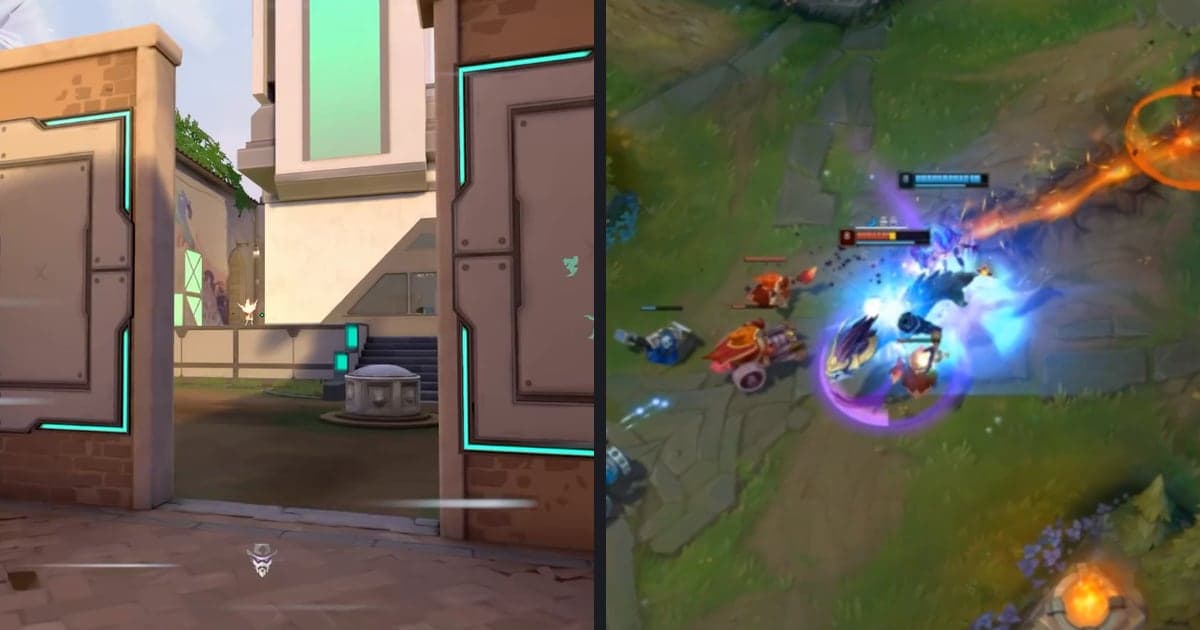
- 1Get your kill scenes — For VALORANT, DOR already creates kill clips automatically, so you only choose the ones you want from the app library. For Apex Legends, only full-match recording is automatic, so use Trim Section in the library to set a start and end and cut each kill out. Either way, keeping one video per kill makes reordering easy later.
- 2Bring clips in with Add Video — Open DOR Studio (dor.gg/studio, no install) and add kill clips one by one with Add Video. Once several videos sit on the timeline, use length adjustment to trim the dead time just before and after each kill.
- 3Choose the Video Ratio — In the Video Ratio dropdown, pick the ratio that matches where you will post. Each option shows a shape, the ratio and a platform label, so you can see which ratio is meant for which platform right on screen.
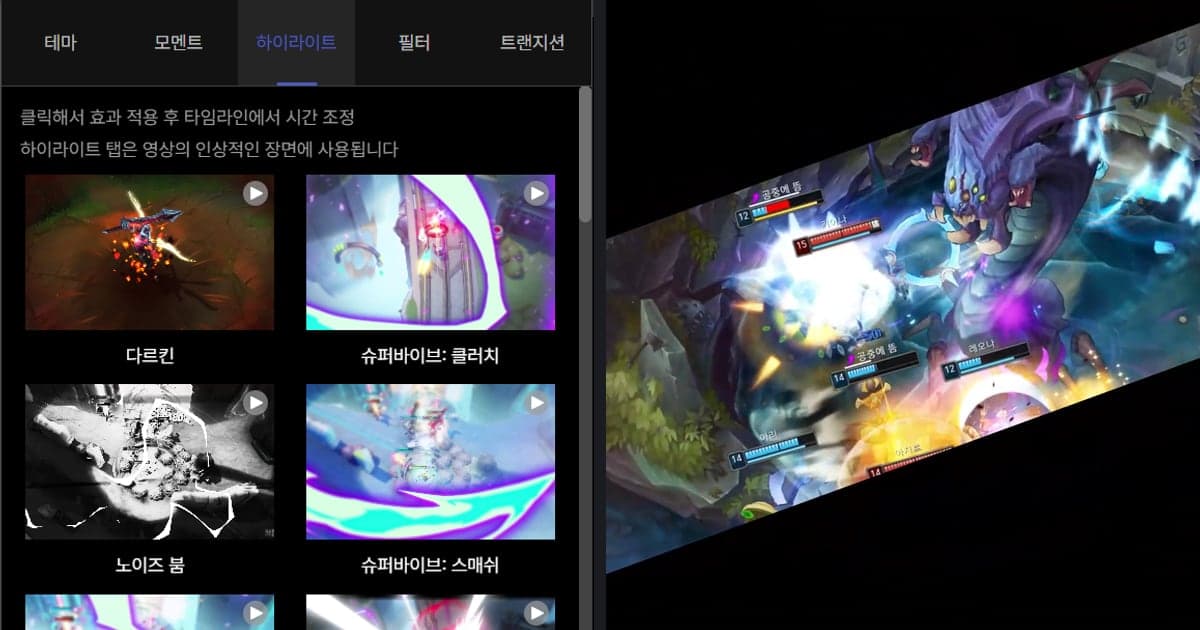
- 4Apply an effect to your key kill — Open Effect in the menu and you will find the Theme, Moment, Highlight, Filter and Transition tabs. Click an effect whose name fits the scene, such as Shake Zoom, Punch Zoom, Quick Zoom, Face Smash or Glare Impact, then adjust its timing in the timeline so it lands on the kill, and play it back to check.
- 5Add a transition between clips — The Transition tab is for connecting one video to the next smoothly. Choose from Glitch, Fade or Zoom Blur, but use it only where the mood of the scene changes instead of between every cut, and check its position in the timeline after applying.
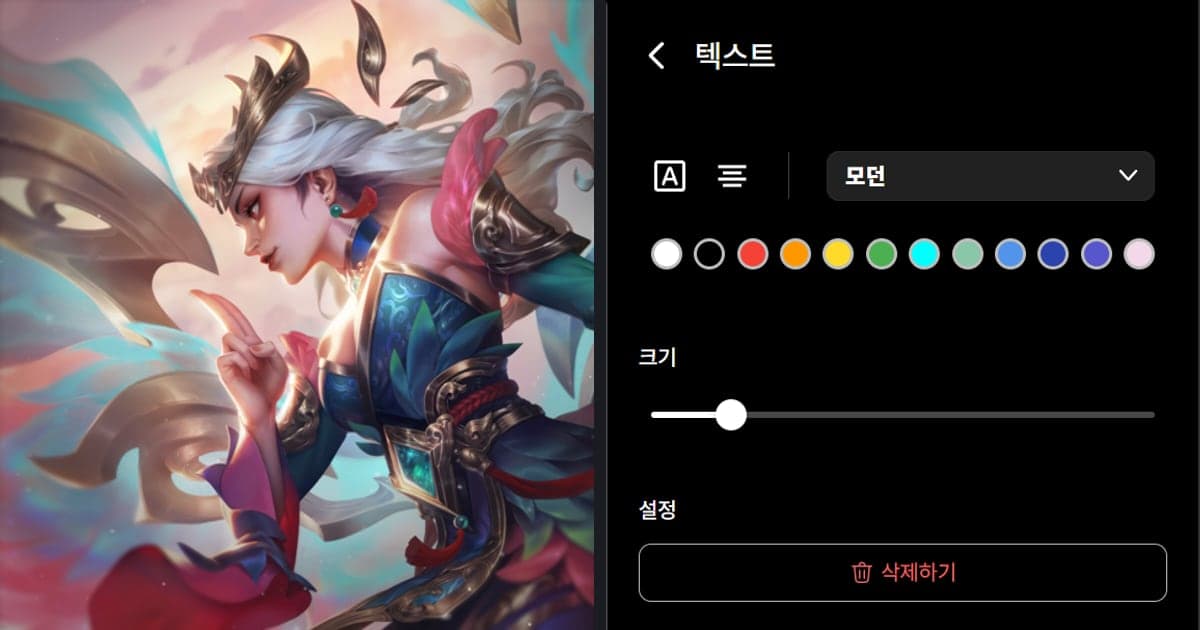
- 6Add text and music, then export — Add a player name or title with Text, put in background music, and use Volume Control to balance it against the game audio. Finish by downloading an mp4 or sharing a link.
Premiere Pro vs CapCut vs DOR Studio by task (as checked on October 6, 2026)
| Premiere Pro | CapCut | DOR Studio |
|---|---|---|
| Adding clips: select a clip in the Project panel and drag it to the Timeline panel. The Insert and Overwrite buttons in the Source Monitor also work. | Adding clips: bring files in with Import, or drag them onto the timeline. | Adding clips: use Add Video to bring in footage, and several videos can be merged into one. |
| Applying an effect: open the Effects panel with Window > Effects, find an effect by category or search, and drag and drop it onto the clip in the timeline. | Applying an effect: pick an effect in the Effects section (for example Body effect) and place it. The online editor drags effects from its library onto a clip. | Applying an effect: in the Effect menu, click an effect on the Theme, Moment, Highlight, Filter or Transition tab to apply it. |
| Adjusting an effect: play it back, then change values in the Effect Controls panel. Fixed effects such as Motion and Opacity cannot be reordered. | Adjusting an effect: the official guide describes picking an effect, placing and adjusting it, then moving on to Export. | Adjusting an effect: after you apply it, adjust the timing in the timeline. |
| Between clips: placing clips side by side gives a cut by default, and a transition usually sits on that cut. The default is Cross Dissolve, and Sequence > Apply Default Transitions to Selection covers every touching edit among selected clips. | Between clips: on desktop, drag a transition from the Transitions tab between two adjacent clips. Transitions only work between two clips, and some need enough frames on both sides. | Between clips: the Transition tab (Glitch, Fade, Zoom Blur and others) is for connecting one video to the next smoothly. |
| Exporting: select the sequence, open File > Export > Media (Ctrl+M on Windows), and choose a format in Export Settings. The documentation recommends H.264 for most online videos. | Exporting: set the resolution and format in Export, then save. | Exporting: download as mp4 or share by link. Pick the aspect in the Video Ratio dropdown. |
Pre-effect checklist
- Is each kill a separate clip, with the idle time before and after trimmed using length adjustment?
- Are effects limited to the one or two kills you most want to stress?
- After applying an effect, did you move its timing in the timeline and play the whole thing through to check it lands on the kill?
- Are the transition types between clips consistent rather than all different?
- Does the background music stay below the gunfire and team callouts?
- Did you check that the video ratio suits where you will post before exporting?
Collecting montage footage and adding effects with DOR
DOR detects supported games and records the full match to mp4 automatically, and it creates kill clips automatically only for seven games: League of Legends, VALORANT, PUBG, FC Online, Fortnite, Counter-Strike and Overwatch. So for a game with automatic kill clips, such as VALORANT (see the VALORANT clip guide), you pick montage material from the library, while Apex Legends needs you to cut kills out of the full-match recording. On an NVIDIA graphics card, NVENC hardware encoding is the default and game sound and microphone are recorded together, so the gunshots and team callouts around a kill stay in the same file you carry into editing. Effects are never added automatically: you click them in Studio and then adjust the timing. For the rest of the Studio features, continue with the DOR browser clip editor.
Official sources and check date
As checked on October 6, 2026, this guide draws on Adobe Help's Premiere effects page and CapCut's special effects article and transitions help page. The default transition and export guidance sits in the Default Transitions and Export video pages of the same Premiere help center. Menu names follow the English interface and may differ by app version, and DOR Studio tab and effect names can also change with updates.