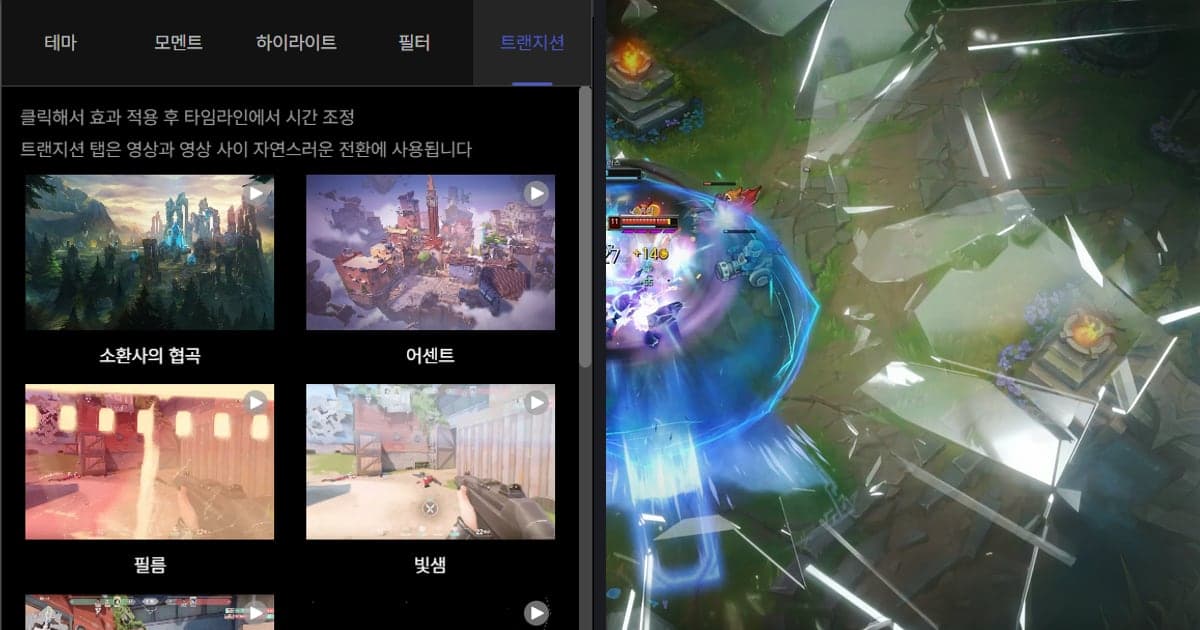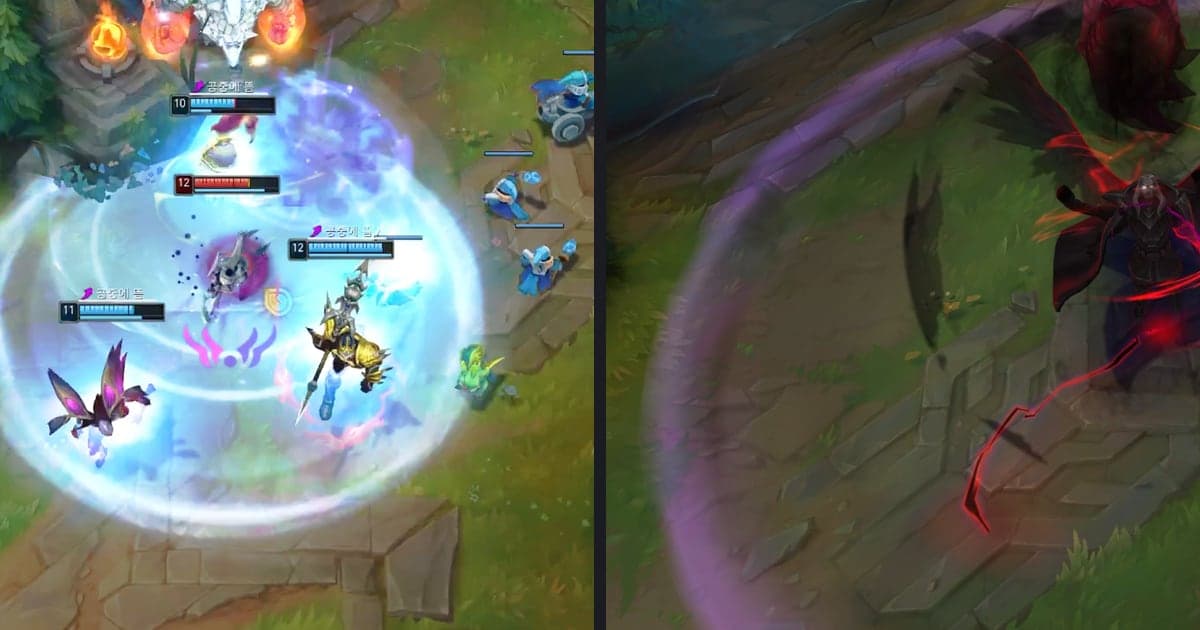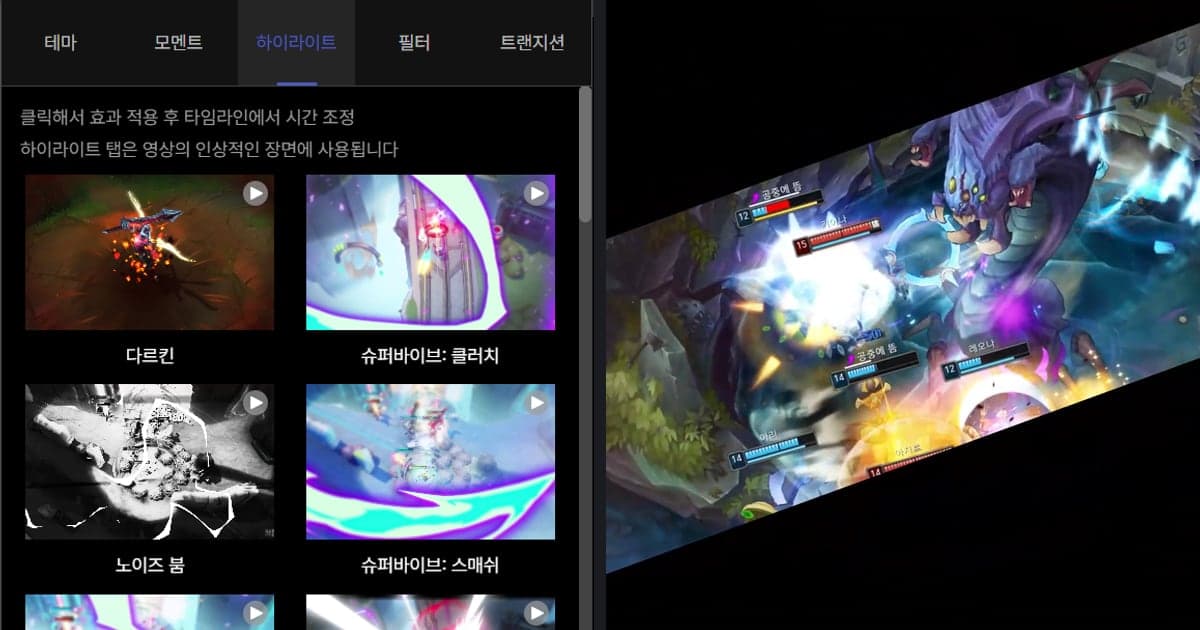
For a gaming montage, choose the effect tab by what the scene has to do. Shake, zoom or flash on the kill itself comes from the Moment tab of the DOR Studio Effect panel, and the join between two clips comes from the Transition tab. You click an effect to apply it, then fit its timing on the timeline. This guide is written for someone cutting a VALORANT montage and, as checked on October 6, 2026, matches each of the five tabs to a scene type and shows where the official Premiere Pro and DaVinci Resolve documentation start the same job. For the full trim-to-export flow, see the game highlight editing workflow.
The short answer: decide the scene's job before the effect's name
The order is simple. First decide whether the moment is the instant a kill lands, the seam between two clips, or the overall mood of the video. For the impact of a single instant, look at Moment effects such as Shake Zoom, Punch Zoom, Face Smash, Earthquake and Glare Impact. For the join between clips, use Transition effects such as Glitch, Zoom Blur, Light Leak and Fade, and for the color of the whole video, use the Filter tab. It is easier to join the clips first and put transitions on the seams afterwards, so see how to merge game clips for that step. The comparison below is not a ranking of tools; it only puts the starting points for the same goal side by side. We did not verify any claim that effects raise views or watch time, so we make none.
How to add effects in DOR Studio
- 1Upload the video and set Video Ratio first — After you upload a recording or kill clip to Studio, choose the Video Ratio (16:9, 9:16 or 1:1) that fits where you will post before touching effects. Changing the ratio reloads the effects you have already applied to fit the new ratio, and some of them may not be applied again, so if you switch after finishing the effects, check each one again.
- 2Open the tab that matches the scene in the Effect panel — The Effect panel has Theme, Moment, Highlight, Filter and Transition tabs. Theme sets the mood of the video, Moment handles sudden scene changes, Highlight is for impressive scenes, Filter changes the color of the whole video, and Transition is for the change between one video and the next. For an effect on a single kill, start with the Moment tab.
- 3Click an effect to apply it and compare — Effects are not added for you; one is applied when you click it. For the last kill of an ace round, for example, start with Shake Zoom, and if it feels wrong, swap in Punch Zoom or Snap Zoom from the same Moment tab and compare which suits the scene.
- 4Fit the timing on the timeline — After applying an effect, adjust its timing on the timeline. Place the start so it lands near the moment of the kill, then play it back to check that the gunshot and the screen reaction do not drift apart. Also check that the effect does not stretch over the scenes before and after.
- 5Put a Transition on the seams — If you merged several videos, apply a Transition tab effect where one clip becomes the next. Choose by the difference in feel between the two clips: Glitch or Zoom Blur for fast back-to-back kills, Fade or Light Leak where the mood changes.
- 6Polish Text, Music and Volume, then export — Use the Text, Music and Volume Control menus to add text and background music and to balance them against the game audio. Play the whole video once from the start, then download it as an mp4 or share it by link.
Where each tool starts the same job
| What you want | DOR Studio Effect panel | Starting point in Premiere Pro and DaVinci Resolve official docs |
|---|---|---|
| Finding effects in the first place | Choose from the Theme, Moment, Highlight, Filter and Transition tabs, click to apply, then adjust timing on the timeline | Premiere: open the Effects panel with Window > Effects, browse categories or search, drag the effect onto the clip, then adjust it in Effect Controls. Resolve: open the effects library icon at the top left of the Edit page and drag an effect onto a timeline clip |
| Shaking the screen on a kill | Moment tab: Shake Zoom, Handheld, Face Smash, Earthquake | Per the Premiere 26.0 docs, Camera Shake and Wiggle sit under Video effects > Transform. We did not confirm individual effect names for Resolve; pick from the effects library and adjust in the inspector |
| Pushing in for emphasis | Moment tab: Quick Zoom, Punch Zoom, Snap Zoom | The Premiere 26.0 Transform category includes Grow, Shrink and Move, among others. Resolve: the inspector's diamond keyframe button lets a clip setting change over time |
| A flash of light | Moment tab: Glare Impact, Flashback | Per the Premiere 26.0 docs: Strobe Light under Stylize, Light Leaks, RGB Split and Glint under Lights & Glows, and Flash among the transitions |
| Singling out one scene | Highlight tab: This Moment (the tab is for the impressive scenes of a video) | We did not find a matching item in the official docs we checked, so we do not compare. The Premiere docs likewise say to play the clip back to check an applied effect |
| Changing between two clips | Transition tab: Glitch, Zoom Blur, Light Leak, Fade | Per the Premiere 26.0 docs: Glitch, Earthquake and VHS Damage under Video transitions > Grunge & Distort, and Flash, Zoom Blur and Light Leak under Lights & Blurs. Resolve: drag from the effects library to the cut point between clips; change the length by dragging the edge or in the inspector |
| Color and mood of the whole video | Filter tab (overall color) and Theme tab (mood of the video) | Within the documents we checked, no direct counterpart can be stated, so we do not compare |
Checks before and after you add an effect
- Is there one thing this scene is meant to show? Put the first effect only on the biggest instant, whether that is a kill, a clutch or an ace.
- Do shake or zoom hide the crosshair and the enemy position? Play it back to confirm a viewer can still read what happened.
- Did you repeat the same effect across back-to-back scenes? Skim for whether each effect has a different job, such as impact, transition or color.
- Have you played the whole video from start to finish after adding the effects? Adobe's documentation also tells you to play back after applying an effect.
- Is there any stretch where text and an effect land at the same time and the words become hard to read?
- Does the balance between game audio and background music hold up in the sections that have effects?
Recording and kill clips are automatic; effects are a click
With VALORANT running, DOR detects the supported game, records the full match to mp4 automatically, and saves highlights such as rounds and kills as automatic clips. Automatic clips exist only for seven games, VALORANT and League of Legends among them; other supported games get automatic full-match recording only. On an NVIDIA graphics card, NVENC hardware encoding is the default, and because game sound and your microphone are recorded together, the source you cut your montage from already carries your own voice. DOR does not add effects for you. Open Studio, the DOR browser editor, with no install, click effects in the Effect panel yourself, polish length, merging, text and background music, then download an mp4 or share a link.
Official documents we checked
All as checked on October 6, 2026. Adobe's Premiere page on applying effects covers the Effects panel and Effect Controls, and its list of Premiere effects and transitions gives names such as Camera Shake, Glitch and Flash with their categories. Blackmagic Design's DaVinci Resolve Edit page describes the effects library and the inspector. Premiere effect names here follow the 26.0 documentation, and DOR Studio tab and effect names follow the app's English labels.