The shortest way to add a flash or impact effect to a game clip is to click a ready-made effect and move it to the decisive moment on the timeline. In DOR Studio, the Moment tab under Effect holds Flashback, Glare Impact and Radiant Hit for this purpose, while in a general editor such as Premiere you build a similar look yourself with a white transition or a brightness change. If you want the whole editing sequence first, start with the game highlight editing workflow; this article narrows down to one job, putting a single flash on one decisive moment.
Bottom line: use flashes sparingly, set the ratio first
A flash works best when it sits on one decisive moment of a clip and is used once, not spread across the whole video. If you are also joining several videos, finish that part first with how to merge game clips and set the effect timing afterwards, so positions do not shift under you. "Impact frame" is not a term defined in Adobe's or CapCut's official documentation; it is a general editing expression for a moment where the picture is cut hard for emphasis. This article does not claim the three DOR effects are exactly that, only that they are candidates for the same purpose.
Applying a flash effect in DOR Studio
- 1Load the clip you want to edit — DOR Studio is an editor that opens in the browser with nothing to install. Load the kill clip DOR made automatically for a game such as Valorant, or any video you recorded. A clip with one clear decisive moment works best for a flash.
- 2Pick the video ratio first — Use the Video Ratio dropdown to choose 16:9, 9:16 or 1:1 for where the clip will be posted. It is easier to settle the ratio for where you will post first; if you change it later, the effects are reloaded to fit the new ratio and some may look different.
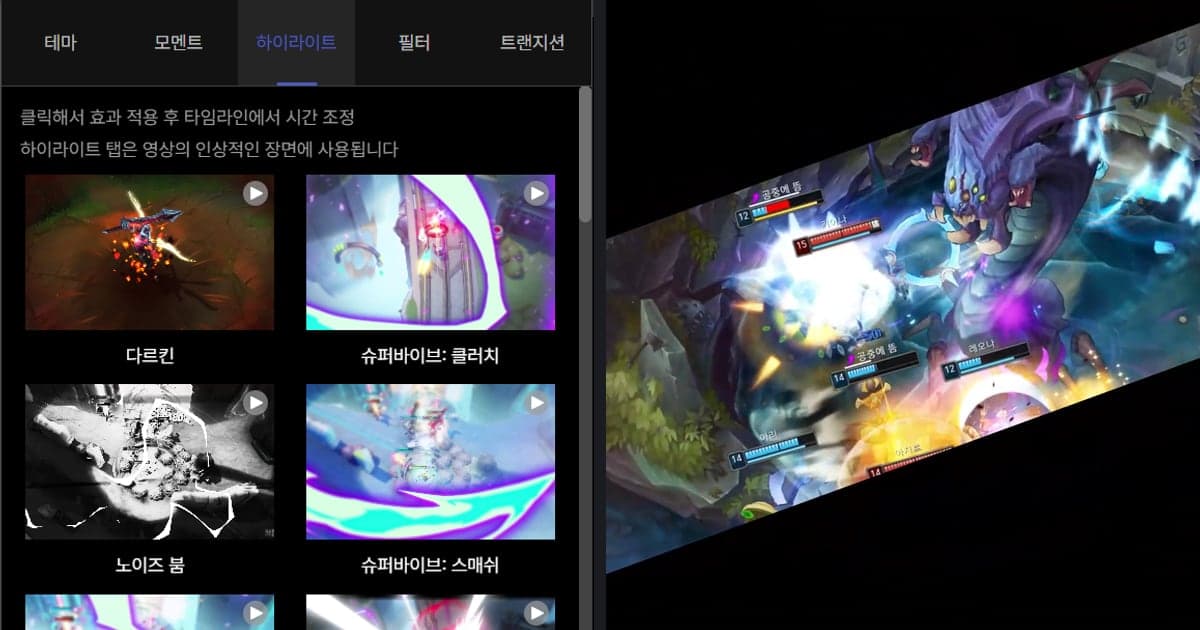
- 3Open the Moment tab under Effect — Open Effect in the editing menu and you will see the tabs Theme, Moment, Highlight, Filter and Transition. The Moment tab is described in the interface as being for instantaneous scene transitions, so flash-style effects are found there.
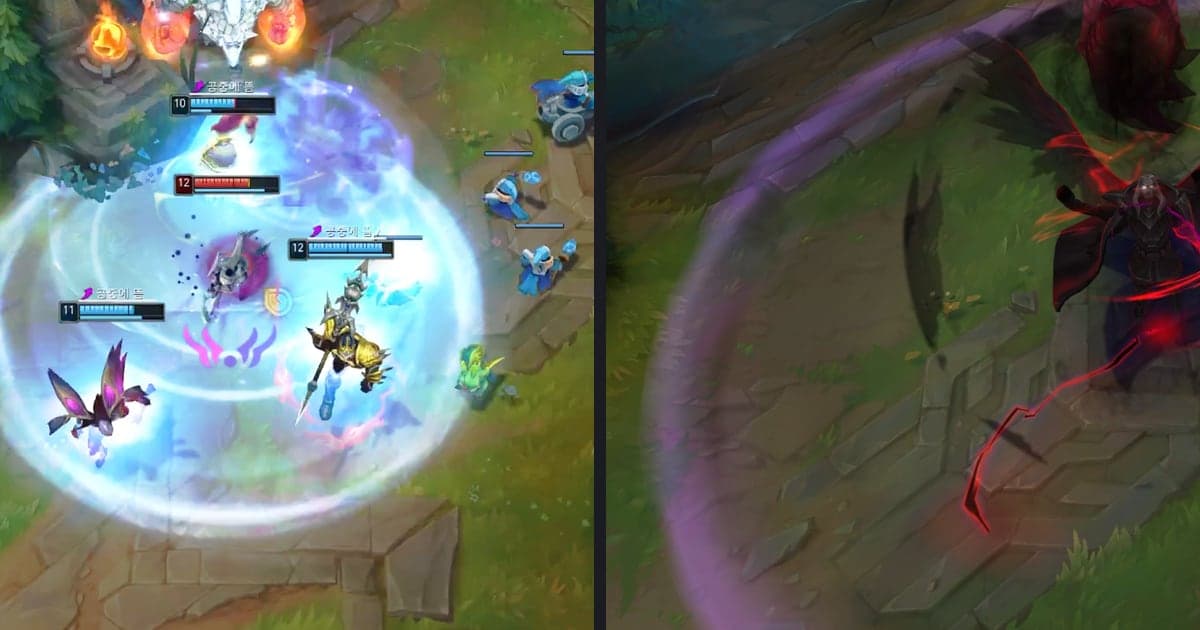
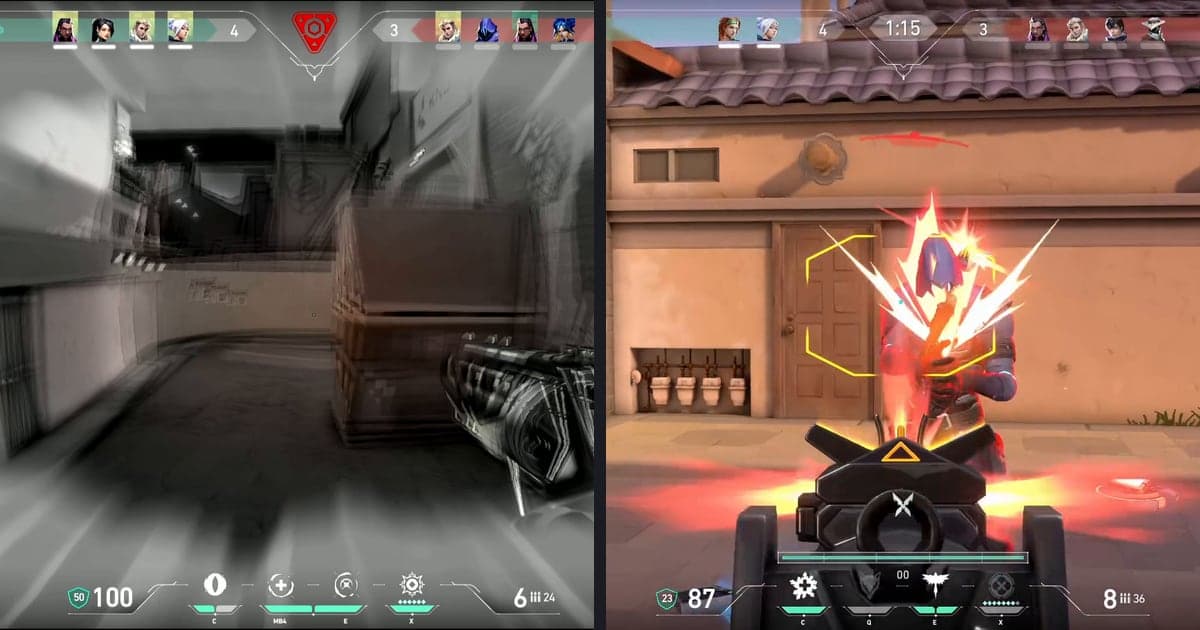
- 4Click one effect to apply it — Click Flashback, Glare Impact or Radiant Hit. The on-screen hint reads "Click to apply effect then adjust the timing in the timeline", so nothing is added for you; you apply the effect you picked. Play the clip to compare how the three look.
- 5Match the timing on the timeline — These three effects are not stretched or shortened, so you move the effect's start position to the moment the kill lands or the round turns. Replay the same stretch a few times until it feels natural.
- 6Check, then export — Once the effect timing is set, add text or background music and set the volume if you need them, then download an mp4 or share a link. Before exporting, play it once more to make sure the effect timing does not drift from the sound.
Premiere, CapCut and DOR Studio compared (checked October 6, 2026)
| Tool | Method confirmed in official docs or the UI | What could not be confirmed |
|---|---|---|
| Premiere, applying an effect (Adobe's docs use the name Premiere; searches say Premiere Pro) | Select the clip on the timeline, open Window > Effects, find the effect and drag and drop it onto the clip, then adjust values in the Effect Controls panel | That page does not name a dedicated flash effect |
| Premiere, a white flash | The Dip To White transition in Video Dissolve fades clip A to white and then from white to clip B; alternatively, Brightness & Contrast can be changed over time with Toggle Animation and keyframes | Nothing in the docs says Dip To White is widely used for impact frames |
| CapCut, a flash look | CapCut's official Flash Effect page gathers flash templates, lists a White Flash Transition template, and says templates can be adjusted in timing, intensity and color | Step-by-step menu names for flash effects were not found on the official pages |
| DOR Studio, a flash look | Open Effect, then the Moment tab, click Flashback, Glare Impact or Radiant Hit, and adjust the timing on the timeline | No confirmed values for how many flashes or how long, so none are stated |
How to choose a scene for a flash
- Is there one clear point where the viewer's eyes gather, such as the kill landing or the round turning?
- Have you already used a flash-style effect in this clip? One per clip is a sensible starting point.
- Did you play it back to confirm the effect's start lines up with the kill and the sound?
- Strong flashes can be uncomfortable to watch, so does it feel restrained when viewed together with the scenes around it?
- Did you settle the ratio before applying the effect? If you change it later, effects are reloaded to fit the new ratio and some may look different.
Recording and kill clips are automatic, effects are one click
Valorant is one of the seven games where DOR detects the game, records the full match to mp4 automatically, and also creates highlight clips such as kills and rounds on its own. That means you spend less time scrubbing through a long recording to find a moment worth a flash. The effect itself is not added automatically; you click it in the Moment tab of the studio. On an NVIDIA graphics card, NVENC hardware encoding is the default and game audio and microphone are recorded together, so a clip with gunfire and team callouts is easy to check for flash timing against the sound. The studio runs in the browser, and the rest of the editing, such as trimming, text and background music, continues in the DOR browser clip editor.
What was checked and official sources
The Premiere and CapCut details here were checked on October 6, 2026, and menus and page layouts can change. Adobe's help pages use the product name "Premiere". The sources are Adobe's Apply effects page, Adobe's list of Video Dissolve transitions and CapCut's Flash Effect template page. The Brightness & Contrast and keyframe details come from Adobe's color correction effects and Add keyframes pages, checked the same day. DOR Studio tab and effect names follow the English interface. No source was checked on how effects affect watch time or views, so that is not covered.