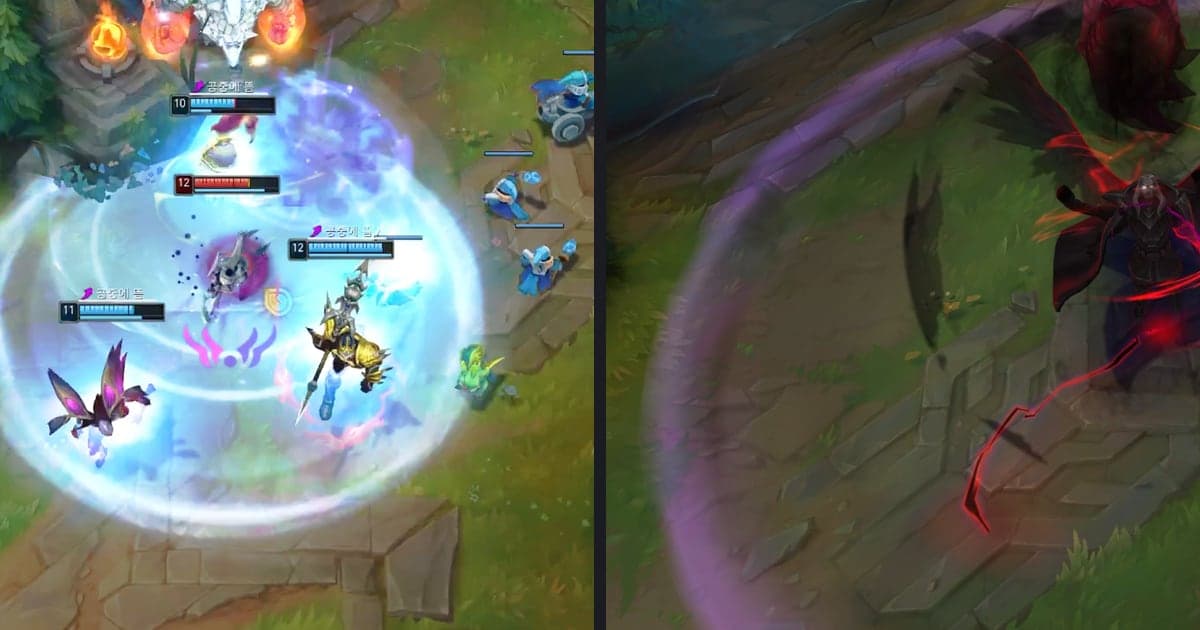
To add a zoom in effect to a gaming clip in DOR Studio, open the Effect menu, choose the Moment tab, click Punch Zoom, Quick Zoom, Snap Zoom or Swift Zoom, and then adjust the timing in the timeline so the zoom lands on the kill. Premiere Pro, CapCut and DaVinci Resolve describe the same movement in their official material as scale or size keyframes you set by hand (as of October 6, 2026). If you want the whole editing order first, start with the game highlight editing workflow. This guide is for Windows PC clips and uses VALORANT and League of Legends moments as examples.
The deciding factor: how much hand work you want
The short version is that there are two ways to get a zoom. One is to build it in the editor you already use by setting the size to different values at two points in time. The other is to click a named effect in DOR Studio and then adjust only its timing in the timeline. Neither is better in every case: if you are comfortable in an editor already, keep using it, and if you want a quick job in the browser without installing anything, Studio is one option. If you are still deciding on an editor overall, free video editors for gaming clips may help. We found no evidence that a zoom raises retention or views, so this guide covers the method only.
Adding a zoom in DOR Studio
- 1Open Studio and add your clip — Open dor.gg/studio in your browser and add the video you want to edit. A clip with one clear moment to emphasize, such as the last kill that ends a VALORANT round or the final kill of a League of Legends team fight, makes the rest of the job easier.
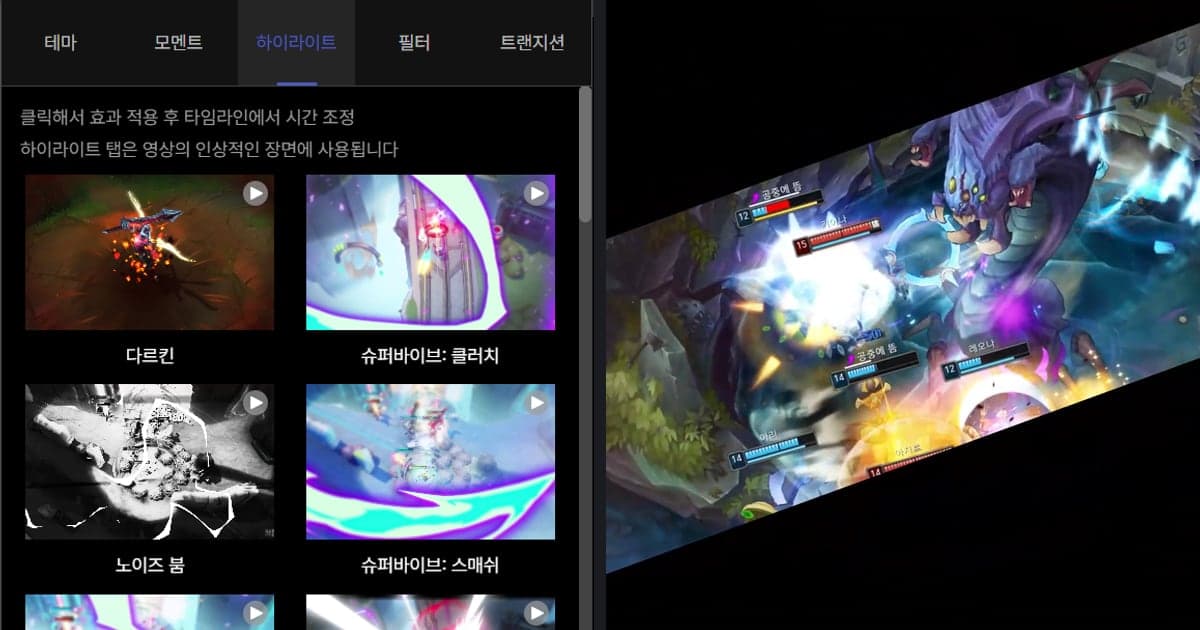
- 2Open the Moment tab in the Effect menu — The Effect menu is split into Theme, Moment, Highlight, Filter and Transition tabs. The zoom effects covered here are in the Moment tab. Effects that mix in shaking, such as Shake Zoom, are not covered in this guide.
- 3Pick an effect name and click it — Choose whichever of Punch Zoom, Quick Zoom, Snap Zoom or Swift Zoom looks right for the scene and click it to apply. The zoom amount and length of each are not values shown on screen, so we do not compare them in text; apply one, preview it and keep the one that looks most natural.
- 4Adjust the timing in the timeline — As the on-screen hint says, you adjust the timing in the timeline after applying the effect. Move its start so it sits around the moment the kill registers or a sound such as a gunshot, play it back, and tweak the position and length if it feels off.
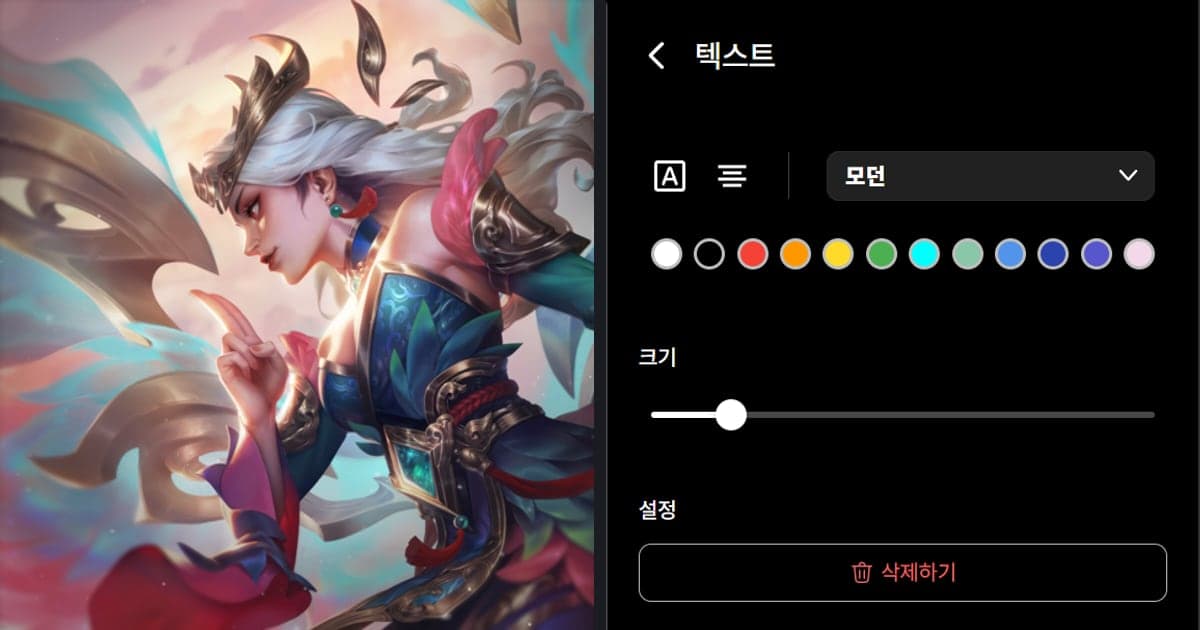
- 5Tidy what comes before and after — Trim the clip around the zoom with the length controls, and use the option to combine several videos when you join it with other kill clips. Add text if you need it, then set the background music and volume so the game audio is not buried.
- 6Choose an aspect ratio and export — Pick the ratio that fits the platform you will post to, then download an mp4 or share by link. A different ratio can change the framing, so play the result once more to make sure the zoomed moment is not cropped awkwardly.
How each tool makes a zoom
| Tool | Method found in official material (as of October 6, 2026) | Notes on the approach |
|---|---|---|
| Premiere Pro | Select the clip in the timeline, open Window > Effect Controls, and expand the built-in Motion effect to adjust Position, Scale and Rotation. Turn on keyframing with the Toggle Animation icon next to a property, move the playhead, and change the value to create a keyframe at that point. | You give Scale a different value at different times. To see keyframes in the timeline, choose Show Video Keyframes from the wrench icon. We could not find a built-in feature named Punch Zoom in the official documentation. |
| CapCut | According to the guide on the official website, you place the clip on the timeline and use the diamond icon next to Position, Scale, Rotation and Opacity in the right-hand panel. Put the playhead at the start, add the first keyframe, adjust the zoom, then move the playhead and adjust the same property again; the app fills in the space between. | The guide describes Scale keyframes as a way to zoom in or out at a specific moment and also mentions Ease In and Ease Out. It is a guide article on capcut.com rather than a Help Center page, and we did not confirm which tab holds Scale. |
| DaVinci Resolve | The official Edit page from Blackmagic Design says clip settings appear in the Inspector at the top right. Select a clip, adjust a setting, click the diamond keyframe button, move the playhead to another frame and repeat. It also says on-screen controls can animate position, size and rotation. | Small keyframe and curve icons on the timeline open a curve editor for refining timing. We could not confirm the exact UI name of the size-related parameter on the official page, so we do not state one. |
| DOR Studio | It runs in the browser at dor.gg/studio with nothing to install. The Moment tab in the Effect menu holds Punch Zoom, Quick Zoom, Snap Zoom and Swift Zoom, and the on-screen hint reads: Click to apply effect then adjust the timing in the timeline. | You click a named effect instead of placing keyframes yourself. Nothing is inserted automatically, so you decide where it goes, and you then adjust its timing. |
Picking scenes worth a zoom
- Can you describe the moment you want to magnify in one sentence, such as the final kill of an ace or the kill that ends a team fight?
- Have you narrowed the emphasis to one moment per clip? Using the same effect several times can blur which moment matters most.
- Does the start of the effect line up with an on-screen cue such as a gunshot or an ability landing?
- A zoom crops the edges of the frame; is there information there that the clip needs to tell its story?
- Did you preview the clip through to the end of the effect to check that it does not feel awkward?
- If you play the clip once more without the effect, is the flow still clear? Keep the effect in a supporting role.
Clips automatic, effects by click
As the VALORANT game page shows, DOR records VALORANT matches in full automatically and creates highlight clips such as kills, rounds included. League of Legends also has automatic kill clips, but some games only get automatic full-match recording, so check per game whether clips are made for you. The automatic part ends at recording and clip creation; the zoom is something you click in Studio. On an NVIDIA graphics card, NVENC hardware encoding is used by default. Game sound and your microphone are recorded at the same time, which gives you audio to line the effect up against. To see which games get automatic clips, read the DOR automatic highlight clips overview.
Official sources (as of October 6, 2026)
The Premiere Pro method is based on Adobe's official Add keyframes in Premiere Pro, CapCut on its official keyframe guide, and DaVinci Resolve on the official Edit page from Blackmagic Design. For Motion and Scale in Premiere Pro we also used Adobe's official Apply Motion effect document, so that explanation combines two documents. Official documents can change with updates, so check them again before you follow along. The tabs and effect names for DOR Studio follow its English interface.