For your first recording in OBS Studio, open the Auto-Configuration Wizard from the Tools menu, choose 'Optimize just for recording, I will not be streaming,' add one source, and run a test of a few minutes. That is the same order as the official Quick Start Guide (wizard, sources, audio, test), and the menu names below were matched to OBS Studio 32.2.2 as checked on October 8, 2026. If the first take comes out as a black screen, begin with the OBS black screen fix. The official knowledge base pages are in English, and this guide assumes Windows.
The one choice to make before anything else
Only one fork matters during first-time setup: the purpose you select on the wizard's first page, which changes which pages follow. This guide follows the recording-only path, meant for saving gameplay as a file. If you also plan to stream, all I confirmed is that the wizard has a Stream Information page asking for Service, Server and Stream Key, so check the official docs for the streaming side. If the number of steps feels heavy, how to switch to automatic recording when OBS is too complicated is a fair read first. Either way, the official guide strongly suggests a test of a few minutes before any real recording.
From first launch to a saved file
- 1Open OBS and start the wizardOn first launch the Auto-Configuration Wizard appears by itself. If you already closed it, reopen it from Tools > Auto-Configuration Wizard. It decides settings from your computer specs and internet speed, so the outcome differs from PC to PC.
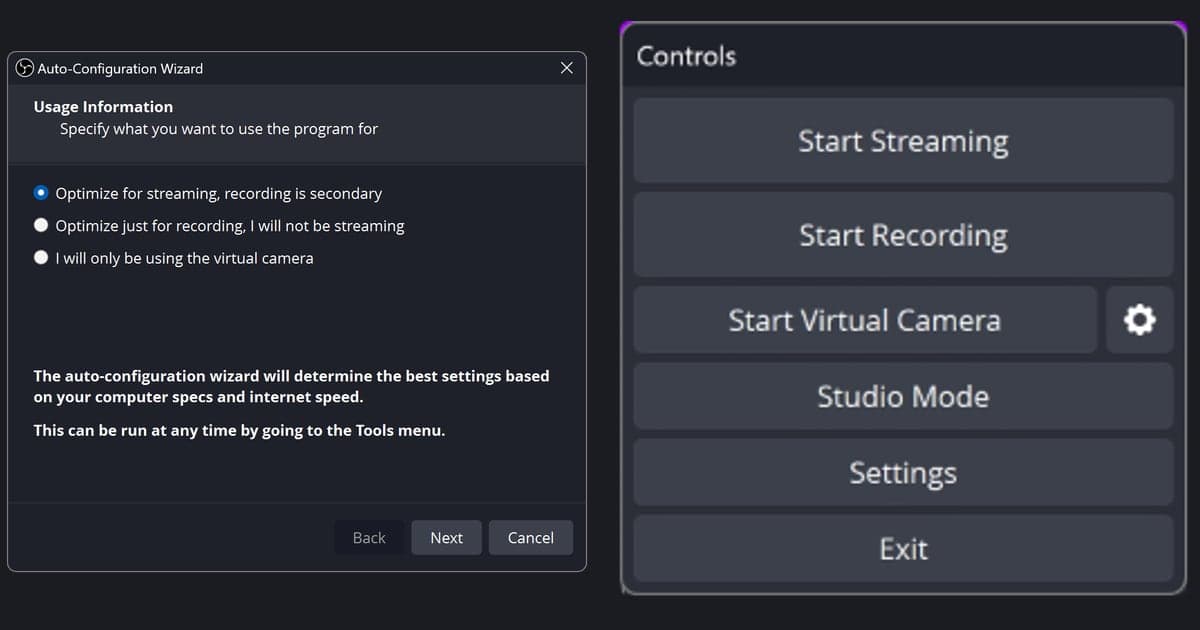
- 2Pick your purpose on Usage InformationThe first page offers three choices: 'Optimize for streaming, recording is secondary,' 'Optimize just for recording, I will not be streaming,' and 'I will only be using the virtual camera.' To save gameplay, take the second one and click Next.
- 3Choose resolution and FPS on Video SettingsOn Video Settings the base resolution can stay at 'Use Current,' and FPS offers 'Use Current,' 'Either 60 or 30, but prefer 60 when possible,' and 'Either 60 or 30, but prefer high resolution.' Per the wizard text, the base (canvas) resolution is not necessarily the resolution you record at. There is no official fixed value, so no numbers are given here.
- 4Review Final Results and applyThe Final Results page shows 'Testing complete' along with items such as Recording Encoder. Click Apply Settings to use them, Back to try again, or Cancel and open Settings if you prefer to configure things yourself.
- 5Add just one sourceA new project starts with a blank scene, so press the + button under Sources. The official docs suggest trying Game Capture first (Windows only, direct capture of DirectX and OpenGL games), but a small number of games do not work with it. On a single monitor, leaving the game to look at OBS may stop rendering and leave the preview empty. Display Capture, which grabs the whole screen, is a fair way to check.
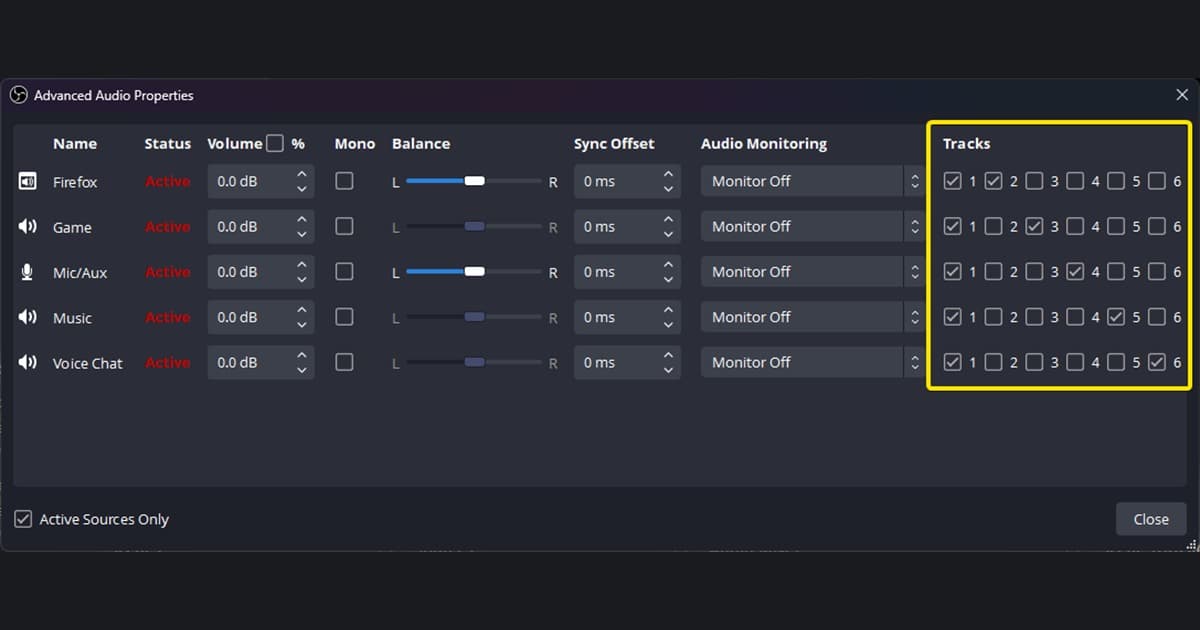
- 6Check the Audio MixerBy default OBS captures desktop audio and your microphone. Watch whether the Audio Mixer meters react to game sound and your voice, and if they stay still or pick the wrong device, choose the right one under Settings > Audio.
- 7Record a short test and open the fileUnder Settings > Output, read the current Output Mode, Recording Path and Recording Format. The official docs list no defaults, so trust what your own screen shows. Press Start Recording in the Controls dock, record a few minutes, press Stop Recording, then use File > Show Recordings to open the file and play it with sound. MKV is the format the official guide recommends, so you can leave it as is; if you need mp4 for editing or uploading, File > Remux Recordings converts it.
Where to look, by situation
| Situation | Where to check | Official basis |
|---|---|---|
| You closed the wizard on first launch or want to rerun it | Tools > Auto-Configuration Wizard | Quick Start Guide and the wizard intro text (it can be run any time from Tools) |
| You only want to save gameplay and must pick a purpose | 'Optimize just for recording, I will not be streaming' on Usage Information | OBS 32.2.2 en-US locale strings |
| The preview is empty | The + button under the Sources dock to add a source | Quick Start Guide (a new project starts with a blank scene) |
| Game Capture is added but the game does not show | Check the Game Capture mode; on a single monitor, leaving the game for OBS can stop it rendering | Game Capture source guide |
| The Audio Mixer meters do not move | Settings > Audio, then choose the device | Quick Start Guide, audio step |
| You cannot find the recording file | File > Show Recordings, or Recording Path under Settings > Output | Standard Recording Output Guide and locale strings |
Pre-flight check for take one
- You chose 'Optimize just for recording, I will not be streaming' on Usage Information
- You clicked Apply Settings on the Final Results page
- The Sources dock holds one source and the preview shows your screen
- The Audio Mixer meters react to game sound and your voice
- You read the current Recording Path and Recording Format under Settings > Output
- You recorded a few minutes, pressed Stop Recording, and checked picture and sound in the file opened via File > Show Recordings
A way to start without scenes or sources
That was the OBS route to a first recording file. If all you want is a saved match, DOR starts without asking you to build OBS-style scenes, sources or output settings first. It is a free Windows app: when a supported game launches, the app detects it and records the full match as an mp4. VALORANT is one of the seven games where kill and round highlight clips are also created automatically, on PC. For that first saved match on an NVIDIA graphics card, NVENC hardware encoding is the default, and game sound and your microphone are recorded together. Afterward, the app's library lets you set a start and end, pick 16:9, 9:16 or 1:1, and share a dor.gg link, as explained in how to trim game clips. If your game is not supported, or you need to design a stream layout yourself, the OBS steps above are the right path.