The fastest way to get clean voice into an OBS game recording is to open the Audio Mixer, click your mic's name (or right-click its entry), choose Filters, and add Noise Suppression followed by a Noise Gate. The whole process runs device → level → filters → (optionally) a separate mic track. Everything below uses only labels and default values from OBS 32.2 and the official OBS Knowledge Base, checked on September 16, 2026. This guide assumes the mic already shows up in OBS; it is about shaping the sound, not fixing a dead input. Discord voices come in through Desktop Audio (or a separate capture source) rather than your mic, so if you want the call in the recording too, see how to record Discord voice along with your game.
Bottom line: start with Noise Suppression + Noise Gate at defaults, add Compressor and Limiter only when needed
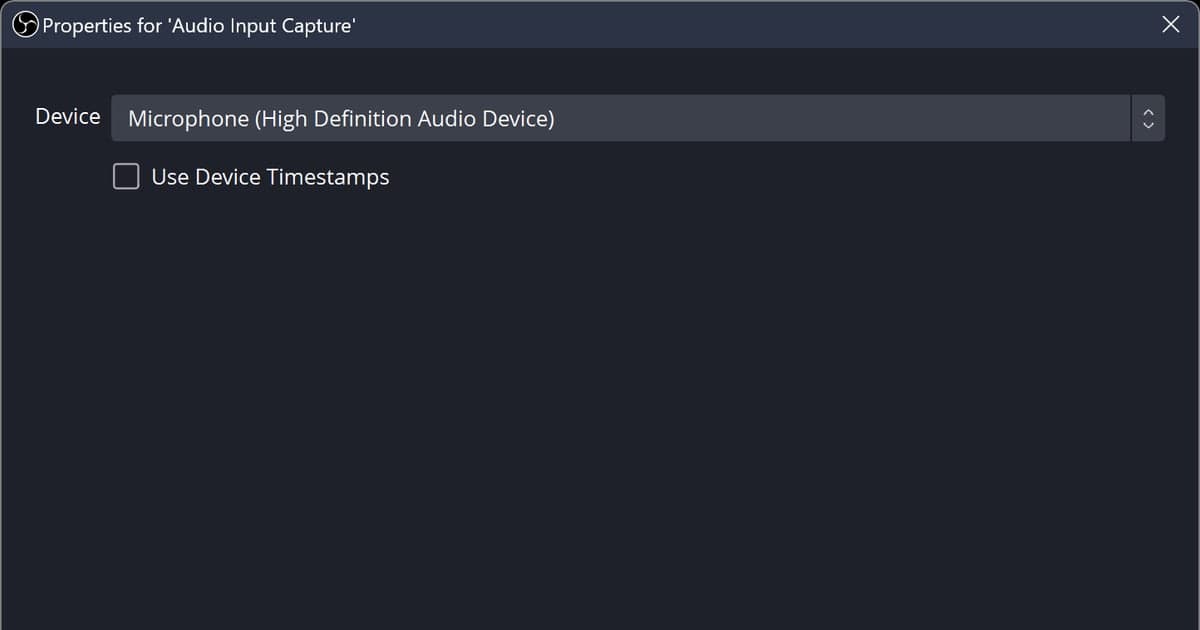
Here is the minimum sequence. 1) Settings → Audio: pick your mic under Mic/Auxiliary Audio (if you also added the same mic as a scene source, set the global entry to Disabled so it is not captured twice). 2) Talk normally and watch the Audio Mixer meter: speech should reach the lower end of the red zone. 3) Click the mic's name in the Audio Mixer (or right-click it) → Filters: add Noise Suppression (RNNoise is the default) and a Noise Gate at default values. 4) Add a Compressor only if you shout a lot, and a Limiter as the very last filter only if the meter still hits the top of red. 5) If you plan to edit voice and game audio separately, open Edit → Advanced Audio Properties, tick Track 2 for the mic, and enable Track 2 under Settings → Output — the full procedure is in how to separate game audio and mic tracks. The official docs never say two filters are enough, but for game recording my recommendation is to start with Noise Suppression + Noise Gate and add the rest only when you hear a specific problem. And if you need neither noise filters nor separate tracks — you just want your voice recorded alongside the game — you can skip this entire setup and leave DOR running instead, with the caveat that DOR records supported games only and audio filters are not among its confirmed features.
OBS mic setup in order: device → level → filters → tracks
- 1Pick the mic device and remove double capture — Go to Settings → Audio → Global Audio Devices and select the mic you actually use under Mic/Auxiliary Audio. If you also added that same mic as a source inside a scene, set the global entry to Disabled — the official audio sources page warns that the same device in both places produces echo (duplicate input). Note that Discord voices come in through Desktop Audio (or a separate capture source), not through your mic, so filters on the mic do not touch them.
- 2Check the input level on the mixer meter — Speak in your normal voice and watch the mic meter in the Audio Mixer. According to the official Audio Mixer guide, speech should touch the lower end of the red zone; in the yellow zone speech sits at the top and game sound lower down, and green is for music and notification sounds. The meter decays slowly down to -60 dB (empty), and the dot above it marks the peak of the last 20 seconds — shout once and see where that dot lands to judge whether you need a Limiter. Too quiet: raise the source fader or add a Gain filter. Too loud: lower the fader. The KB guide gives no dB boundaries, but the color settings under Settings → Accessibility name the bands Mixer Volume Band (-60 to -20dB), (-20 to -9dB) and (-9 to 0dB): green -60 to -20 dB, yellow -20 to -9 dB, red -9 to 0 dB.
- 3Add Noise Suppression — In the Audio Mixer, click the mic's name (or right-click its entry) → Filters → the + under Audio Filters → Noise Suppression. Method defaults to RNNoise (good quality, more CPU usage); switch to Speex (low CPU usage, low quality) if CPU is tight. With Speex a Suppression Level slider appears: default -30 dB, range -60 to 0 dB, and moving it left suppresses harder but can distort your voice. The docs state it works well on environmental noise like PC fans and is generally ineffective against loud background noise. On an NVIDIA GPU you can also use NVIDIA Noise Removal (the KB's wording), which requires the NVIDIA Broadcast SDK redistributable; this guide covers only the built-in RNNoise and Speex methods. Toggle the eye icon next to the filter to compare with and without.
- 4Add a Noise Gate — In the same window, + → Noise Gate. Defaults are Close Threshold -32.00 dB, Open Threshold -26.00 dB, Attack Time 25 ms, Hold Time 200 ms, Release Time 150 ms; thresholds range from -96 to 0 dB. The official recommendation: set the close threshold above the noise volume and the open threshold slightly below your voice. If the ends of words get cut, raise Hold Time; if noise leaks through in silence, raise Close Threshold. I recommend keeping it below Noise Suppression in the list — once suppression has trimmed the noise floor you can set the gate thresholds lower.
- 5Compressor and Limiter only when needed — Compressor defaults: Ratio 10.00:1, Threshold -18.00 dB, Attack 6 ms, Release 60 ms, Output Gain 0.00 dB. The docs describe it as making loud sounds quieter, typically placed at or near the beginning of the chain, for a mic that is normally fine but spikes when you suddenly shout. Limiter defaults: Threshold -6.00 dB, Release 60 ms; the threshold is the maximum output level no signal can exceed, so it must be the last filter in the chain. The Expander (default Ratio 2.00:1, Threshold -40.00 dB) behaves like a gate with an adjustable ratio and belongs after compression but before a Limiter.
- 6Put the mic on its own track for editing — Open Edit → Advanced Audio Properties (or the cog button in the mixer dock toolbar) and use the checkboxes in the Tracks column. Keep every source on Track 1 and additionally tick Track 2 for the mic only. Normal players only play one track at a time, which is why everything must stay on Track 1 so a plain playback still has sound. Enabling Track 2 under Settings → Output (Output Mode: Advanced) → Recording and choosing the Recording Format (Matroska Video (.mkv), then File → Remux Recordings if you need mp4) follow the exact order in the track-splitting guide linked in the bottom line above.
The four OBS mic filters: what each fixes and when to turn it on
| Filter | Problem it solves | When to enable it |
|---|---|---|
| Noise Suppression | Removes steady background noise such as PC fans (RNNoise default, Speex for low CPU) | Almost always. Turn it on when a constant hiss sits under your voice. Per the docs it is generally ineffective against loud background noise |
| Noise Gate | Closes the mic when you are not speaking, cutting keyboard clicks and breathing | When you hear noise in the gaps between sentences. Close Threshold above the noise, Open Threshold slightly below your voice |
| Compressor | Tames sudden loud peaks so shouting does not spike the level | When the mic is fine normally but every kill scream jumps way up. Place it at or near the start of the chain |
| Limiter | Sets a hard ceiling no signal can exceed, preventing distortion (clipping) | When the meter still hits the top of red even with a Compressor. Always the last filter in the chain |
Pre-recording checklist
- Talk and watch the meter: speech reaches the lower end of red, and the peak dot (20-second max) does not pin at the top
- The Filters window shows Noise Suppression above Noise Gate, and if you added a Limiter it is the last item in the list
- The mic under Settings → Audio and any mic source inside the scene are not the same device (no echo)
- If you split tracks: Track 1 and Track 2 are both enabled under Output → Recording and the format is mkv
- Record about 30 seconds, stop, and listen in a player for noise in the silent parts and clipped word endings
If you do not need filters: DOR simply records game audio and mic together
Everything above is for people who want to filter noise and split tracks for editing. If your real goal is to record supported games like Valorant or League of Legends automatically with your voice included, DOR is the simpler route. DOR detects a supported game, records the full match automatically (NVIDIA NVENC by default), captures game audio and mic at the same time, and for some games such as Valorant and LoL also cuts kills and other highlights into clips on its own. You can then trim a clip in the app (16:9 / 9:16 / 1:1) or open DOR Studio in the browser to adjust length, aspect ratio, text and background music, and share it as a link. What DOR does not offer as a confirmed feature is any of the OBS audio processing in this guide — Noise Suppression, Noise Gate, Compressor, or a separate mic track — and it only records supported games. If you need those, the OBS steps above are the answer; for the general basics of capturing mic and game audio together, see how to record game audio with your mic.
Official sources
Filter names and what each one does come from the OBS Filters Guide, gate defaults and the threshold recommendation from the Noise Gate filter page, and track assignment plus output settings from the multiple audio track recording guide, all checked on September 16, 2026. Noise Suppression, Compressor and Limiter defaults are from each filter's KB page, the meter color zones from the Audio Mixer guide, and the version (32.2) from the release notes. UI labels are quoted from the OBS 32.x en-US locale. The slider ranges (-96 to 0 dB, -60 to 0 dB) and the way the Filters menu opens from the mixer (click the source name or right-click, since the 32.1 mixer overhaul) are taken from the OBS 32.2.2 source code.