To put an overlay in OBS, click the + button under the Sources dock and add an Image source (fixed graphics) or a Browser source (a web address supplied by an alert or chat widget), then place it above the game source in the list. Three things decide whether it works: the right source type, the stacking order, and a transparent background. Menu names below match the OBS Studio 32.2.2 English strings and the official knowledge base as checked on October 6, 2026, for Windows PCs. Webcam placement is covered in how to record a game with a facecam, so this guide stays on Image and Browser sources.
Bottom line: OBS ships no alerts of its own
OBS Studio has no built-in stream alerts; its official FAQ says to add a third-party alert provider's overlay as a Browser Source. In practice that means alerts and chat boxes arrive as an address you paste in, while a logo or frame is a file you make yourself and load. This guide does not recommend any provider or template site. If the whole scene-building process feels heavy, a post on switching to automatic recording when OBS is too complicated is also worth a look.
Adding image and browser overlays in order
- 1Pick the scene and put the game source firstSelect the scene in the Scenes dock. The official Stream Layout tutorial adds the game source first, through Display Capture, Game Capture (Windows only), Window Capture or Video Capture, then uses Edit > Transform > Fit to screen (Ctrl-F) to match it to the canvas. Overlays are layers that sit on top of that.
- 2Add the Image sourceClick the + button below the Sources dock to open the Add Source window and choose Image in the Source Type list. Check that Make source visible is ticked, then click Add a new Image; the source gets an automatic name and its properties window opens. The official knowledge base describes an older screen (Create New, a name, then OK), so your window may look slightly different. In the properties window press Browse to choose the file and click OK. Supported formats are BMP, TGA, PNG, JPEG and GIF, with alpha (transparency) supported where it applies. The file path lives in the property named Image File.
- 3Add the Browser sourceIn the same Add Source window choose Browser in the Source Type list, click Add a new Browser, and paste the provider's address into the URL field of the properties window that opens. Documented defaults are Width 800 and Height 600, and FPS 30 is the value used when Use custom frame rate is switched on (page dated January 11, 2022). The alerts tutorial says only to set a suitable size, so use Base (Canvas) Resolution under Settings > Video as a reference when adjusting Width and Height, and watch the preview for anything cut off. A page saved on your own computer needs Local file switched on instead.
- 4Confirm the background is transparentAn image only lets the game show through if the file itself was saved with a transparent background. For a Browser source, the documentation says the default Custom CSS, body { background-color: rgba(0, 0, 0, 0); margin: 0px auto; overflow: hidden; }, is what makes the page background transparent. If a solid box appears, check whether that field was edited. The knowledge base describes no other transparency method.
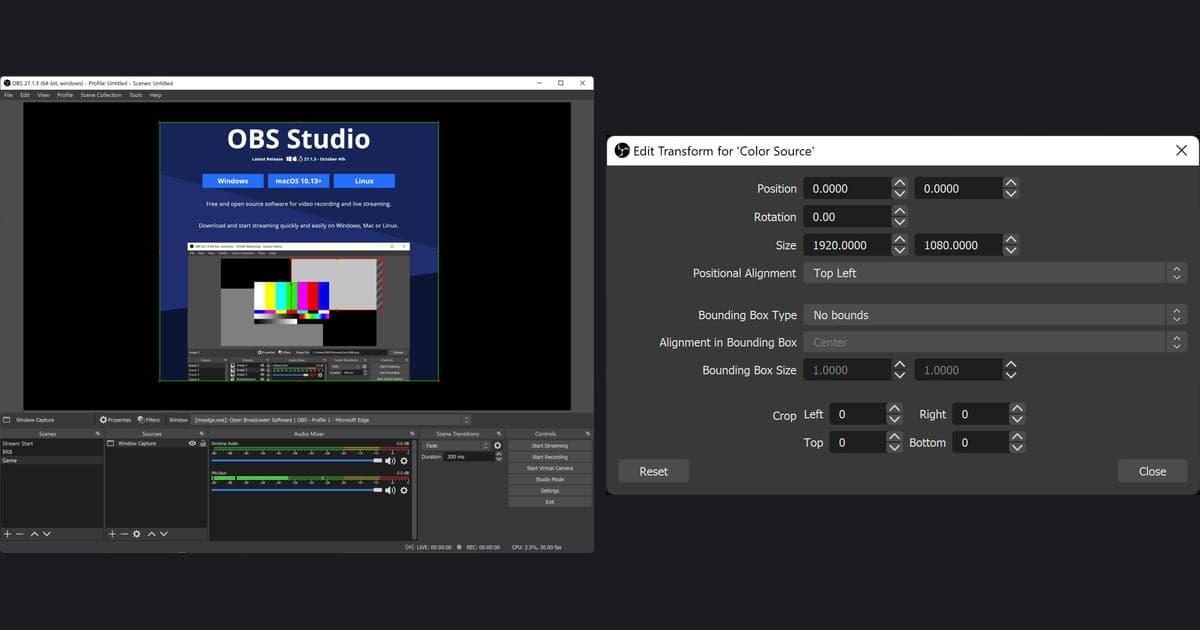
- 5Size and position itA selected source shows a red bounding box in the preview. Drag it to move, and use the red handles on corners and edges to resize. For exact values open Edit > Transform > Edit Transform (Ctrl-E on Windows) and use Position, Size and Crop. Holding Alt while dragging a handle crops, and holding Ctrl while dragging turns off snapping.
- 6Set the stacking orderSources higher in the list are drawn over those below. If the overlay is behind the game, select it and click the up arrow under the list, or use the Order menu with Move Up or Move to Top. With several overlays, apply the same rule to each.
- 7Check visibility, lock and refreshA grey eye icon means the source is hidden and a white one means it is shown. Once an overlay is placed, you can Lock it. If a Browser source keeps showing an old page, click Refresh cache of current page in its properties.
Which source fits which overlay
| Situation | Source to use | What to check in the official docs |
|---|---|---|
| A fixed logo or frame | Image | The Image File property accepts BMP, TGA, PNG, JPEG or GIF |
| Alerts or a chat box delivered as a web address | Browser | Paste the provider's address into URL; documented defaults are Width 800 and Height 600 |
| A web page stored on your own computer | Browser | Turn on Local file and give the path (off by default) |
| An overlay that must let the game show through | Image with alpha, or Browser with its default Custom CSS | Default CSS: body { background-color: rgba(0, 0, 0, 0); margin: 0px auto; overflow: hidden; } |
| Several images shown in rotation | Image Slide Show | Documented defaults: Time Between Slides 8000 ms, Transition Speed 700 ms |
| The overlay is hidden behind the game | Source order | A source higher in the list is shown in front of those below it |
Pre-flight checks before recording or going live
- Image file is BMP, TGA, PNG, JPEG or GIF, and saved with transparency if you need it
- Browser URL is exactly what the provider's screen shows, and Local file is on or off as intended
- Width and Height compared against Base (Canvas) Resolution, with nothing cut off or empty in the preview
- Overlay sits above the game source in the Sources list
- Eye icon is white and the default Custom CSS has not been deleted or altered
- Page permissions still on the default, Read access to OBS status information, unless you changed it on purpose
Handing over to recording once the layout is set
Everything above builds a layout inside OBS; it does not mean DOR offers live overlays. What DOR offers at the recording stage is a start without OBS-style scene, source and output setup: launch a supported game such as VALORANT and the free Windows app detects it and records the full match to mp4. VALORANT is one of seven games where kill highlights are also clipped automatically. Afterward the library's trim tool sets a start and end and offers 16:9, 9:16 or 1:1 output, and the install-free DOR Studio browser editor can add text at the editing stage, which is a different job from a live overlay.