Three options matter most for Rainbow Six Siege sensitivity on PC: your mouse DPI, Mouse Sensitivity Horizontal and Vertical (1-100, default 50), and Mouse ADS Sensitivity (1-100, default 50). Fix DPI first, keep DPI multiplied by the slider value constant whenever you change either one, and start ADS on the Standard setting at 50. This guide is based on Ubisoft's own posts and was checked on October 6, 2026; the developer posts among them date from 2019 and 2020, so confirm the current menu labels in the game itself. If you are moving a number over from another shooter, the DPI and sensitivity converter guide explains the multiplication idea.
The short answer: what to fix first and what to leave alone
Work in this order: fix DPI, choose Horizontal and Vertical, leave ADS on Standard 50, and consider Advanced only after that. If you change DPI later, recalculate the sliders on the same day so your hand travels the same distance as before. For carrying a number over from another shooter, lean on the multiplication idea from the converter guide above, and compare how a different game handles it in CS2 sensitivity settings. Ubisoft does not publish a conversion table between games or a distance-per-DPI chart for Siege, so any imported number is only a starting point that you confirm by measuring. Pro-player and community values are intentionally left out of this guide.
How to set your own sensitivity
- 1Lock your mouse DPI — Choose a DPI in your mouse manufacturer's software and leave it alone for now. Official documents do not show a DPI option inside the game, so DPI here only means the mouse-side value. With DPI fixed, any change you make to a slider is the only thing that changes your speed.
- 2Enter Horizontal and Vertical — Open the gears icon on the main menu, go to Options, and look for the mouse sensitivity entries. Confirm their exact position in the game; Mouse Sensitivity Horizontal and Vertical both run from 1 to 100 with a default of 50. Start at 50 to get a feel, or type in a value you calculated from your previous game. Each slider scales its own axis, so enter the same number in both if you want the two axes to move at the same ratio.
- 3Keep DPI times slider constant — In Ubisoft's developer post of April 18, 2019, hipfire input is multiplied by 0.02 times the slider value. That makes 50 a multiplier of 1.0, 25 a multiplier of 0.5, and 100 a multiplier of 2.0. So if DPI x slider stays equal, speed stays equal. For example 800 x 50 = 40000, which means DPI 1600 needs 25, DPI 1000 needs 40, and DPI 400 needs 100. Because the slider stops at 100, a DPI below 400 cannot reproduce that speed. These are calculated values from the published formula, and Ubisoft has not confirmed that 0.02 still applies today, so check the result by measuring in the last step.
- 4Start ADS at Standard 50 — The Mouse ADS Sensitivity button on the Controls tab offers Standard and Advanced. According to Ubisoft's Y5S3 dev blog, published on August 18, 2020, Standard applies one ADS sensitivity from 1 to 100 to your sights, and the default is 50. Ubisoft says older profiles were converted automatically, but that to receive the improved consistency you should reset ADS sensitivity to default. If only one magnification feels wrong, use Advanced to adjust 1.0x through 3.0x separately. In the 2019 developer post, ADS input is the hipfire input multiplied by an ADS modifier, so keeping hipfire DPI x slider constant should keep the ADS baseline in place too. Y5S3 later changed how sights are handled, and no conversion between the ADS slider and DPI is published, so after any DPI change, recheck ADS by hand.
- 5Refine it with a ruler — The precision method Ubisoft describes is measuring real mouse travel with a ruler. Mark a starting point, turn a full 360 degrees in the game, and measure how far the mouse moved. Because speed scales with the slider, new slider = current slider x measured distance / target distance. This formula is my own calculation from the fact that speed scales with the slider, not Ubisoft's worked example, so measure again after each change to confirm the distance moved toward your target. For example, if slider 25 gave 40 cm and your target is 32 cm, 25 x 40 / 32 = 31.25, so try a value around 31 and measure again. The target distance is your own choice; this guide does not recommend one.
In-game options and what each one does
| Option (English label) | What it does and its range | Where to check it |
|---|---|---|
| Mouse Sensitivity Horizontal (Yaw) | Turning speed when you move the mouse left and right. Range 1-100, default 50. | The mouse sensitivity entries inside Options (confirm the exact spot in the game) |
| Mouse Sensitivity Vertical (Pitch) | Speed of looking up and down when you move the mouse forward and back. Range 1-100, default 50. | The same mouse sensitivity entries as Horizontal |
| Mouse ADS Sensitivity: Standard | One slider shared by every sight. Range 1-100, default 50. | Options > Controls tab > Mouse ADS Sensitivity button |
| Mouse ADS Sensitivity: Advanced | Separate sliders for 1.0x (red dot, holo, reflex), 1.5x, 2.0x, 2.5x and 3.0x. | Mode choice inside the same button |
| Default button | Restores the default ADS values. Check in the game when this button is shown. | The ADS sensitivity screen |
| Mouse DPI | The sensitivity setting of the mouse itself. An in-game DPI option was not found in official documents. | Your mouse manufacturer's software |
Before you save
- These settings are for PC (Windows). Controllers use Controller ADS Sensitivity, which this guide does not cover.
- If I changed DPI, I recalculated Horizontal and Vertical on the same day.
- The calculated slider values fall inside the 1-100 range.
- I reset ADS sensitivity to default and started at Standard 50.
- I changed one item at a time and compared in the same practice setup.
- Where a menu label differs from this guide, I trusted the label in the game.
Record the match before and after a change
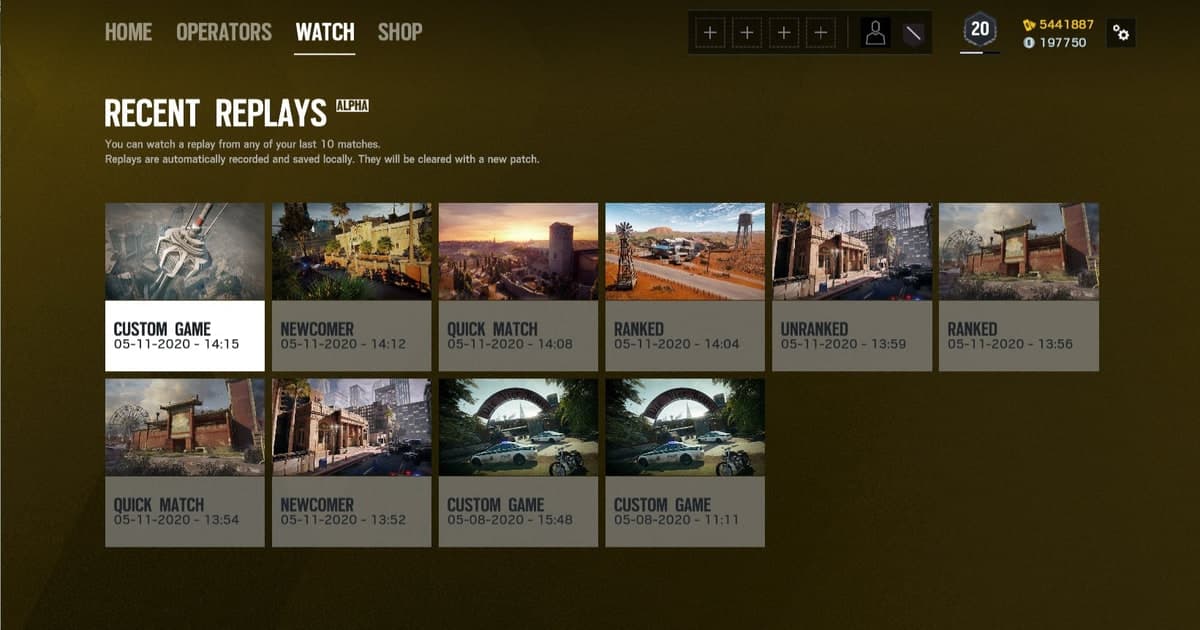
As the Rainbow Six Siege hub shows, DOR supports this game with full-match automatic recording saved as mp4, and it does not make automatic highlight clips for kills. Record one match before a sensitivity change and one after, then replay both in the in-app library to compare how far the screen swung each time you aimed. DOR does not improve your sensitivity or aim; it only gives you footage to compare. For any moment you want to keep, trim it with the library's trim tool or in DOR Studio and share it as a dor.gg link. On an NVIDIA graphics card, NVENC hardware encoding is the default, and game sound plus your microphone are recorded together, so what you said into your microphone while tuning stays on the recording. The recording steps themselves are in the Rainbow Six Siege clip recording guide.
Official sources (checked October 6, 2026)
The menu path and the ADS sensitivity button come from Ubisoft's help article on adjusting ADS sensitivity. The slider ranges and the hipfire formula come from Ubisoft's FOV and input sensitivity post. The Standard and Advanced modes come from Ubisoft's Y5S3 sights and scopes dev blog. Two of these pages are developer posts from 2019 and 2020, I could not confirm the help article's date, and no newer official sensitivity document turned up as of October 6, 2026, so confirm the current labels and ranges inside the game.