The simplest way to shrink a video you have already recorded is to shorten it first, then lower the frame rate, resolution and quality target one at a time. Each step costs some quality, so use the destination's recommended values as a baseline and change only one setting per attempt so you can compare with the original. If you would rather fix size while recording, reduce game recording file size covers that side; this guide focuses on general video and where you upload it. Everything below reflects official documents as checked on October 6, 2026, for Windows 11 PCs.
Bottom line: pick the stage to shrink at
Before recording, look at OBS output settings. After recording, look at the editor's export resolution and the clip length. Right before uploading, compare against the destination's recommended encoding settings. For a general explanation of what bitrate is and which values make sense, see the game recording bitrate guide; this article only quotes the direction stated in official documents. Savings percentages and estimated megabytes are not in those documents, so none are given here.
Order for reducing the size
- 1Write down the current baseline — Before changing anything, note the original's length, resolution, frame rate and file size. That gives you something to compare against after each change and shows which setting mattered most for your clip.
- 2Reduce the length first — Cut waiting screens at the start or loading sections at the end. With resolution and quality untouched, a shorter video generally means a smaller file, so this is the first change to try and it does not lower picture quality.
- 3Adjust the OBS quality value — For future recordings, open Settings > Output. In Simple output mode, set Recording Quality to 'High Quality, Medium File Size'. In Advanced mode, pick a separate encoder on the Recording tab instead of the stream encoder, then set Rate Control under Encoder Settings to Constant QP (CQP) for NVENC or CRF for x264, and stay inside the 16-23 baseline range from OBS's guide. The guide says a lower CQ level means higher quality and larger files, so raising the value inside that range is the direction that shrinks files. This article does not recommend values above 23.
- 4Lower the OBS resolution and FPS — In the Video tab, Base (Canvas) Resolution usually matches your monitor or game, and lowering Output (Scaled) Resolution lets you output a 1080p source at 720p. For the Downscale Filter, Bilinear is the fastest but blurry when scaling, while Lanczos is a sharpened method with 36 samples. Common FPS Values can go from 60 to 30, but play the result back to see how much smoothness you lose.
- 5Pick a resolution when exporting in Clipchamp — For a file you already recorded, open it in Clipchamp, press the export button and choose 480p, 720p or 1080p. The documentation calls 480p the smallest resolution and describes 720p as suited to social media, with a smaller file size and faster upload. The documentation page linked below does not state the frame rate or file format of exports, so check the exported file's frame rate and format yourself.
- 6Compare with the destination's recommendations — YouTube's document recommends an MP4 container, H.264 video and AAC-LC audio, and says to upload at the frame rate you recorded. For 1080p it lists 8 Mbps at standard frame rates and 12 Mbps at high frame rates (48, 50, 60); 720p is 5 and 7.5 Mbps, and 480p is 2.5 and 4 Mbps. It also states that no bitrate limit is required and the figures are for reference. As arithmetic only, 8 Mbps is about 1 MB per second, or roughly 60 MB per minute for the video track; real files vary with the encoder and the scene.
Method comparison: what each option changes and its source
| Method | Where to change it and the source | Watch out for |
|---|---|---|
| Shorten the video | Cut unneeded sections at the start and end in an editor. As a general principle, with the same settings a shorter video usually makes a smaller file. | When you export again, options such as resolution may change too, so check the export options. |
| OBS recording quality | Settings > Output > Recording Quality. In Simple mode the entries differ in file size, such as 'High Quality, Medium File Size' and 'Indistinguishable Quality, Large File Size'. | OBS warns that 'Lossless Quality, Tremendously Large File Size' can use upward of 7 gigabytes per minute at high resolution and frame rate. |
| OBS resolution and FPS | In the Video tab of Settings, choose Output (Scaled) Resolution and Common FPS Values. | Dropping from 60 to 30 fps can shrink the file, but motion also looks less smooth, so play both versions and compare. |
| Clipchamp export | Press the export button and choose 480p, 720p or 1080p. 480p is the smallest, and 720p is described as a smaller file size with faster uploads. | The linked page does not state the exported frame rate or format, so check the exported file's frame rate yourself. |
| YouTube recommendations | The MP4, H.264 and AAC settings plus the per-resolution bitrate table in 'YouTube recommended upload encoding settings'. | Recommended bitrates are reference values, not a ceiling or a minimum-size target. |
Pre-export checklist
- Confirm you trimmed the unneeded start and end sections before touching quality settings.
- Confirm you changed one value at a time and played the result next to the original.
- Check that your OBS quality value is inside the guide's 16-23 baseline and that you are not on a lossless option.
- Check the frame rate and format of the file exported from Clipchamp yourself, since the linked page does not state them.
- Check that you read YouTube's recommended bitrates as reference values rather than a ceiling.
- Play the reduced file from start to finish to confirm audio and scenes are intact.
If you record and trim with DOR
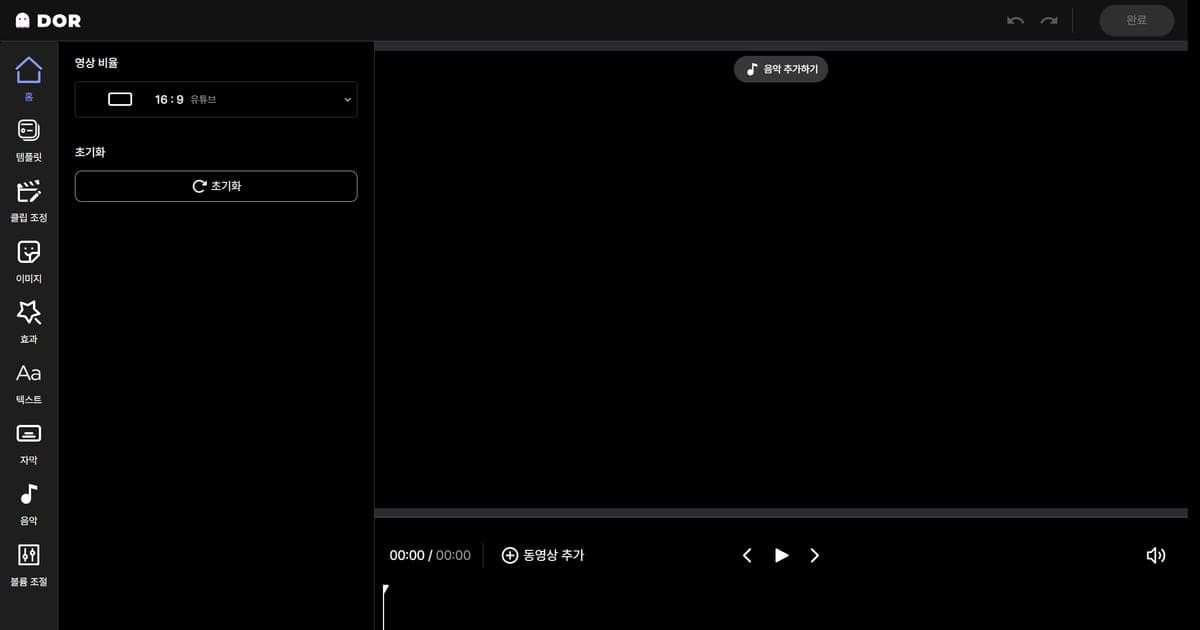
As the Roblox hub explains, on PC, Roblox is a game where DOR records the full match automatically and saves it as MP4; it is not one of the games with automatic highlight clips. That leaves you with the whole session as one file, and the simplest way to shrink it is to keep only the scenes you need so the video gets shorter. This applies the general rule that a shorter video with the same settings usually becomes a smaller file. The app library's range trimming lets you set a start and end and pick a 16:9, 9:16 or 1:1 output ratio, and DOR Studio, which runs in the browser with no install, offers length adjustment and MP4 download. The step-by-step flow for cutting a section is in how to trim game clips.
Official sources (checked October 6, 2026)
OBS settings come from the OBS Advanced Recording Settings Guide, Clipchamp export resolutions from How to choose the right export resolution, and YouTube's recommended values from YouTube recommended upload encoding settings. Documentation changes over time, so check the latest version before applying anything.