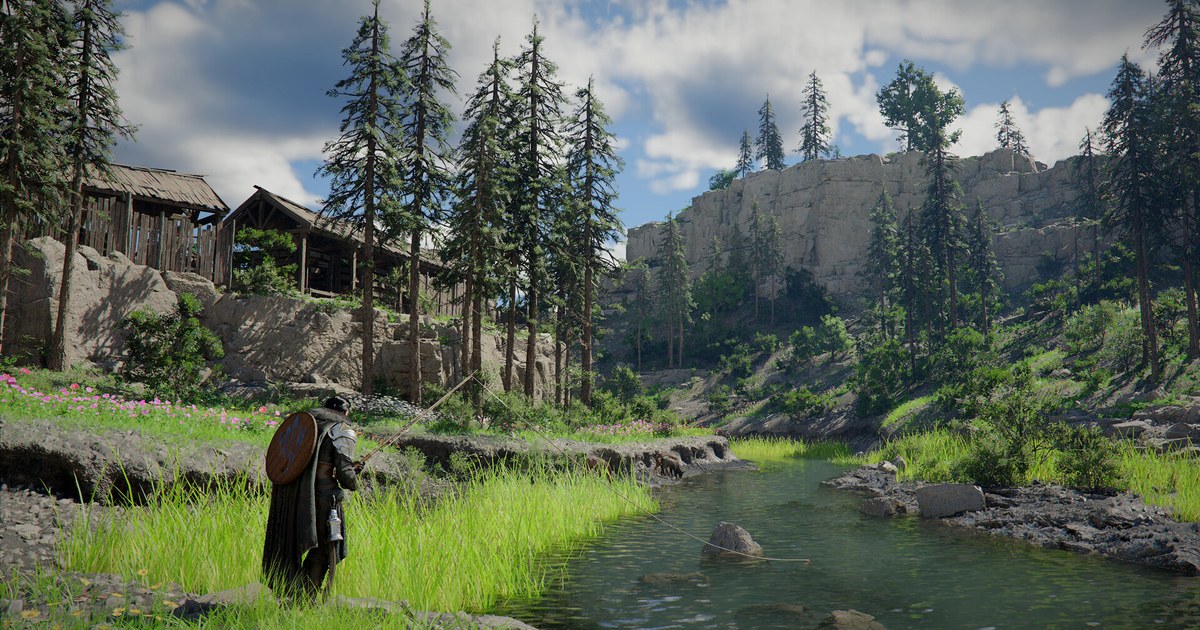
Crimson Desert launched on March 19, 2026, and one of the most common complaints in its first weeks was the camera: it sat far behind Kliff, framed him dead center, and gave you almost no say in it.
That changed with patch 1.03.00 on April 11, which Pearl Abyss shipped with five new camera options under Others > Accessibility.
These are the options people mean when they search for a flexible camera, and a popular first project is recreating the tight, off center framing of the recent God of War games. Pearl Abyss kept tuning things afterward.
Patch 1.04.00 changed how Visual Range behaves, and patch 1.18.00 in August split Lock-on Camera Rotation into three modes. This guide covers what each option does, how to build an over the shoulder view, and which settings make boss fights and exploration look good once you record them.
It sticks to the camera, not graphics presets or frame rate. If you are still checking whether your PC can run the game at all, start with Crimson Desert PC requirements and install size. Option names below match the English client, and everything was checked against version 2.04.08, the current build as of November 10, 2026.
Over the shoulder or the default view?
Start by understanding Visual Range, because its name is misleading. It controls how wide the view is, much closer to a field of view slider than a zoom.
Since patch 1.04.00 the game keeps the distance between the camera and Kliff fixed when you change it, so lowering the value shows less of the surroundings and makes Kliff fill more of the frame, while raising it pulls in more landscape and more enemies.
Vertical Offset and Horizontal Offset decide where Kliff sits on screen. Push the Horizontal Offset to one side and he moves out of the center, which is the core of the over the shoulder framing people mean when they search for a God of War camera.
Which setup is right depends on what you want to capture. For boss fights you plan to clip, a slightly narrower view with Kliff offset to one side makes every hit read clearly and feels heavier.
For exploration, horseback rides and scenic shots, a wider view with Kliff closer to the center shows off the world better. If you plan to crop clips to 9:16 for Shorts or TikTok, a big horizontal offset will push Kliff out of the vertical frame, so keep him near the middle.
Many players keep two combinations written down, one for bosses and one for exploration, and switch between them instead of hunting for a single perfect setup.
How to set up the camera
- 1Update the game firstCamera behavior has shifted with almost every patch. Version 2.04.00 on October 30 (Asia time, the evening of October 29 in the Americas and Europe) fixed excessive camera shake in certain situations, and 2.04.08 on November 6 fixed the camera occasionally becoming unresponsive during pioneering. Back in August, 1.18.00 also fixed the camera jittering when you turned it at low frame rates. Make sure Steam has finished updating before you change anything.
- 2Open Others > AccessibilityFrom the menu, go to Others and open Accessibility. You will see Camera Visual Range, Camera Vertical Offset, Camera Horizontal Offset, Camera Auto-follow and Camera Lookahead. The same page holds Colorblind Mode, Chromatic Aberration, Photosensitive Mode and Minimum Font Size, so it is a good moment to fix blurry edges or small text as well.
- 3Build the over the shoulder viewLower Visual Range a little from the default so Kliff appears larger, then push Horizontal Offset to one side so he stands off center. Adjust Vertical Offset until his shoulders sit near the lower third of the screen. Pearl Abyss has not published slider ranges or defaults, so move each slider in small steps and check the screen as you go rather than jumping to big values. If you will crop clips vertically, read how to crop a video to vertical 9:16 and use a smaller horizontal offset.
- 4Choose your lock-on cameraIn Input, set Lock-on Camera Rotation to Manual, Semi-auto or Auto. Manual lets you turn the camera freely with the mouse or right stick while locked on (the old Enabled setting), Auto locks rotation completely (the old Disabled setting), and Semi-auto allows rotation within a limited range. Semi-auto works well for recording big bosses that move a lot, since the target stays in frame while you nudge the angle. Since 1.03.00, lock-on no longer applies to certain larger bosses, so you will steer the camera yourself in those fights.
- 5Record a short test and compareRecord about a minute in the same spot with the default view and with your new setup, then watch them side by side. Footage often feels different from what you see while playing, and a large horizontal offset can make Kliff look crammed into one side of a video. Write down the numbers you like so you can restore them quickly if a patch resets anything.
Crimson Desert camera options and what to pick for video (November 10, 2026, version 2.04.08)
| Option (menu) | What it changes | When you plan to record |
|---|---|---|
| Camera Visual Range (Others > Accessibility) | How wide the view is. Since 1.04.00 the distance to Kliff stays the same | Slightly narrower for bosses, wider for exploration and scenery |
| Camera Vertical Offset (Others > Accessibility) | Where Kliff sits vertically on screen | Start near shoulder height and adjust so the horizon stays visible when flying or climbing |
| Camera Horizontal Offset (Others > Accessibility) | Moves Kliff left or right of center | Push to one side for over the shoulder, keep near center for 9:16 clips |
| Camera Auto-follow (Others > Accessibility) | The camera turns to follow your movement direction | Keep on for smooth horseback and travel shots, turn off if you prefer full manual control |
| Camera Lookahead (Others > Accessibility) | Adjusts camera position toward where you are heading | Test while sprinting and keep it if the view leads naturally |
| Lock-on Camera Rotation (Input) | How far you can turn the camera while locked on: Manual, Semi-auto or Auto | Semi-auto is a safe pick for boss recordings, Manual if you want to frame shots yourself |
| Flying Mount Controls (Others > Input) | Camera: fly where the camera faces. Manual: climb and dive separately | Pick Manual if you want to swing the camera around while flying |
| Chromatic Aberration (Settings > Accessibility) | Color fringing around the edges of the screen | Turn it off for cleaner, sharper footage |
Before you hit record
- The game is on version 2.04.08 or later, and your camera values survived the update.
- You have two camera setups written down, one for bosses and one for exploration.
- For clips you will crop to 9:16, Kliff sits close to the center of the frame.
- Lock-on Camera Rotation is on Semi-auto or Manual so you can follow a moving boss.
- Chromatic Aberration is off and a short test recording looks sharp.
Turn your best boss fights into clips
DOR is a free Windows game recording app. It detects Crimson Desert when you launch it and records the whole session from launch to exit, and every recording lands in My Clips inside the app.
When a boss fight or a view is worth keeping, open the recording, trim the part you want and save it in 16:9, 9:16 or 1:1. Over the shoulder combat fits 16:9 well, while scenes with Kliff centered crop cleanly to 9:16 for Shorts.
In DOR Studio (dor.gg/studio) you can merge several moments, add effect templates such as shake zoom and punch zoom, drop in text and background music, then export an mp4 or share a dor.gg link.
On supported NVIDIA graphics cards such as the RTX series, DOR records with NVENC hardware encoding, and the free plan records at 720p or 1080p and 30 or 60fps (1080p at 30fps by default). To send a boss strategy to a friend, see how to share Crimson Desert gameplay videos, and find more recording tips on the Crimson Desert hub.