To turn a horizontal video into a vertical one, you can let an editor's auto-reframe feature build a vertical frame such as 9:16. For YouTube Shorts the video only has to be square or vertical and up to 3 minutes long. This guide follows the official Premiere Pro and CapCut menu names as checked on October 6, 2026, and compares cropping the picture with keeping all of it and filling the empty space. If your footage is gameplay, turning a game clip into a vertical short has its own walkthrough, so this page sticks to ordinary video.
Crop or fill: how to choose
A horizontal video can go vertical in two basic ways. Cropping places a vertical window over the wide picture and discards everything outside it, while the fill approach keeps the whole picture, changes only the canvas ratio, and covers the leftover space above and below with a background. If the key action sits in the middle of the frame, cropping is worth trying first, and if information on both sides matters, filling is worth trying first, but neither is better in general because it depends on the footage. As checked on October 6, 2026, YouTube's help page says a video from a standard channel counts as a Short when it was uploaded after October 15, 2024, has a square or vertical aspect ratio, and runs 3 minutes or less. Once the file is ready, the first steps for uploading to YouTube Shorts pick up from there.
Going vertical in Premiere Pro and CapCut
- 1Check the source and destination — If the destination is YouTube Shorts, start by matching a square or vertical ratio and a length of 3 minutes or less. 9:16 is an example of vertical, so play the source first and check that the scenes you want to keep fit inside a vertical frame. Requirements for other platforms should be checked in that service's own documentation.
- 2Build an Auto Reframe sequence in Premiere Pro — Select the sequence in the Project panel and open Sequence > Auto Reframe Sequence. Pick a Target Aspect Ratio preset or a custom ratio, and Premiere creates a duplicate sequence at the new size with Auto Reframe applied to every clip. You can type a custom width and height, and for a fully manual start use File > New > Sequence, then the Settings tab > Video > Frame Size.
- 3Choose a Motion Tracking level — The Motion Tracking dropdown offers Slower Motion for almost no camera movement, Default for most content, and Faster Motion for lots of movement, which adds many keyframes. Adobe notes that very fast action may not look good with Default. For sequences with complex keyframes or speed changes, the Clip Nesting option preserves the original motion, but smooth transitions are not kept properly.
- 4Play it back and fine-tune — After applying the effect, play from start to finish and look for stretches where the subject slides out of the vertical frame. Complex sequences may need manual keyframe adjustments after reframing. If you applied the effect to a single clip, the Effect Controls panel offers Adjust Position, Reframe Offset, Reframe Scale, and Reframe Rotation for finer changes.
- 5Switch the canvas in CapCut desktop — In the CapCut desktop editor, bring the video in with Import, click Ratio to switch the canvas from horizontal to vertical, then choose 9:16 under Auto reframe in the Basic section. A Resize option above the timeline is the alternative. The guide also mentions Background fillers for the empty space, but it gives no exact path, so look for it on screen. When you are done, use Export at the top right to adjust codec, bitrate, format, and quality.
- 6Upload through YouTube Studio — Sign in to YouTube Studio, choose CREATE > Upload videos, and select your file. Up to 15 files can go up at once, and you finish the details with EDIT DRAFT before publishing.
Methods compared (official docs only)
| Method | Use it when | What the official docs say |
|---|---|---|
| Premiere Pro Sequence > Auto Reframe Sequence | You want a whole sequence converted to a vertical ratio in one pass, following moving subjects | Choosing a Target Aspect Ratio creates a duplicate sequence at the new size, saved in the Auto Reframe Sequences folder of the Project panel |
| Premiere Pro Auto Reframe on a single clip | Only some clips need to go vertical, or you want to nudge the position | Apply Auto Reframe from Video Effects > Transform to the clip and adjust Motion Tracking in the Effect Controls panel |
| CapCut Ratio > Basic > Auto reframe | You want an imported video on a 9:16 canvas right away | This is the path in CapCut's guide, and menus can differ between versions |
| CapCut Resize and Background fillers | You want to keep the whole picture and only fill the empty space | Blurred edges, solid colors, or your own image are described as options, but the guide gives no exact menu path |
| DOR library trim and Studio | You are trimming a recorded video and choosing an output ratio at the same time | Pick 16:9, 9:16, or 1:1 as the output ratio, then share a link or download an mp4 from Studio |
Check before exporting
- Have you confirmed all three Shorts conditions: upload date after October 15, 2024, square or vertical ratio, and 3 minutes or less?
- Did you play the reframed video to the end and look for moments where the subject leaves the frame?
- For footage with lots of movement, did you pick a Motion Tracking level that matches it, such as Faster Motion?
- Do you know that Clip Nesting on a complex sequence does not keep smooth transitions properly?
- Did you check the export resolution, format, and frame rate yourself and keep the original file separate?
What DOR covers before and after the crop
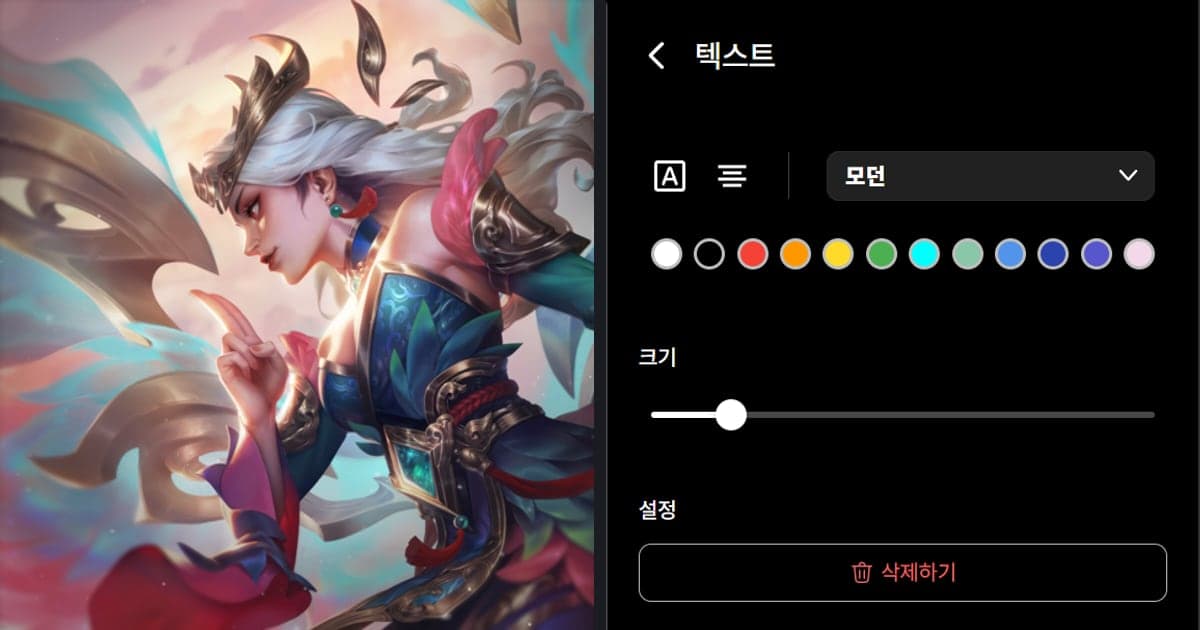
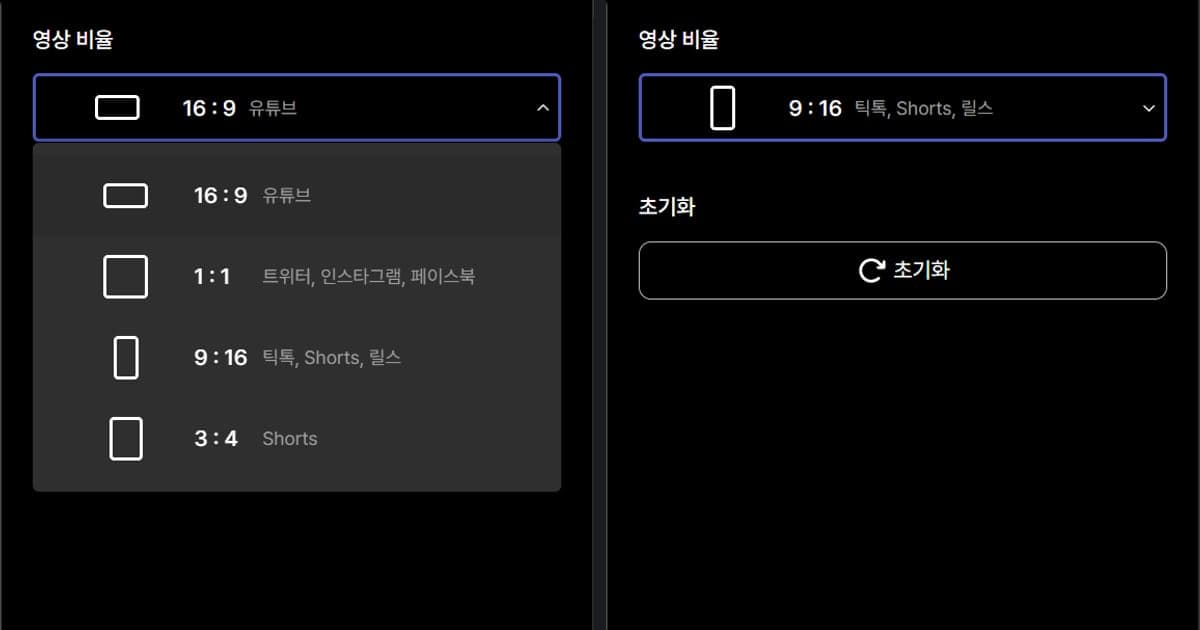
A vertical conversion only starts once you have a source video, and that is the side DOR works on. VALORANT and Fortnite (on PC) are among the 7 games where full-match auto recording and automatic highlight clips for kills are supported, so a match can be saved as an mp4 and passed straight to editing, and on NVIDIA graphics cards NVENC hardware encoding is the default. If you plan a vertical video with your own commentary, game sound and microphone can be recorded together, which gets you a source that already carries your voice. In the app library, the trim tool lets you set the start and end and choose an output ratio of 16:9, 9:16, or 1:1, and a dor.gg link plays in a mobile browser. The no-install DOR browser clip editor, called Studio, handles length, joining several videos, platform ratios, text, background music, and volume, then offers an mp4 download or a link share. The auto reframe and background fill steps in this guide are based on the official Premiere Pro and CapCut procedures.
Official sources (checked October 6, 2026)
Checked sources: YouTube Help Understand three-minute YouTube Shorts, Adobe Help Add Auto Reframe effect to sequences, and CapCut's guide How to Edit Vertical Videos. The Adobe page is marked as updated on April 15, 2026, and CapCut menus can change between versions, so everything is written strictly as the documents describe it. The upload steps follow YouTube Help's 'Upload YouTube Shorts - Computer' page.