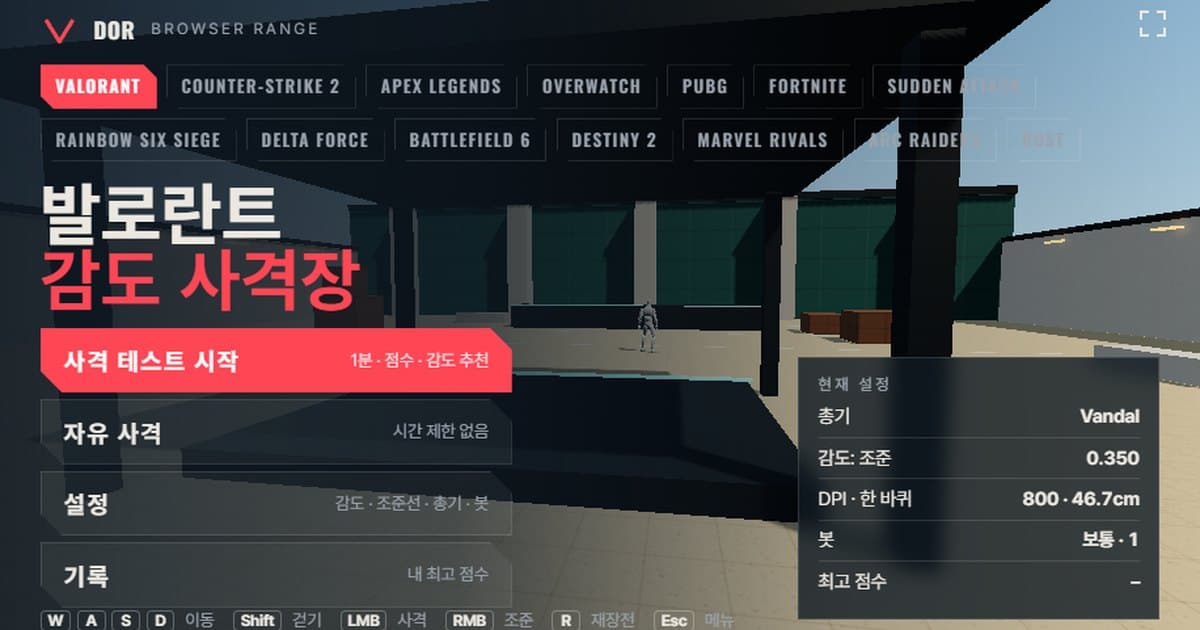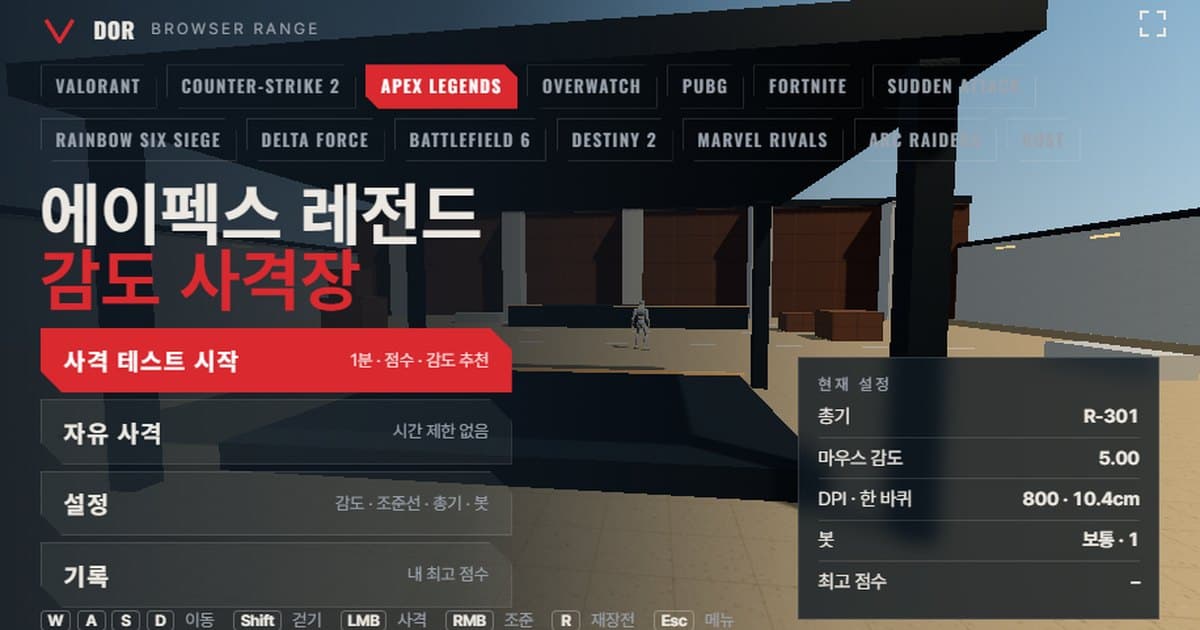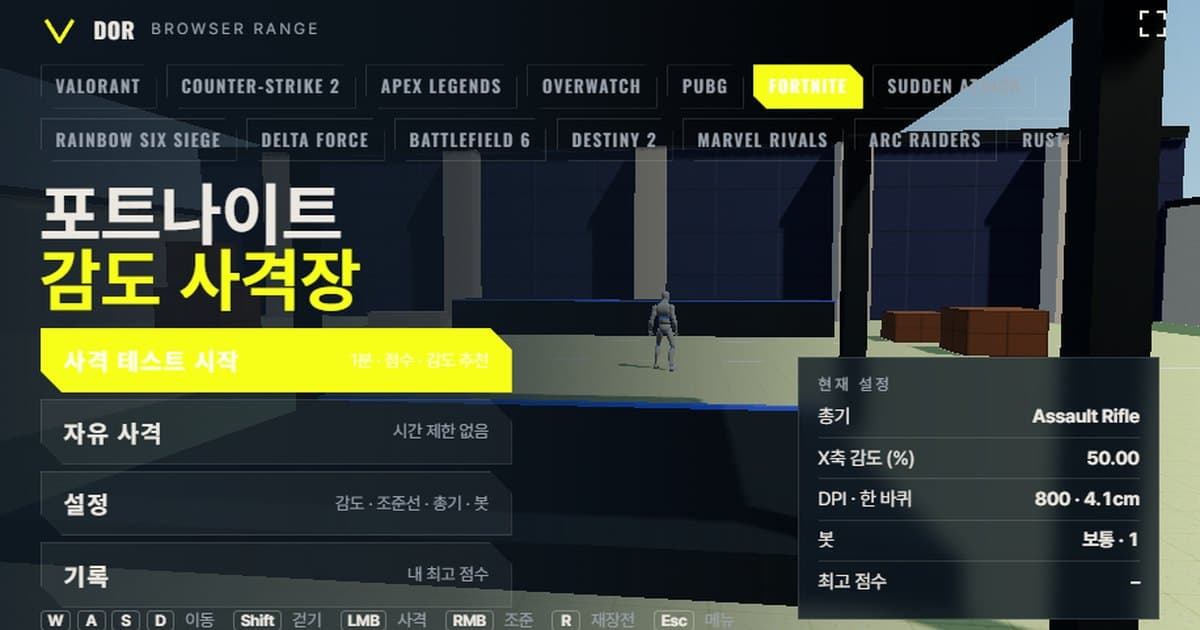
This Fortnite sensitivity test is a 1-minute browser drill: you shoot targets in the range at the top of this page while it measures accuracy, headshot rate, average kill time and how often you overshoot or undershoot, then tells you whether to raise or lower your X-axis sensitivity by 10%. The amount the view turns per mouse count and the 80° horizontal FOV are set to Fortnite's values, so if you enter the X-axis sensitivity and mouse DPI you use in the game, your hand travels the same distance as it does in real matches. Each round also shows a score, shots per kill and the reaction time from a target appearing to your first shot. There is nothing to install; because it needs pointer lock and raw input, it opens only in Chrome and Edge on PC.
Fortnite is third-person by default and the range is first-person, so the screen feels different. What decides sensitivity, though, is not the camera but how far the view turns per mouse count, so with the same turn rate the same hand distance produces the same angle. The structure of the range and the versions for other games are covered in the introduction to the browser sensitivity range.
What matches Fortnite settings and what does not
The table below shows what the range takes from Fortnite and where it simplifies. Turn rate and FOV match the game, while recoil and bullet spread cannot be reproduced from public data, so only their rough size is included.
| Item | Fortnite | Range |
|---|---|---|
| Turn rate (°/count) | X-axis sensitivity (%) × 0.005555 (based on community converter sites, not confirmed by official documentation) | Same formula · 1–100%, entered in 0.01 steps |
| FOV | 80° by default (that it is horizontal at 16:9 is community convention) · per community reports, the min/max FOV sliders apply only while sprinting | Fixed at 80° horizontal |
| Movement speed | Run 5.48 m/s (community wiki measurement, no official Epic figure) | Run 5.48 m/s · walk 3.01 m/s |
| Bot health/armor | 100 health + up to 100 shield (Zero Build adds 50 Overshield) | 100 health · 200 with heavy armor enabled |
| Weapon list | Weapons are vaulted and unvaulted every season | 7 weapons: Pistol, Hand Cannon, SMG, AR, Pump Shotgun, Bolt-Action Sniper, LMG (Legendary-rarity stats) |
How to run the 1-minute test
The menu screen appears when you first open the range. Go into Settings, enter the same values as in the game, then start the test. The order is as follows.
- 1Enter sensitivity and DPIIn the General tab of Settings, enter your Fortnite X-axis sensitivity (%) and your mouse DPI. DPI does not affect turning; it is used only to display eDPI and the distance for one full turn. Check that the cm/360 in the calculated results box matches the value you had in the game.
- 2Pick a weaponChoose the weapon to practice with in the Weapons tab. Starting with a single-shot Pistol or the Assault Rifle makes sensitivity easier to judge. Set bot speed, armor and movement in the Bots tab, but leave them alone while you are comparing sensitivities.
- 3Start the testPress Start test in the menu; after the countdown the mouse locks and the minute begins. If the screen is small, enlarge it with the Fullscreen button before starting so the crosshair is easier to see.
- 4Shoot the targetsFor one minute, aim and fire at targets as they appear. R reloads and right-click aims. Pressing Esc pauses the run and brings the cursor back; Resume continues. Pressing Quit discards that round without recording it.
- 5Read the resultsOn the round result screen, check the score, accuracy, overshoot/undershoot ratio and the sensitivity suggestion. Pressing the Retry with suggested sens button puts the proposed value straight into Settings.
- 6Repeat 2–3 times the same dayA single result fluctuates. Measure 2–3 more times with the same settings and change the game setting only when the suggested direction keeps coming up. The Records menu shows your best score for each setting.
Settings are split into five tabs, General, Crosshair, Weapons, Bots and Audio & Video, and are saved in this browser, so they remain the next time you open the range. Matching the color, inner lines and outer lines in the Crosshair tab to what you use in Fortnite lets you shoot with your usual feel.
How to read the result screen
The round result shows several numbers, and there is an order to look at them when choosing a sensitivity.
- Accuracy: the share of shots fired that hit a target. It is the first number to move when sensitivity changes, so it is the baseline for comparing settings.
- Headshot rate: the share of your hits that landed on the head. Fortnite's headshot multiplier differs by weapon (1.5x for assault rifles, 1.75x for SMGs and LMGs, 2x for pistols, the Hand Cannon and pump shotguns, 2.5x for sniper rifles), and the range also keeps separate head damage per weapon.
- Avg kill: the average time from a target appearing to its kill. If sensitivity is too low your hand is late on distant targets; if it is too high you lose time on fine aiming.
- Spawn → first shot average: the reaction time from seeing a target to firing the first shot. It reflects focus and fatigue more than sensitivity, so if this value is much slower than usual, treat that round as reference only.
- Shots per kill: the number of rounds used to deal with one target. Look at it together with accuracy when comparing settings with the same weapon.
- Overshoot / undershoot: how many times you turned past a target and how many times you stopped short. Once one side exceeds 60%, many overshoots mean sensitivity is on the high side, many undershoots mean it is on the low side, and a value adjusted by 10% is suggested. If fewer than 5 kills in total are classified as overshoot or undershoot, the sample is too small and no suggestion appears.
The suggestion treats ±10% of the current sensitivity as one step. For example, at 8% X-axis sensitivity, frequent overshoot suggests 7.2% and frequent undershoot suggests 8.8%. If balanced, a message tells you to keep the value and measure a few more times the same day to see whether the results agree.
Fortnite's sensitivity system: percent slider, targeting and scope multipliers, FOV
Fortnite's mouse sensitivity is under Esc → Settings (gear icon) → Mouse and Keyboard tab → Sensitivity. X-axis sensitivity and Y-axis sensitivity are entered separately as percentages, and the sensitivity box in the range takes the X-axis value. The slider range is 1–100% according to community converter sites and accepts two decimal places. The default right after installation is widely said to be 50%, but this is not confirmed by Epic's official documentation, so the range also uses 50% only as a placeholder.
The constant that converts percent into turn rate differs slightly between converter sites. Some put 100% at 0.5556° per count and others at 0.5515°, a difference of about 0.7%; the range uses the widely used 0.5555° (0.005555° per percent). Since this is not a value written in official documentation, read the cm/360 figures below as approximations.
The formula for the distance needed to turn the mouse one full 360° from Fortnite's X-axis sensitivity (%) and mouse DPI. The 0.005555 turn constant comes from community converter sites. The eDPI commonly used for Fortnite is DPI × sensitivity (%) ÷ 100, so 800 DPI at 7% is eDPI 56.
| X-axis sensitivity (%) | °/count | cm/360 at 800 DPI | eDPI |
|---|---|---|---|
| 5 | 0.0278 | approx. 41.2 cm | 40 |
| 7 | 0.0389 | approx. 29.4 cm | 56 |
| 10 | 0.0556 | approx. 20.6 cm | 80 |
Targeting sensitivity and scope sensitivity
In the same Sensitivity section, targeting sensitivity and scope sensitivity have their own percent bars. Targeting sensitivity is the multiplier applied to base sensitivity when you right-click to aim a weapon without a scope, and scope sensitivity applies when looking through a magnified scope such as a sniper rifle's. Community guides treat it as a simple multiplication, where 100% equals the same turn rate as hip fire (360° match), but whether Epic adds FOV compensation is not documented. The defaults are not in official material either, so the commonly quoted 50% is unconfirmed. The range's Scoped sensitivity multiplier defaults to 1.0 and can be changed in the General tab, and the sniper rifle's 4x scope is an approximate magnification following converter-site notation. Build and edit sensitivity multipliers are separate settings (default 100%, maximum 1000% according to community guides) and have nothing to do with the range.
FOV sliders and the third-person camera
Fortnite's base FOV is fixed at 80°, and that this is horizontal at 16:9 is community convention. According to the Epic Games support article, the Minimum FOV and Maximum FOV sliders are under Settings → Game tab, and Fortnite does not support a 21:9 aspect ratio in Ranked or competitive modes. Community reports describe these sliders as changing only how far the view widens while sprinting, with the standing and aiming FOV staying at 80°, so the range uses only 16:9 horizontal 80°. Fortnite Battle Royale is third-person, and the only first-person mode Epic ran itself was Ballistic, from December 2024 to April 2026. Otherwise you play in first person only on Creative islands whose makers add a first-person camera device. The range is first-person, so the character does not block the screen, but the angle the crosshair turns when you move the mouse is the same regardless of perspective. A full rundown of settings including build and edit sensitivity is in the Fortnite sensitivity settings guide.
Fortnite weapons in the range
The Weapons tab contains seven weapons that have been staples of Fortnite Battle Royale, with Legendary-rarity stats. Fire rate, magazine, reload time and damage approximate community-wiki figures from the patch at the time, and many of these are currently vaulted in Battle Royale.
| Weapon | Fire rate (rpm) | Magazine | Reload (s) | Head · body damage | ADS zoom |
|---|---|---|---|---|---|
| Pistol | 408 | 18 | 1.22 | 60 · 30 | 1x |
| Hand Cannon | 48 | 7 | 1.98 | 168 · 84 | 1x |
| Submachine Gun | 660 | 36 | 1.98 | 33 · 19 | 1x |
| Assault Rifle | 330 | 30 | 2.25 | 54 · 36 | 1x |
| Pump Shotgun | 42 | 5 | 3.78 | 205 · 119 (10 pellets combined) | 1x |
| Bolt-Action Sniper Rifle | 45 | 1 | 2.35 | 303 · 121 | 4x scope |
| Light Machine Gun | 420 | 60 | 3.6 | 42 · 24 | 1x |
For flick practice, the one-shot Bolt-Action Sniper Rifle and Pump Shotgun are the right choice. Overshoot once and you wait more than a second for the next shot, so overshoot/undershoot shows up clearly in the numbers. The Assault Rifle is a safe choice for mixing one-taps and tracking, while the 660 rpm Submachine Gun and the 60-round Light Machine Gun are for practicing keeping the crosshair on a target during a spray. The Hand Cannon fires 48 rounds per minute, which suits checking each shot one at a time.
Limits of a browser range and how to compensate
Some differences are unavoidable in a browser. Knowing them before carrying results over to the game reduces misunderstandings.
- Input path: the range receives raw input through pointer lock, but if mouse acceleration is enabled in the operating system it can still be affected. Turn off Enhance pointer precision in Windows to match the conditions of the game.
- Input timing: browsers batch mouse events per screen frame, so the fine intervals of a 4,000–8,000 Hz polling mouse are not reflected the way they are in the game. The total rotation is the same but the feel can differ, so comparing at 1,000 Hz is more consistent.
- No recoil patterns: Fortnite's per-weapon recoil, growing spread during sustained fire and first-shot accuracy are not reproduced. Treat spray results as sensitivity comparisons only and learn recoil control in Creative maps inside the game.
- Accuracy while moving: turning on the move-and-shoot error option widens the crosshair, but there is no per-state accuracy difference like Fortnite's while jumping, falling or building.
- FOV and aspect ratio: only 16:9 horizontal 80° is supported. On monitors with other ratios the edges of the screen may look different, so fit the window close to 16:9 in fullscreen.
- No third-person camera: the sense of distance between crosshair and character that the over-the-shoulder camera creates in Fortnite is absent in the range. It does not affect turn-rate comparisons, but recheck close-range shotgun fights in the game.
The remedy is simple. Use the range only to decide which of two settings is better, and lock in the final value in the game's Creative aim maps or a few real matches. To carry over the cm/360 you used in another game, calculate it with the sensitivity & DPI converter and then confirm it in the range.
Verifying in real matches after setting sensitivity: DOR
Whether the sensitivity you chose in the range also holds up in real matches is something you can only tell by rewatching your fights. When DOR detects Fortnite, it records matches automatically, detects kills and deaths and saves clips automatically. Trim clips in the browser editor and share them with a dor.gg link. It is free and runs on Windows. After a few matches with the new sensitivity, check in the kill and death clips whether your crosshair passes targets or stops short, and compare that with the range results. Details are on the Fortnite recording page.
 #Fortnite