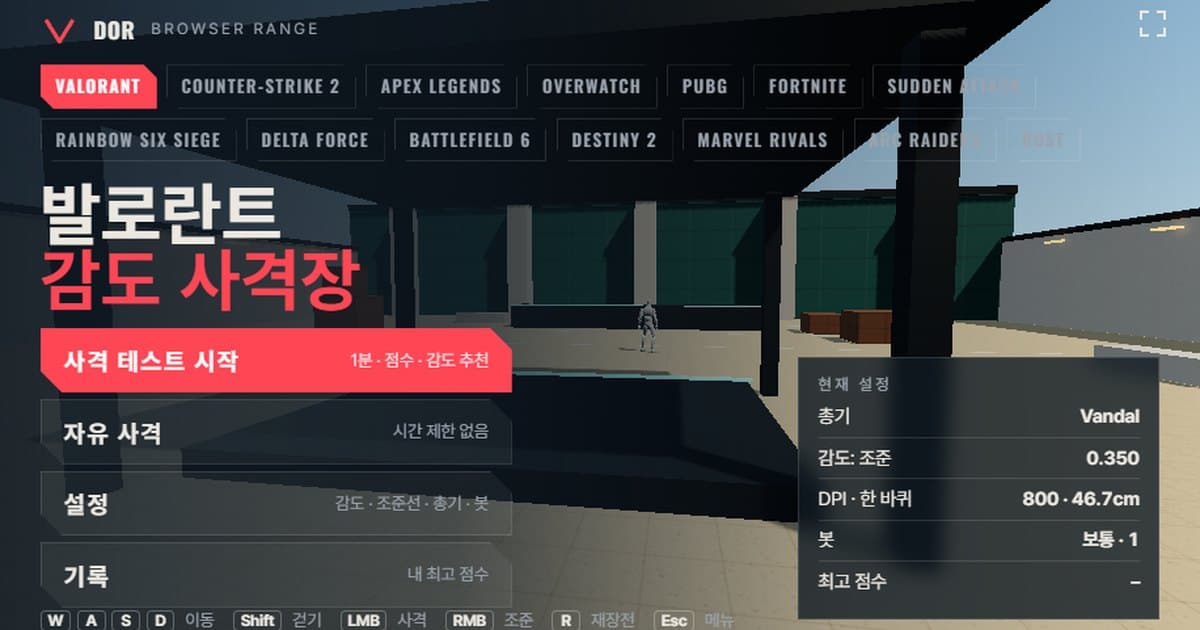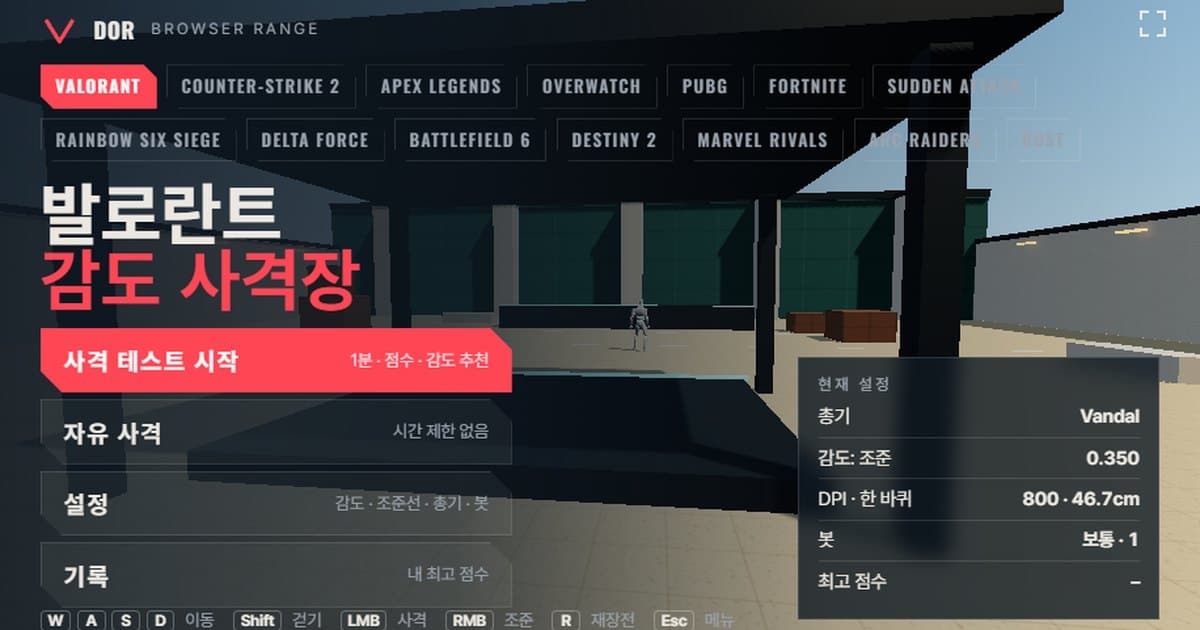
This VALORANT sensitivity test is a one-minute browser test: in the range at the top of this post you eliminate bots for 60 seconds while it measures accuracy, headshot rate, time to kill and how often you overshoot or undershoot targets, then uses that ratio to tell you whether to raise or lower your sensitivity by 10%. There is nothing to install. The amount the view turns when you move the mouse (0.07° per count at sensitivity 1.000) and the 103° horizontal FOV at 16:9 match VALORANT, and you pick a weapon and sensitivity the way you would in the game's settings screen. Press Start test and the round begins after a 3-second countdown; when it ends, the Round result screen shows your numbers along with a sensitivity suggestion. It needs mouse lock (pointer lock) and WebGL2, so it is built for Chrome or Edge on PC and does not work on mobile or in browsers embedded inside apps. For converting a sensitivity number to another game or DPI, see the sensitivity DPI converter post, and for ranges for other games see the browser sensitivity range overview.
What Matches VALORANT's Settings and What Doesn't
The range is not a copy of the game; it matches only the elements that matter for judging sensitivity. The values in the table below are approximations taken from the official wiki, game client data (valorant-api.com) and sensitivity conversion sites, and the values you can confirm on Riot's official wiki are limited to base health of 100, 66% armor absorption and a knife-out base run speed of 6.75 m/s. The 0.07°/count turn rate is the figure conversion sites such as csdb and ultimatemove share, but it does not appear in Riot's official documentation, so treat it as a community conversion-site figure.
| Item | VALORANT | Range | Notes |
|---|---|---|---|
| Turn rate | 0.07°/count at sensitivity 1.000 (linear, no acceleration) | Same: sensitivity × 0.07° | Community conversion-site figure, not in official docs |
| Field of view | Fixed 103° horizontal (16:9), no slider | Fixed 103° horizontal (16:9) | About 70.5° vertical. Community sources describe 4:3 stretched and 21:9 handling differently |
| Movement speed | 6.75 m/s with knife, 5.4 m/s with a rifle, about 5.13 m/s with the Operator | Run 6.75 m/s · Walk (Shift) 3.2 m/s | No per-weapon slowdown. No official walk speed, so this is an approximation |
| Bot HP/armor | 100 HP; Heavy Armor (50) absorbs 66% of damage (up to 150 effective HP) | 100 HP, or 150 HP with Bot armor set to Heavy | Simplified to 150 HP without the absorption calculation |
| Weapons | All weapons plus melee | 7: Classic, Sheriff, Spectre, Guardian, Phantom, Vandal, Operator | Fire rate, magazine, reload and damage approximate client data; no damage falloff |
Matching turn rate means the mouse distance it takes to turn a full 360° at sensitivity 0.350 in the range (about 46.65 cm at 800 DPI) is the same as in the game. Bot HP and weapon damage also match, so the feel of a one-shot Vandal headshot or a three-shot Phantom body kill on an unarmored bot (39 × 3 = 117) is similar. However, picking up a rifle in the range does not slow your run speed to 5.4 m/s. Accuracy loss on the move is also reduced to one simple rule: holding WASD adds 1.6° of spread, jumping adds 3°, aiming with right click halves the spread, and there is no difference between walking (Shift) and running.
How to Run the 1-Minute Test
- 1Enter sensitivity and DPIIn Settings > General, enter the value from the game's Settings > General > Mouse into the Sensitivity: Aim field. The field shows three decimal places, and values outside 0.1–1.5 are snapped to the nearest end. Mouse DPI (800 by default) only drives the eDPI and cm/360 readouts and does not affect turning, because the range uses the counts your mouse sends as-is.
- 2Choose a weapon and botsPick the weapon to practice with in the Weapons tab. The Vandal is selected when you first open the range, and the Vandal or Phantom, both common in real matches, are good places to start. In the Bots tab, set Bot speed (how long a target stays: Easy 2.5 s, Normal 1.6 s, Hard 1.0 s), Bot armor (None at 100 HP, Heavy at 150 HP), Targets at once (1–3) and Bot movement (Still or Strafing). Settings are saved in this browser.
- 3Start testPress Start test in the menu; the mouse locks and bots appear after a 3-second countdown. Press the Fullscreen button in the corner of the menu screen first for a view closer to the game's size. To shoot without a time limit, choose Free fire; there the bots never time out, and you end the session with See results in the ESC menu.
- 4Shoot for 60 secondsWASD to move, Shift to walk, Space to jump, left click to fire, right click to aim (each click toggles it), R to reload. Pressing ESC mid-round pauses the test and brings the mouse cursor back; press Resume to continue from the remaining time. Pressing Quit discards that round.
- 5Read the resultsThe large number at the top of the Round result screen is kills / bots spawned. Below it you get Accuracy, Headshot rate, Avg kill, Spawn → first shot avg, Shots per kill, Overshoot / undershoot, Missed targets and Best (same setup). If a sensitivity suggestion appears, the Retry with suggested sens button applies that value immediately so you can try again.
- 6Repeat 2–3 times the same dayPress Retry same setup to measure two or three more times with the same settings, and settle on the sensitivity where the results overlap. The Records menu keeps your best score per settings combination, so you can compare as you change sensitivity.
How to Read the Result Screen
Every number on the result screen is a tally from this 60-second round. Here is what each item means.
- Accuracy: the share of fired shots that hit a bot. Automatic weapons naturally score lower than semi-auto weapons because spread grows during sustained fire, so compare only within the same weapon.
- Headshot rate: the share of hits that landed on the head. With the Vandal and Phantom, one headshot kills even a bot in heavy armor, so this ratio has the biggest effect on kill speed.
- Avg kill: the average time in seconds from a bot appearing to its elimination. When a sensitivity suits you, this is the first number that drops.
- Spawn → first shot avg: the time from a bot appearing until your first shot. This is closer to reaction time and should not change much when you change sensitivity.
- Shots per kill: rounds fired per kill, misses included. An unarmored bot takes one Vandal headshot or three body shots, so around 3 means mostly body shots and 1–2 means mostly headshots.
- Overshoot / undershoot: for each kill, the range tracks horizontal error while you move the crosshair; if it crossed past the target's head and came back, that counts as an overshoot, and if it approached from one side without crossing, an undershoot. Kills with too little tracking data are left out, so the two numbers can add up to less than your kills.
- Missed targets: bots that timed out and disappeared before you killed them. This naturally rises when Bot speed is set to Hard (1.0 s), so compare only at the same bot speed.
- Suggestion rule: if overshoots and undershoots together total fewer than 5, you only get a notice that the sample is small. From 5 up, overshoots above 60% mean your sensitivity is judged too high and a value 10% lower is suggested, undershoots above 60% get a value 10% higher, and otherwise you are told to keep your current sensitivity. Suggested values also stay within 0.1–1.5.
VALORANT's Sensitivity System: Where It Lives, Range and cm/360
VALORANT's mouse sensitivity is under ESC > Settings > General > Mouse, in the Sensitivity: Aim field. The field accepts three decimal places, which is why pro settings lists often show values like 0.395 or 0.471. Sources agree on a maximum of 10, but the minimum is listed as 0.01 in most guides and 0.001 in some conversion tools, so the lower bound varies by source. Community sources also disagree on whether a new account defaults to 0.5 or 1.0, and Riot's pages do not state it, so the default remains unconfirmed in official documentation. The range's slider covers only the 0.1–1.5 band people actually use, with a default of 0.35; this is not the game's default but a starting point close to the pro average eDPI of 267 moved to 800 DPI (about 0.33). The sensitivity number in this range maps 1:1 to the game, so copy it over without any conversion.
0.07 is the degrees turned per mouse count at sensitivity 1.000, a community conversion-site figure. For example, 800 DPI × 0.35 sensitivity gives 914.4 ÷ (800 × 0.35 × 0.07) = 914.4 ÷ 19.6 ≈ 46.65 cm. Written in eDPI (DPI × sensitivity), cm/360 ≈ 13,063 ÷ eDPI.
| Sensitivity (800 DPI) | eDPI | cm/360 | Style |
|---|---|---|---|
| 0.250 | 200 | about 65.3 cm | On the low side, whole-arm aiming |
| 0.300 | 240 | about 54.4 cm | Same as the pro median eDPI of 240 |
| 0.350 | 280 | about 46.7 cm | Close to the pro average 360 distance (about 45 cm) |
| 0.500 | 400 | about 32.7 cm | On the high side, mostly wrist |
Scoped Sensitivity Multiplier and Zoom Levels
VALORANT has no per-weapon or per-scope sensitivity sliders; the same Mouse section has just one Scoped Sensitivity Multiplier. Its default is 1.0, and conversion sites agree that the game divides sensitivity by the zoom factor and then applies this multiplier. Based on client data, the zoom levels are 1.15× (SMGs such as the Spectre), 1.25× (Phantom, Vandal), 1.5× (Guardian) and 2.5× (Operator first stage; the second stage is 5×), while the range's Operator has only the 2.5× stage. Whether 1.0 equals a 100% horizontal monitor-distance match or a focal-length (0%) match is interpreted differently across conversion sites and is unconfirmed in official documentation; the range's right-click aim follows the sensitivity × multiplier ÷ zoom model. About 73–79% of pros leave the multiplier at 1.0 (setup.gg and prosettings.net counts), so we recommend leaving the Scoped sensitivity multiplier in the range's General tab at 1.0, settling your base sensitivity first, and then testing the multiplier separately with the Operator if needed. For VALORANT crosshairs, see the VALORANT crosshair guide and pro crosshair codes.
Weapons Included in the Range
The seven weapons in the Weapons tab have fire rate, magazine, reload time and close-range damage set from VALORANT client data (valorant-api.com) and the wiki. There is no damage falloff, so weapons whose damage drops with distance in the real game, such as the Phantom (156 to the head up to 20 m), Spectre (up to 15 m) and Classic (up to 30 m), deal close-range damage at every distance in the range.
| Name | Fire rate (rpm) | Mag | Reload (s) | Head · body damage | ADS zoom |
|---|---|---|---|---|---|
| Classic | 405 | 12 | 1.75 | 78 · 26 | None |
| Sheriff | 240 | 6 | 2.25 | 159 · 55 | None |
| Spectre | 800 | 30 | 2.25 | 78 · 26 | 1.15× |
| Guardian | 315 | 12 | 2.5 | 195 · 65 | 1.5× |
| Phantom | 660 | 30 | 2.5 | 156 · 39 | 1.25× |
| Vandal | 585 | 25 | 2.5 | 160 · 40 | 1.25× |
| Operator | 36 | 5 | 3.7 | 255 · 150 | 2.5× (scope) |
For one-tap (single headshot) practice, the Vandal and Sheriff fit best. Both kill even a bot in heavy armor (150 HP) with one headshot, so headshot rate and shots per kill translate directly into a sensitivity assessment. For spray (sustained fire) practice, choose the Phantom or Spectre and set Bot movement to Strafing to see how well you keep the crosshair on a target during sustained fire. For flick (fast switching) practice, set Targets at once to 2 or 3 and use the Operator or Guardian; each shot requires turning through a large angle, so overshoot/undershoot counts build up most clearly.
Limits of a Browser Range and How to Compensate
- Raw input: Chrome and Edge request raw input without OS acceleration when the pointer is locked, but if the browser or OS refuses, Windows pointer acceleration gets mixed in. The range shows a notice when this happens; turning off Enhance pointer precision in Windows mouse settings gives you the same conditions as the game.
- Input timing: the game reads mouse polling directly, while the browser batches input per display frame. With a 4000–8000 Hz mouse, the total turn is the same but responsiveness may differ slightly. Going fullscreen and setting Graphics to Low in the Audio & Video tab keeps frames stable.
- No recoil patterns: recoil in the range is a small per-weapon upward kick that lifts the view briefly and recovers on its own, plus spread that grows during sustained fire. VALORANT's per-weapon recoil paths and late-spray sway are not reproduced, so do recoil control practice in the in-game range.
- Simplified movement accuracy: movement spread only checks whether WASD is held and adds 1.6°, so there is no walk-versus-run difference and no rules such as first-shot accuracy after counter-strafing. Movement & firing error in the Crosshair tab only controls whether the crosshair visibly blooms; turning it off does not remove the actual spread.
- FOV at 16:9: the range draws 103° horizontal at 16:9. Community sources disagree on how 4:3 stretched and 21:9 are handled, but the angle turned per mouse count is the same at any aspect ratio, so lock in only the sensitivity value in the range and recheck the feel in the game.
Because of these limits, the range score is not a number to compete on with others; use it as a relative comparison for the same person changing only sensitivity. The approach that works best is to keep the same DPI, weapon and bot settings, move sensitivity in 10% steps, and see where Avg kill and overshoot/undershoot stabilize. If you want to compare with CS2, which uses a different turn rate, run the same kind of test in the CS2 sensitivity range and check the setting location and eDPI math in the CS2 sensitivity settings post.
After Settling on Sensitivity, Confirm in Real Matches: DOR
Once you have settled on a sensitivity in the range, the next step is confirming it holds up in real matches. When DOR detects VALORANT, it automatically records matches round by round and detects events such as kills, aces and clutches to save clips automatically. Clips can be trimmed in the browser editor and shared via a dor.gg link. It is free and runs on Windows. After about 10 matches at the new sensitivity, check whether your crosshair goes past or stops short of targets in your kill clips, and you can re-examine the range's overshoot/undershoot verdict against real play using the same criteria. DOR's VALORANT recording guide is on the VALORANT recording page, and weapon numbers that can change with each patch are in the official VALORANT patch notes.
 #Valorant