A basic workflow for adding effects to a game Short is to set Video Ratio to 9 : 16 in DOR Studio (dor.gg/studio), click one or two effects from the Moment tab onto a single clip, and then adjust their timing on the timeline. YouTube's help page says a Short can be up to 3 minutes long with a square or vertical aspect ratio (checked October 6, 2026). Recording and converting footage to vertical is covered in our vertical Shorts recording basics, so this guide stays on which effect to place where.
Verdict: one moment, one effect
Pick the single moment you want viewers to notice, then try one or two effects there instead of covering the whole clip. For a final kill, Punch Zoom or Shake Zoom are natural first candidates; for a heavy hit or an explosion, try Face Smash or Earthquake; and when you join two clips, the Glitch effect in the Transition tab is meant for the cut between videos. These pairings are a working suggestion, so preview each one yourself. This guide makes no claim that effects raise views or watch time. Hooks, length and captions for game Shorts are covered in 7 formulas for game Shorts.
Six steps from 9 : 16 to export
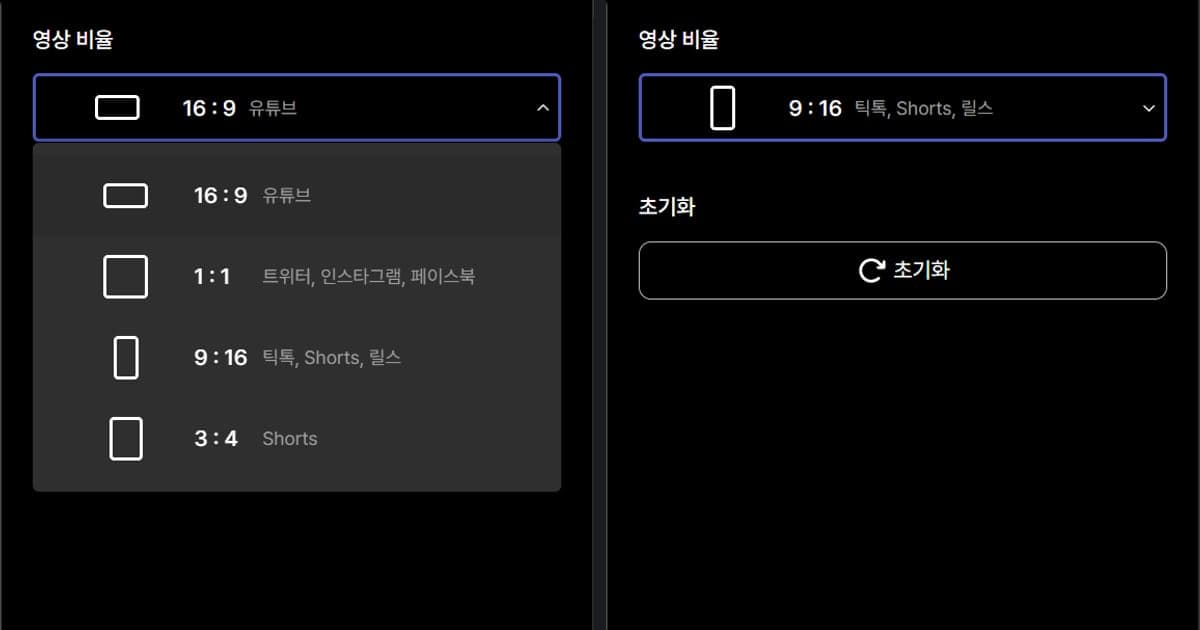
- 1Set the ratio to 9 : 16 first — At dor.gg/studio, add your clip with Add Video, then open the Video Ratio dropdown on the Home panel and choose 9 : 16 (TikTok, Shorts, Reels). The list has similar-looking entries, so confirm the numbers read 9 : 16. Choosing the ratio before adding effects keeps the work order tidy.
- 2Decide the one moment to emphasize — Play the clip and settle on a single spot you want noticed, such as the final kill that ends a VALORANT round or the beat just before an explosion. Once that spot is chosen, the rest of the clip does not need an effect.
- 3Pick a tab in the Effect panel — Open Effect in the left navigation to see the Theme, Moment, Highlight, Filter and Transition tabs. Per the on-screen descriptions, Theme sets the atmosphere, Moment is for instantaneous scene transitions, Highlight is for impressive scenes, Filter changes the overall color tone, and Transition is for natural transitions between videos. To emphasize one moment, start in the Moment tab.
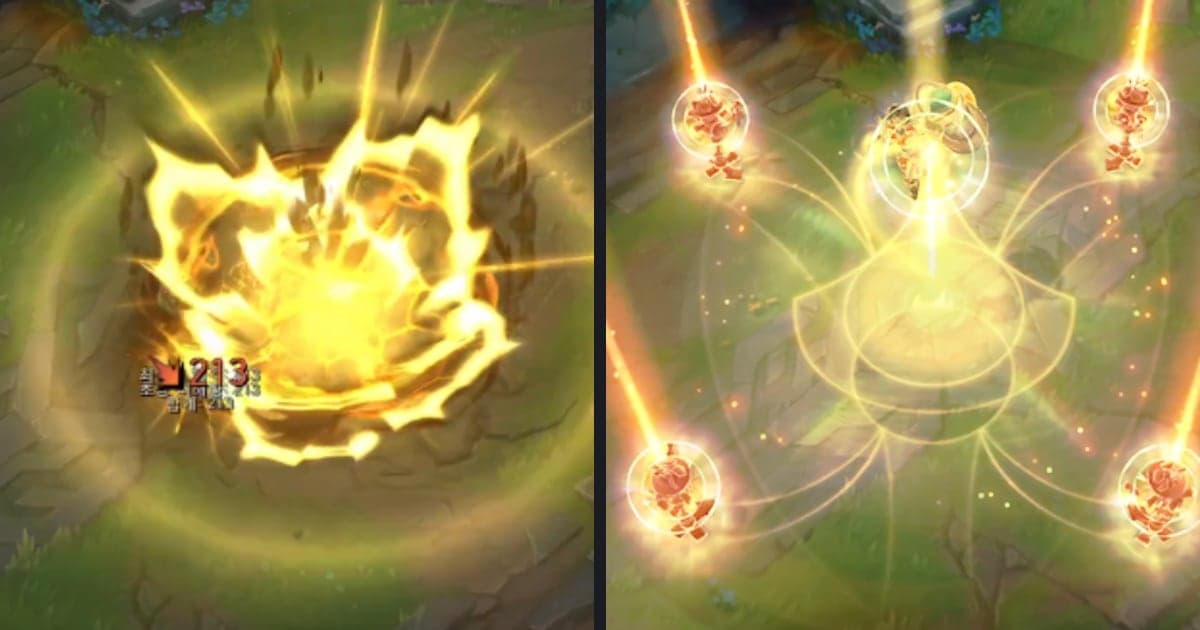
- 4Click to apply, then fix the timing — Clicking an effect applies it, and the on-screen hint tells you to adjust the timing in the timeline afterward. Punch Zoom, Shake Zoom, Face Smash, Earthquake, Flashback and Glare Impact are names you can find under Moment. If one does not fit, remove it with Delete Effect (del) and try another. Nothing is inserted for you; effects land only where you place them.
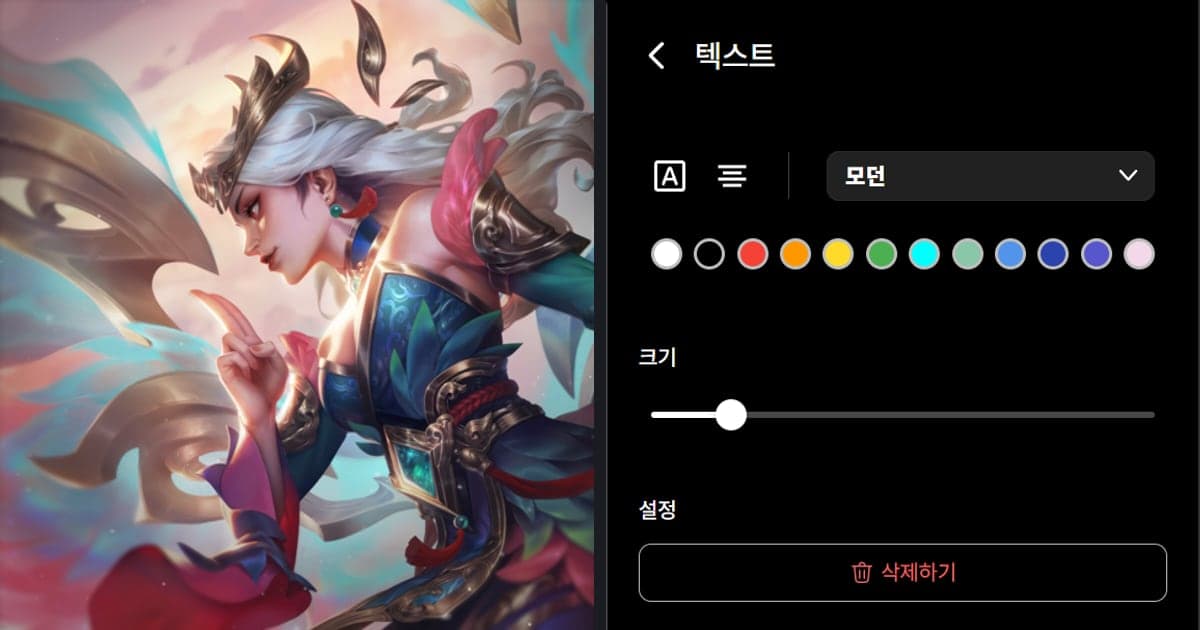
- 5Add text, music and volume — Add one short line of text, pick background music, and use Volume Control to balance it against the game audio. Keep text and effect scenes toward the middle instead of hugging the screen edges.
- 6Export and upload to YouTube — When you finish, download the result as mp4 or share it as a link. To upload as a Short, go to CREATE > Upload videos > EDIT DRAFT and fill in the details, and confirm the video is within 3 minutes and square or vertical.
Vertical effect menus compared: Premiere Pro and DOR Studio
| Task | Premiere Pro (Adobe official help) | DOR Studio |
|---|---|---|
| Getting a vertical frame | Choose Sequence > Auto Reframe Sequence and set Target Aspect Ratio to a preset or a custom ratio; Premiere creates a duplicate sequence in the new ratio. | Open the Video Ratio dropdown on the Home panel and pick 9 : 16 (TikTok, Shorts, Reels). |
| Finding an effect | Open the Effects panel with Window > Effects, then browse categories or search. | Browse the Theme, Moment, Highlight, Filter and Transition tabs in the Effect panel. |
| Applying it | Select the clip on the timeline and drag and drop the effect onto it. | Click the effect to apply it. |
| Adjusting afterward | Tune it in the Effect Controls panel; Motion covers position, scale and rotation, and keyframes animate properties over time. | Adjust the timing on the timeline, and remove an effect with Delete Effect (del) if it does not fit. |
| Clips with busy movement | The help page notes that several points of interest or fast motion may need keyframe fine-tuning after reframing. | Studio has no set method for this; this guide only suggests keeping a clip to one or two effects and checking the timeline yourself for overlapping sections. |
Scene check before adding an effect
- Confirm the clip is limited to one or two effects
- Confirm the emphasis is narrowed to one moment in the clip
- Check on the timeline that the effect lines up with the real kill or explosion
- Confirm transitions are used only between videos, and in-clip emphasis comes from the Moment tab
- Confirm text and effect scenes are not pushed against the screen edges (no numeric rule exists)
- Listen again to the balance of game audio and background music after adding the effect
Recording and kill clips are automatic, effects are a click
When DOR detects a supported game it records the full match to mp4 automatically, and in games with automatic highlight clips, such as VALORANT, it also cuts kill clips for you. Automatic clips cover seven games: VALORANT, League of Legends, PUBG, FC Online, Fortnite, Counter-Strike and Overwatch, while Apex Legends and TFT get full-match recording only. On an NVIDIA graphics card, NVENC hardware encoding is the default, and since game sound and your microphone are recorded together, a spoken comment meant for your Short can be captured during the original recording. Upload the clips to DOR's browser clip editor and, with no install, you can trim, join several videos, add text and background music, choose 9 : 16 and apply effects; the effects are never added automatically, you click them in as described above.
Official sources checked
Checked on October 6, 2026. The Shorts upload conditions (up to 3 minutes, square or vertical) and the upload menu come from YouTube Help: Upload YouTube Shorts on a computer, building a vertical sequence in Premiere Pro from Adobe Help: Auto Reframe sequences, and applying effects from Adobe Help: Apply effects. The Adobe Auto Reframe page shows an update date of 2026-04-15. Tab and effect names in DOR Studio follow the on-screen labels at dor.gg/studio and may change with updates.