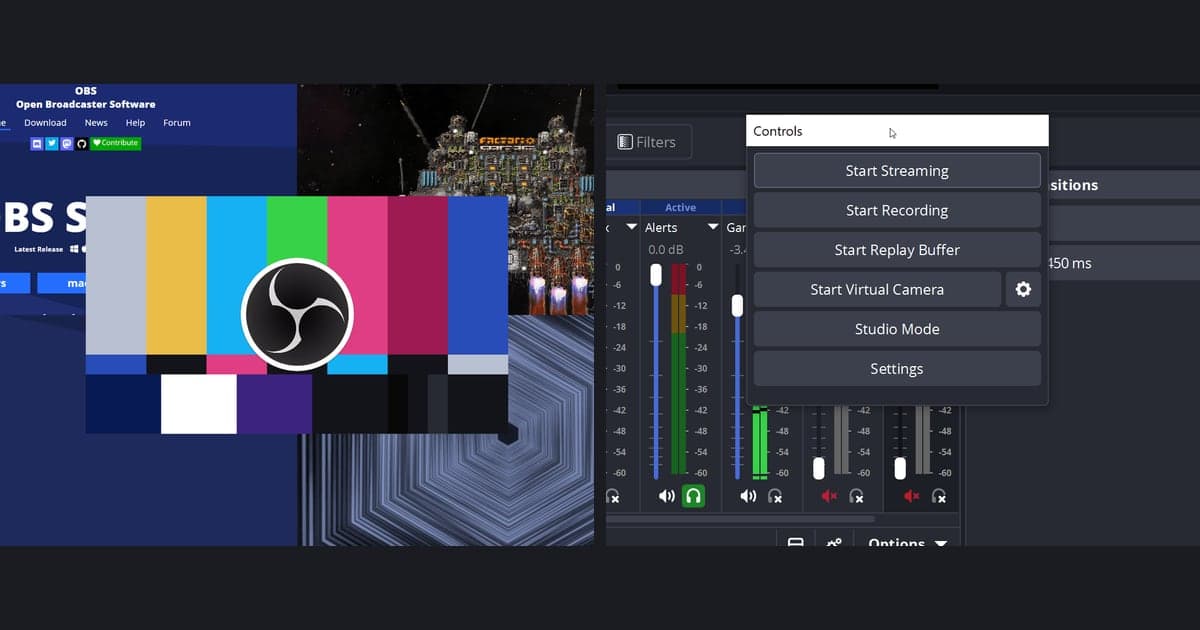
In OBS Studio, a scene is one screen layout and a source is a single item placed inside it, such as a game, a webcam, an image, or a line of text. At first you only need four habits: start from the blank scene OBS creates on first launch, add sources with the plus button under the Sources dock, remember that a source higher in the list is drawn on top, and use the red bounding box to place and size each one. This guide follows OBS Studio 32.2.2 on Windows, the stable version listed on the official download page as of October 6, 2026. Resolution, bitrate, and encoder choices are a different topic, which OBS game recording settings covers separately.
The short version
If your only goal is to capture gameplay, one scene and one source is enough. The OBS documentation tells you to try Game Capture first for games and describes it as the most efficient way to bring a DirectX or OpenGL game into OBS. To show a whole monitor or a single non-game window, use Display Capture or Window Capture instead. Webcams, images, and text are extras you add when you are dressing up a stream, not requirements for a plain recording. If Game Capture is added but the preview stays black, go through the OBS black screen troubleshooting guide cause by cause.
From first scene to a test recording
- 1Pick the scene you will useA fresh OBS already opens with one blank scene, so you can add sources to it right away; to keep layouts apart, press the plus button in the Scenes dock of the main window and name another scene (per the OBS Quick Start Guide). Every source lives inside a scene, so with no scene at all OBS stops you and says you need at least one scene to add a source. Name scenes by purpose, such as Gameplay, so they stay clear when more appear later.
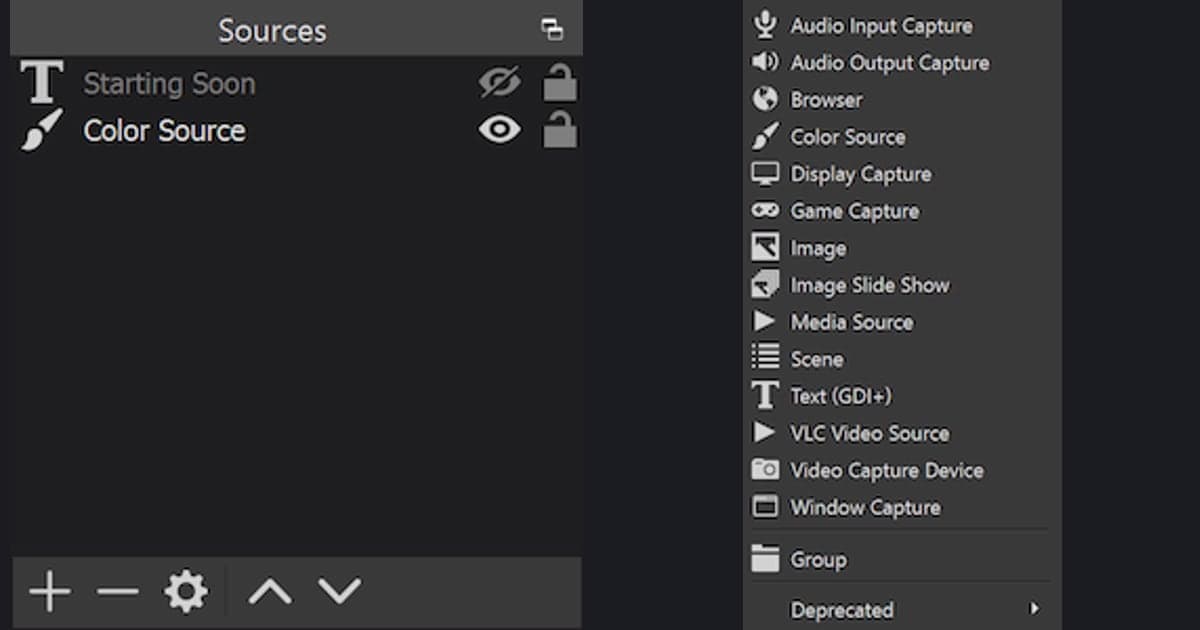
- 2Add a source with the plus button in the Sources dockThe plus button at the bottom of the Sources dock opens the list of source types. For a game pick Game Capture, for a whole monitor pick Display Capture, then give it a name and create it. To delete one, select it in the list and press the minus button. In OBS Studio 32.2.2 this window is titled Add Source.
- 3Choose the capture target in the propertiesIn Game Capture, the Mode setting offers Capture any fullscreen application, Capture specific window, and Capture foreground window with hotkey. The documentation suggests the first for games you run fullscreen and the third when you switch games often, and it warns that with a single monitor the game stops rendering once you leave it to look at OBS, so the preview shows nothing. Window Capture asks for a Window, and Video Capture Device asks for a Device.
- 4Use list order to decide what sits on topA source listed higher is drawn above the ones below it in the preview. To show a webcam over gameplay, keep the webcam source above Game Capture. Drag items in the list or use the arrow buttons; the menu route is Edit, Order, then Move Up or Move Down. When a source seems to be missing, another source sitting above it may simply be covering it.
- 5Place and size each source with the red boxSelecting a source draws a red bounding box. Drag the box to move the source and drag the corner or edge handles to resize it. For exact numbers, open Edit, Transform, Edit Transform (Ctrl+E) and enter Position, Size, Rotation, and Crop values. The same Transform menu holds Fit to screen (Ctrl+F), Stretch to screen (Ctrl+S), Center to screen (Ctrl+D), and Reset Transform (Ctrl+R). Holding Alt while dragging a handle crops the source, and its edges turn green.
- 6Tidy up with hide, then run a testThe eye icon on a source row hides it, and clicking again shows it. When the layout is done, check that the Audio Mixer meters move, press Start Recording, and run a test of a few minutes to confirm picture and sound. The OBS Quick Start Guide also recommends a short test before a first recording or stream.
Which source for what (OBS wording)
| Source (OBS name) | What it shows | Note from the OBS documentation |
|---|---|---|
| Game Capture | A game running on DirectX or OpenGL | The documentation says to try this one first. It has three modes: Capture any fullscreen application, Capture specific window, and Capture foreground window with hotkey. |
| Display Capture | An entire monitor | Only one Display Capture source can exist per display. If another scene needs it, add the existing source instead of creating a new one. |
| Window Capture | One chosen window | Only the selected window appears even if other windows sit in front of it. The documentation points to it for windows that are not games. |
| Video Capture Device | A webcam or a capture card | After adding the source, pick the hardware from the Device list in its properties. |
| Audio Input Capture / Audio Output Capture | A microphone (input) or a headset-type output device (output) | Adding a device that is already chosen under Settings, Audio can cause an echo, according to the documentation. |
| Image / Text (GDI+) | A picture file such as a logo, or a line of text | Image lists bmp, tga, png, jpeg, jpg, and gif as supported. Text can be typed in or read from a text file. |
| Browser | One web page | The documentation says it is mainly used for stream alert overlays and chat boxes. You enter the address in the URL property. |
Check before you press record
- The Scenes dock has a scene, and the Sources dock contains the source you intend to record.
- The preview shows the game. If it does not, check source type, mode, the eye icon, and list order in that sequence.
- Any webcam, image, or text meant to overlay the game sits above Game Capture in the list.
- Display Capture exists once per display, and other scenes use the existing source rather than a new copy.
- No device chosen under Settings, Audio was added again as an Audio Input Capture or Audio Output Capture source.
- The Audio Mixer meters move, and a few-minute test recording confirmed both picture and sound.
A way to start without any scene or source
Everything above is about building a layout by hand, which is what you want when the goal is a stream screen with a webcam, images, or text stacked together. That is OBS territory and not a ranking of tools. If your first goal is simply keeping the gameplay, DOR is a free Windows app that you can start without first creating OBS-style scenes, sources, or output settings. Instead of choosing a Game Capture source and sizing it, you launch a supported game and DOR detects it and records the full match to mp4 on its own. Back to the Audio Mixer check from the test step: a DOR recording contains your game sound and microphone together, and on an NVIDIA graphics card the video is compressed with NVENC hardware encoding by default. Afterward the in-app library lets you trim by choosing a start and an end, then export in 16:9, 9:16, or 1:1 or share a link. Only seven games, VALORANT and Fortnite included, get kill highlights cut into clips automatically; every other supported game stops at the full-match recording. For the longer story, read when OBS feels too complicated and the first gaming video checklist.