Three options matter most when you set up OBS for YouTube Live: paste the Stream URL and stream key from YouTube Studio into Settings > Stream, match the Video Bitrate in Settings > Output to the row of the YouTube table for your resolution and frame rate, and use CBR with a keyframe interval of 2 seconds. This guide follows OBS Studio 32.2.2 (the latest stable release) and YouTube Help as checked on October 6, 2026, and nothing else. If you are still deciding whether to stream or to record, read stream vs record for gaming first.
The short version
The order is: get the Stream URL and key in YouTube Studio, enter service, server and key in OBS Settings > Stream, match Settings > Video and Settings > Output to the YouTube table, then test before you go live. YouTube Help (checked October 6, 2026) detects resolution and frame rate automatically by default, and gives minimum and recommended bitrates by ingest codec, resolution and frame rate. The table never says which resolution is best, so pick the row your upload speed and PC can carry. If you also want a recording of the same session, recording for streamers covers that separately.
Moving the values into OBS
- 1Check the live requirements and your OBS versionYouTube Help (checked October 6, 2026) lists these requirements for going live: a verified channel, no live-streaming restriction in the last 90 days, and an age of 16 or older. Enabling live streaming for the first time can take up to 24 hours and is instant afterwards, so switch it on well before show time. The menus here are from OBS Studio 32.2.2; version 33.0.0 is still in beta and was not used.
- 2Find your stream key in YouTube StudioIn YouTube Studio choose CREATE > Go Live to open the Stream tab. On a first stream press Create stream; if you have streamed before, your previous settings and stream key load automatically. YouTube describes the stream key as the password and the address of your stream, so keep it out of screen shares and screenshots. When your encoder offers a YouTube RTMPS preset, the help page says to pick it.
- 3Enter service, server and key in Settings > StreamThe first screen of Settings > Stream offers Connect Account (recommended) and Use Stream Key; this guide follows Use Stream Key because it matches the YouTube Help steps. Choose 'YouTube - RTMPS' as the Service (choose 'Show All...' in the service list if it is not shown), pick 'Primary YouTube ingest server' as the Server, and paste the key into Stream Key. The built-in service data carries its own OBS recommendations (keyframe 2, audio at most 160 kbps) that can differ from YouTube Help, and ticking 'Ignore streaming service setting recommendations' lifts those limits.
- 4Set resolution and FPS in Settings > VideoFollowing the OBS overview guide, Base (Canvas) Resolution matches your monitor or game, while Output (Scaled) Resolution and FPS match what you want to broadcast. YouTube caps the frame rate at 60fps, and OBS notes that a 60fps stream puts more load on your system than 30fps. YouTube gives no recommendation for a resolution, so choose the row in the table below that your upload speed can support.
- 5Choose the encoder and bitrate in Settings > OutputIn Settings > Output pick Simple or Advanced as the Output Mode, then choose a Video Encoder whose codec YouTube accepts. The Simple mode list shows Hardware (NVENC, H.264) and Software (x264), while the Advanced mode list shows 'NVIDIA NVENC H.264' and 'x264'. Set Video Bitrate from the table row for the resolution and FPS you just chose. OBS takes kbps, so 17 Mbps for H.264 1080p 60fps becomes 17000, and the 6 Mbps minimum becomes 6000. 'Video Bitrate' is the Simple-mode label; in Advanced mode, enter the same value in the 'Bitrate' field under Streaming > Encoder Settings. For Audio Bitrate YouTube recommends 128 Kbps for stereo while the OBS overview guide suggests about 160 kbps and lower on a slow upload, so settle on one value and keep it.
- 6Set CBR and a 2-second keyframe interval in Advanced modeIn what this guide could verify, bitrate control and keyframe interval live in Output Mode 'Advanced', on the Streaming tab under Encoder Settings. Set Rate Control to CBR for x264, or to 'Constant Bitrate' for NVENC, then enter 2 as the keyframe interval. This guide could not confirm how many seconds 0 (auto) produces, so type the value yourself. The OBS Transcodes article notes that YouTube transcodes every stream and asks for a steady keyframe interval, and this guide does not cover how to match these values in Simple mode.
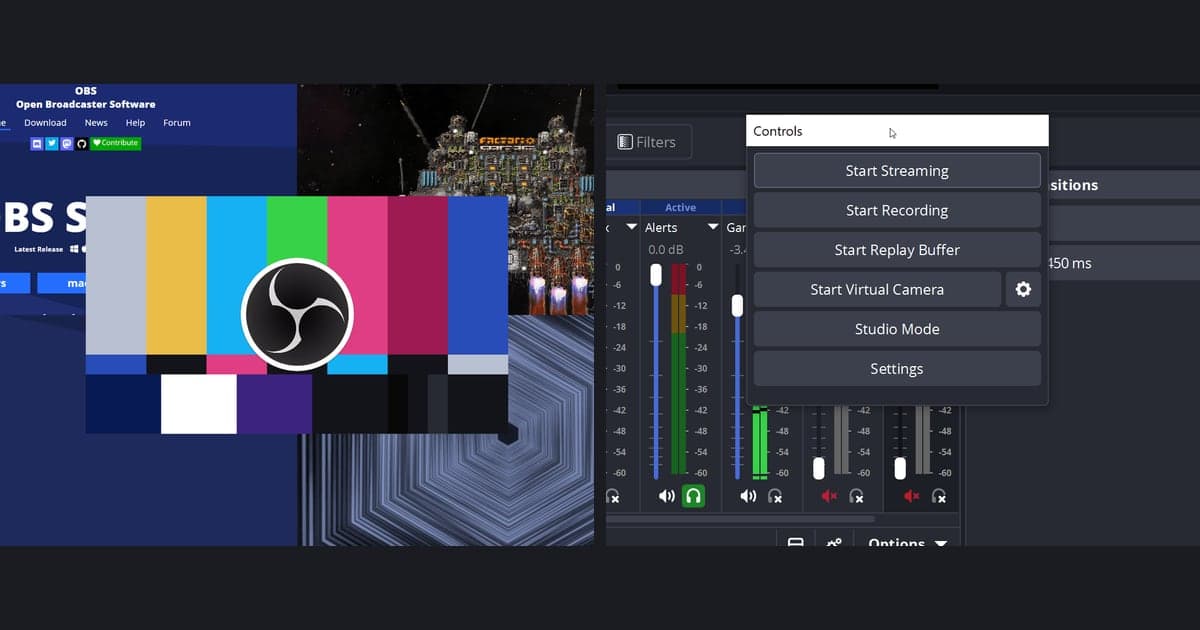
- 7Test, then press Start Streaming and pick a latencyAs the OBS Quick Start Guide suggests, test for a few minutes before going live, then press Start Streaming in the Controls dock. In YouTube Studio you choose Stream latency. Per the help page, Normal supports every resolution and feature including 4K and gives the best viewing quality. Low keeps delay under 10 seconds for most viewers but does not support 4K, and Ultra-low is under 5 seconds for most viewers, also without 4K, with a higher chance of buffering. Streams shorter than 12 hours are archived automatically.
Each setting: OBS menu and YouTube Help value
| Setting | OBS menu (32.2.2 English labels) | YouTube Help says (checked Oct 6, 2026) |
|---|---|---|
| Service and server | Settings > Stream > Service 'YouTube - RTMPS', Server 'Primary YouTube ingest server' (backup: 'Backup YouTube ingest server') | RTMP and RTMPS are supported, and RTMPS is recommended. Only if your encoder has no YouTube RTMPS preset, copy the RTMPS URL with the lock icon next to Stream URL on the Stream tab. |
| Stream key | Settings > Stream > Stream Key (Get Stream Key button), or Connect Account (recommended) / Use Stream Key | Paste the Stream key from the Stream tab in YouTube Studio into the encoder's stream key field. If it leaks, press Reset to issue a new one. |
| Video encoder and codec | Settings > Output > Video Encoder (the Simple mode list shows Hardware (NVENC, H.264), Software (x264) and so on; the Advanced mode list shows the English names 'NVIDIA NVENC H.264' and 'x264') | Video codecs are H.264, H.265 (HEVC) and AV1. Audio is AAC or MP3. |
| Bitrate control | Settings > Output > Output Mode 'Advanced' > Streaming tab > Encoder Settings: Rate Control set to CBR for x264, or to 'Constant Bitrate' for NVENC | Bitrate encoding is CBR. |
| Keyframe interval | Same encoder settings: 'Keyframe Interval (0=auto)' (NVENC: 'Keyframe interval (seconds, 0 = auto)') | Recommended 2 seconds, and do not exceed 4 seconds. |
| Resolution and frame rate | Settings > Video > Base (Canvas) Resolution, Output (Scaled) Resolution, FPS | Up to 60fps. By default YouTube detects resolution and frame rate itself. |
| Video bitrate | Settings > Output > Video Bitrate (entered in kbps; in Advanced mode it is the 'Bitrate' field under Streaming > Encoder Settings) | H.264 minimum to recommended (Mbps): 720p 30 or 60fps 3 to 8, 1080p 30fps 5 to 14, 1080p 60fps 6 to 17. H.265 and AV1: 1080p 30fps 4 to 10, 1080p 60fps 4 to 12. |
| Audio | Settings > Output > Audio Bitrate, and the Settings > Audio tab | Stereo: 44.1 kHz sample rate and 128 Kbps recommended. 5.1 surround: 48 kHz and 384 Kbps, and over RTMP/RTMPS only AAC works. |
Last look before going live
- Channel verification and the first live activation (up to 24 hours) are done
- Settings > Stream shows YouTube - RTMPS and the Stream Key matches the current key in Studio
- Video Bitrate was typed in kbps from the YouTube row for your Output (Scaled) Resolution and FPS
- In Advanced mode, Rate Control is CBR (or Constant Bitrate for NVENC) and the keyframe interval is 2
- The stream key does not appear in any screenshot or screen share
- A short test stream confirmed the picture, the sound and the connection
If you want clips after the stream
Streaming is not a DOR feature, so nothing above depends on it. YouTube Help says streams shorter than 12 hours are archived automatically, which means the replay lives on YouTube. If you want a record of your play that is separate from the stream, DOR is a free Windows app that detects supported games and records the full match to mp4, so you can start without building OBS-style scenes, sources and output settings first. If you narrate while you play, as you would on stream, that voice goes into the file too: DOR records game sound and microphone at the same time, and NVENC hardware encoding is its default on an NVIDIA graphics card. VALORANT is one of the games where kills and other highlights are clipped automatically, and trimming a recording in the app library to 16:9, 9:16 or 1:1 is covered in how to trim game clips.