A gaming commentary video starts with one decision: when you record your voice. If you are showing a whole match, live commentary, where you talk while you play, fits best. If the video needs an organized explanation, such as a guide or a breakdown of a play, a voiceover recorded after the match, lined up to the footage, fits better. Either way, setting mic position, input level and noise before you record, and then talking in the order situation, reason, reaction, makes even a first video easy to follow. This guide covers how to commentate and how to choose a recording method; the technical setup for capturing game sound and your mic together, or on separate tracks, is in how to record game sound and mic together.
How to choose between live commentary and a voiceover
Choose by purpose. If you want viewers to follow your decisions and reactions as they happen, go live. The recording is also the voice take, so the job is done in one pass, and if you already talk while streaming on Twitch or YouTube Live, the style will feel familiar. If you want to explain why a match was won after you know the result, record a voiceover. You can redo it sentence by sentence and you keep a separate voice file, so noise cleanup touches only your voice, but you need a recording program and an editor on top, and it takes more time. For a first video, record one match with live commentary, listen back, and move only the videos where your explanation keeps breaking up to a voiceover. Recording software, PC specs and mic gear as a whole are covered in the beginner's guide to game recording setups for YouTubers and streamers.
From recording to editing a commentary video, in order
- 1Pick the recording method and toolsBefore you start recording, decide whether this is a full-match commentary or a guide or breakdown. A full match goes to live commentary; a video that explains a specific fight or a macro decision goes to a voiceover. For live commentary, just confirm that your recorder captures game sound and your mic together. For a voiceover, decide in advance which program will record your voice (Audacity, for example) and which editor will place the voice file over the video, and mute your mic or stay quiet while you play. If your recorder puts game sound and mic on one track, anything you say during the match stays in the footage and clashes with the narration you record later.
- 2Set mic distance and input level using your loudest reactionA distant mic makes your voice sound roomy and raises background noise with it. RØDE, the microphone maker, recommends keeping your mouth about 2 to 6 inches from the grille of a dynamic mic and roughly 6 to 12 inches from a condenser. With a headset mic, position the boom beside the corner of your mouth so your breath does not hit it head-on, and if P and B sounds pop, angle the mic slightly so you speak across it. For the level on Windows 11, go to Settings > System > Sound, choose > next to your mic under Input to open its Properties page, select Start test and speak, then Stop test and Play to hear the sample, and adjust the Input volume slider. Test with the loudest thing you will shout in a fight, not your normal speaking voice. If you record in a program with a level meter, the Audacity manual describes peaks around -6 dB as a good maximum to aim for. Too quiet is a problem too: raising a quiet take in editing raises the noise as well.
- 3Reduce noise before you recordNoise is easier to prevent than to remove. Turn off steady sources like fans and air conditioners, and listen to the game on headphones instead of speakers so the mic does not pick the game up again and double it like an echo. To clean noise with a filter you need a tool that has one, such as the Noise Suppression and Noise Gate filters in OBS or the Noise Reduction effect in Audacity. The Audacity manual says that effect is meant for constant noise such as hum and hiss and is not suitable for clicks or irregular noise, so tame mechanical keyboard clatter by moving the mic away from the keyboard and closer to your mouth before you lean on a filter.
- 4Make a short test recording and lower game sound firstBefore the real take, play briefly while talking and listen to the recording. If gunshots or ability sounds bury your voice, lower the master or effects volume in the game's own sound settings before raising the mic, because a hotter mic also lifts breathing and room noise. When voice and game sound go into one recording together, it is hard to adjust them separately in editing, so getting this balance right before you record is the core of live commentary.
- 5Open with one sentence, then talk in the order situation, reason, reactionAs soon as recording starts, say in one sentence what this match will show, for example 'Today I'm only showing my early gank routes as jungle.' Viewers then hear everything after it against that goal. Commentary usually feels awkward because it is all reaction and no context, so first state the situation (in League of Legends: 'Dragon is about to spawn and their jungler just showed top'), then give the reason for what you will do ('so we start the fight bot now'), and close with a short reaction once the result is in. The same frame works in VALORANT: 'Spike is down, two of them left, no time, so I go straight for the defuse behind the smoke.'
- 6Handle dead air and slipsIn stretches where nothing happens, such as waiting to respawn or the buy phase, talk about your next plan or the enemy team composition, and cut whatever still drags in editing. Instead of repeating 'whoa' or 'oh', add a few words about what just happened ('whoa, their Flash is down') so the moment still makes sense when someone rewatches it. When you trip over a sentence, do not mumble past it: pause for a moment and say the whole sentence again. The pause marks the spot, so the slip is easy to find and cut in editing. For a voiceover, watch the footage through first, jot down what to say for each scene, and record scene by scene so a retake only replaces that piece.
- 7Balance voice, game sound and music in editingIn editing, aim for your voice to be the clearest, game sound next, and background music sitting under both. For a live commentary recording, adjust the overall original sound volume and the music volume, and cut dead air and slips. For a voiceover, place the voice file on its own track above the video in your editor and lower the game sound while you speak. If you upload to YouTube, the audio part of YouTube's recommended upload encoding settings, checked on October 13, 2026, is AAC-LC or Opus, 48 kHz, and 384 kbps for stereo.
Live commentary vs voiceover
| Criterion | Live commentary (talk while you play) | Voiceover (narrate after recording) |
|---|---|---|
| When you record | While you play | After the match, separately, while watching the footage |
| What it sounds like | Spontaneous reactions and in-the-moment calls | Organized explanation and analysis, made knowing the result |
| Time needed | No extra take, since the recording is the voice take | Extra time to re-record and line the voice up with the footage |
| Fixing mistakes | Cutting a slip also removes that stretch of footage | You can re-record sentence by sentence |
| Audio handling | Voice and game sound share one recording, so balance before recording matters | A separate voice file lets you apply noise cleanup and volume to your voice alone |
| Tools | A recorder that captures your mic and game sound together | A recorder, a voice recording program, and an editor to place the voice track |
| Best for | Full-match commentary, reaction-driven highlights | Guides, play breakdowns, scene-by-scene analysis |
Before you hit record
- I decided on live commentary or a voiceover, and for a voiceover my mic is muted while I play.
- The mic is close to my mouth and angled so my breath does not hit it head-on.
- My loudest reaction does not distort in the test.
- I hear the game on headphones and cut steady noise like fans or air conditioning.
- I prepared one opening sentence that says what this match will show.
- In the test recording, my voice is not buried under game effects.
Recording live commentary with DOR
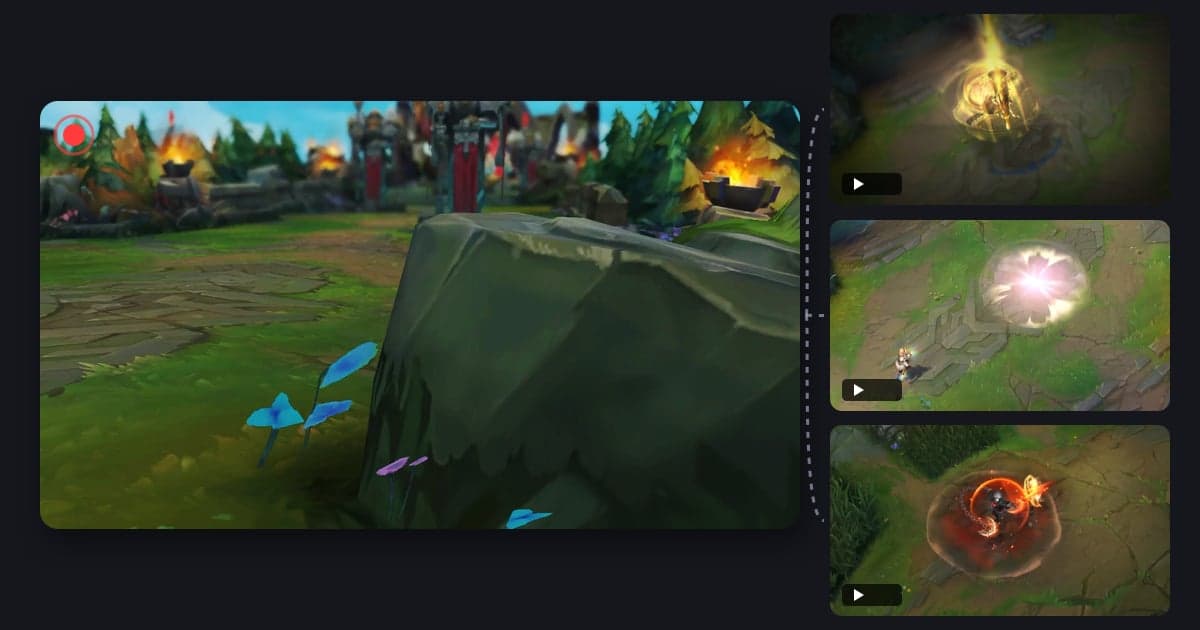
DOR is a free Windows app: launch a supported game and it detects it, records the full match as an mp4, and records game sound and your mic together. That means live commentary is captured just by playing a match, with no separate record button to press. In League of Legends, kills, double kills up to pentakills, objectives and turrets are saved automatically as highlight clips, and a POTG is picked for each match, so you do not have to scrub the full match from the start to find the fight you talked through. Automatic highlight clips exist for only 7 games, including League of Legends and VALORANT; in other supported games you pick scenes from the full-match recording yourself. In supported games you can also save a clip yourself with a hotkey. Use the trim tool in the app library to keep only the part you need in 16:9, 9:16 or 1:1, then merge scenes and adjust volume and background music in DOR Studio in your browser. For choosing music and setting its level, see how to add music and sound effects to game videos. Voiceovers recorded after the match, track separation between voice and game sound, and noise filters are not DOR features, so you need another tool that has them. If your voice is missing from a recording, check the input device and permissions in mic audio not recording.
 #League of Legends