The OBS preview is often scaled down, so softness there may not exist in the file. Open the original recording at 100% size first. If you are building the setup from scratch, start with OBS game recording settings; for compression basics, see the game recording bitrate guide.
Why does my OBS recording look blurry? Three causes, checked in this order
A blurry OBS recording almost always comes down to one of three causes: a downscaled output resolution (even still text looks soft), a low bitrate or quality value (smearing only when the picture moves), or a mismatched encoder preset. Check them in that order, changing one setting at a time and re-recording the same scene. If your goal is recording gameplay rather than tuning OBS, you can skip all of this: DOR, a free Windows app, detects supported games and records the full match with hardware encoding (NVENC by default). Unsupported games and ordinary desktop apps are not detected or recorded automatically, so check the game list first.
When the blur appears identifies the cause
| What you see | Check first | What it suggests |
|---|---|---|
| Still text is soft | Base and output resolution | Unwanted resizing |
| Breakup only during motion | Quality control and encoder headroom | Not enough detail retained per frame |
| Game source looks stretched | Source transform and canvas ratio | Aspect-ratio mismatch |
| Quality drops later | Encoding lag and system load | Sustained load or thermal limit |
Restore clarity in a controlled order
- 1Confirm source size — Match the game/source resolution and base canvas aspect ratio.
- 2Choose output size — If downscaling is unnecessary, keep base and output resolutions aligned.
- 3Select a scaling filter — When reducing size, compare small text with a sharper downscale filter.
- 4Use recording quality controls — Do not blindly reuse a constrained streaming bitrate for local recording.
- 5Create encoder headroom — If CPU or GPU is saturated, lower game load or use a lighter encoder preset.
- 6Repeat the same scene — Record a short segment containing both static UI and fast camera movement.
When you need a simpler clip workflow
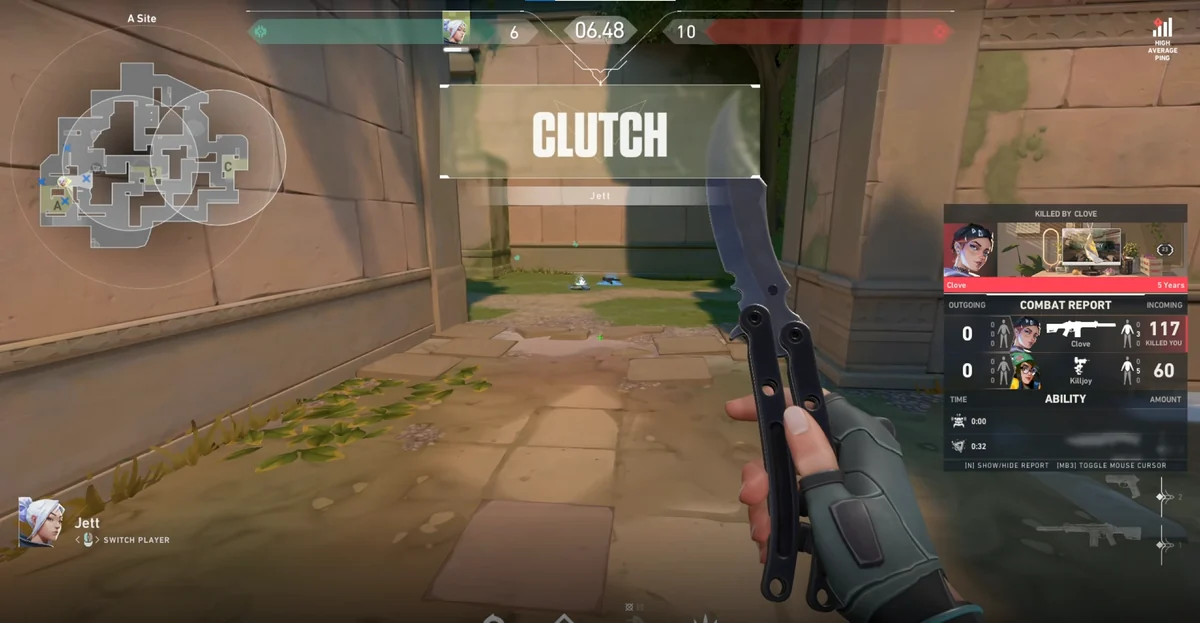
DOR does not sharpen an OBS file. If you want a separate workflow that automatically records moments in supported games, you can test DOR automatic game recording. Verify the resulting clarity, audio, and performance on your own PC and game before relying on it. See the competitive-FPS workflow on the VALORANT auto clips page.
If blur arrives with lag, stop raising quality and address recording FPS drops first. An overloaded encoder cannot process a more demanding setting reliably. OBS also documents the warning signs in its official encoding performance troubleshooting guide.
Where to fix each cause in OBS settings
For each cause, here is the exact OBS setting to change and the label you will see on screen.
| Cause | Where in OBS | What to check and change |
|---|---|---|
| Downscaled output resolution | Settings → Video: Base (Canvas) Resolution, Output (Scaled) Resolution, Downscale Filter. In Advanced output mode, also check 'Rescale Output' on the Recording tab | When both resolutions match, the filter box reads '[Resolutions match, no downscaling required]'. If you must downscale, Bilinear is the fastest but blurry when scaling, while Bicubic and Lanczos use sharpened scaling and keep small text crisper; compare small text after switching. |
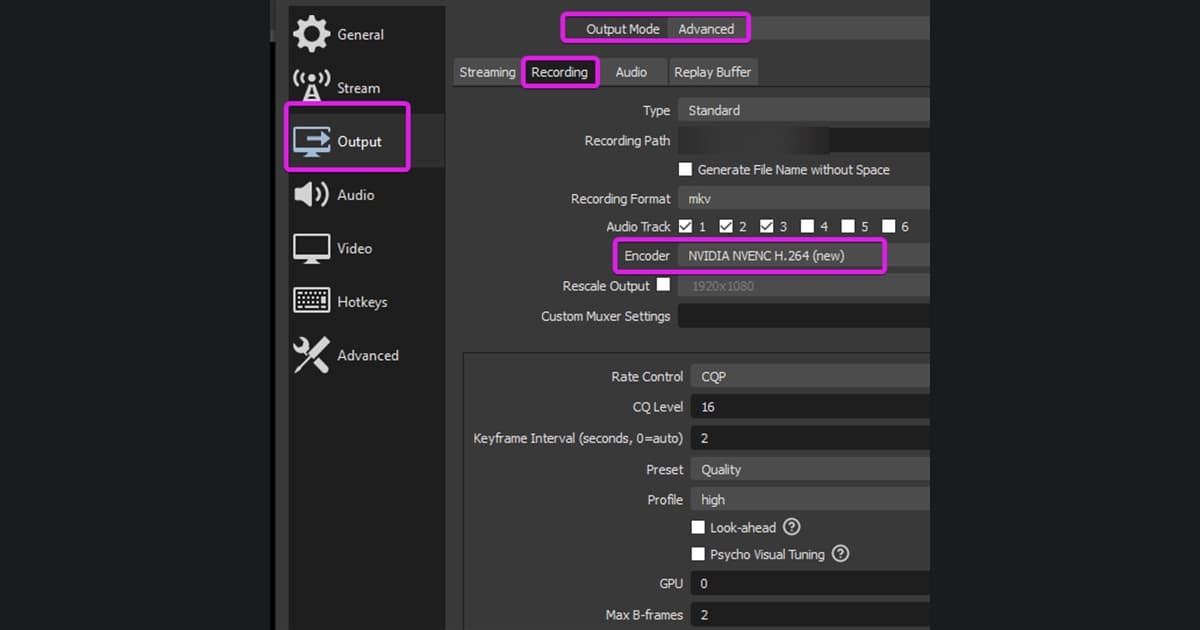
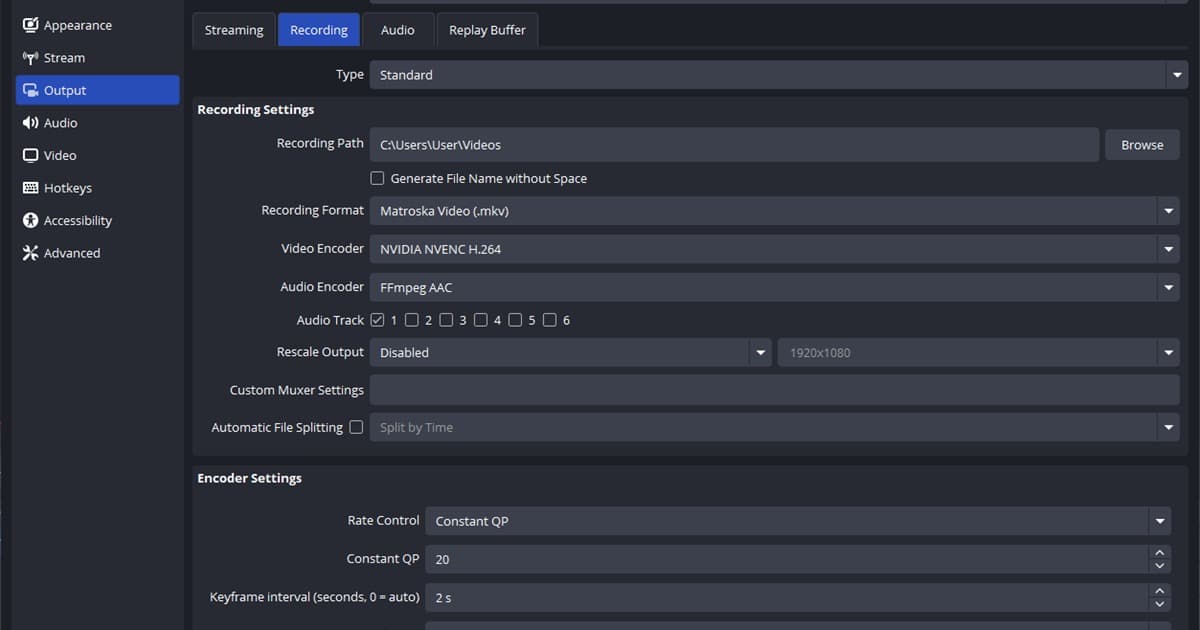
| Low bitrate or quality value | Settings → Output: Recording Quality in Simple output mode, or Encoder Settings on the Recording tab in Advanced mode | 'Same as stream' records with the streaming encoder's settings. For local recording pick 'High Quality' or better, or in Advanced mode set Rate Control to Constant QP for NVENC (a lower CQ level means higher quality and larger files). Lossless uses the CPU encoder and produces tremendously large files, so OBS does not recommend it for long recordings. |
| Encoder overload or mismatched preset | Settings → Output: Video Encoder and Preset on the Recording tab in Advanced mode | If the 'Encoding overloaded!' warning appears or 'Skipped frames due to encoding lag' keeps climbing in the Stats window, do what OBS suggests: turn down video settings or switch to a faster preset. Hardware encoders such as NVENC take the workload off the CPU and are generally recommended for performance; the baseline values per encoder are listed in OBS's official advanced recording settings guide. |