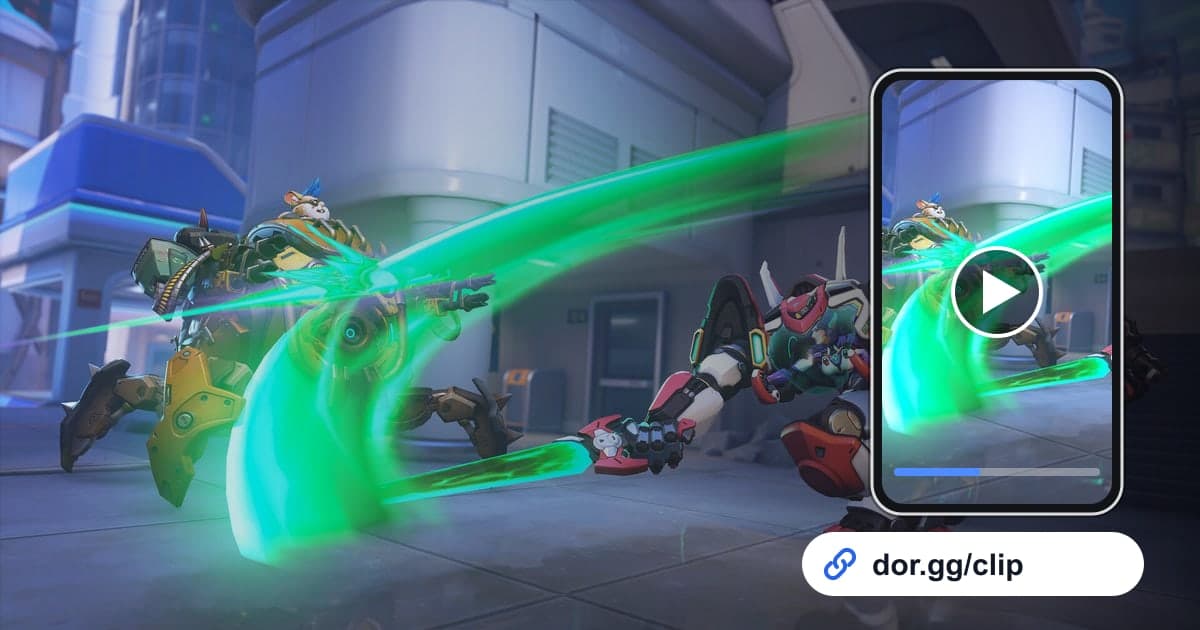
The Overwatch moments you most want to show a friend are rarely solo plays; they are teamfights that five people built together. Two ultimates landing at once to flip a fight, a support pulling a teammate back from the edge, a tank stepping in first to open space: these are hard to explain in words and click instantly on video. This guide covers one flow only: record your Overwatch matches with DOR, cut out just the part you need, and send it to a friend as a single dor.gg link. No passing files around and no hunting for somewhere to upload; it takes a few minutes right after the match ends.
Decide first: is the auto clip enough, or do you need the full match?
Overwatch is one of the seven games where DOR creates automatic highlight clips, so a stretch of back-to-back kills is already waiting in your library as a clip right after the match. How those clips are made is explained in auto highlight clips. The catch is that the best part of a teamfight often is not a kill. A save that kept a teammate alive, the positioning that absorbed an enemy ultimate, or the timing of an engage has no kill event, so you find it in the full-match recording that is saved alongside and trim it yourself. Check whether the moment you want to send ends in a kill, and you immediately know where to pull it from.
From the end of the match to sending the link
- 1Install DOR before the match and launch OverwatchDOR detects Overwatch automatically and records it, so there is no record button to press each match. If your party wants the same teamfight from several points of view, the starting point is having DOR installed on each person's PC. Plug in a microphone too if you want your calls or commentary in the recording.
- 2After the match, skim the highlight clips in the library firstWhen a match ends, the full-match recording and highlight clips built around kill events land in your library. A teamfight where an ultimate combo wiped the enemy team is usually among those clips, so check there first.
- 3Find kill-free moments in the full-match recordingMoments that do not end in a kill, such as a support save or a tank engage, are found in the full-match recording. Remembering which teamfight it was and which part of the point or payload route it happened on cuts the time you spend scrubbing a long video.
- 4Set the start before the fight opensThe start of a teamfight video is not the first kill; it is the moment both teams take their positions. Your friend needs to see when ultimates were stacked and where the enemy ultimate was absorbed to understand why the fight was won. Put the end a few seconds after the last kill or save so the result is visible.
- 5Pick the ratio for the screen it will be watched onIn the trim tool, choose an output ratio of 16:9, 9:16 or 1:1. For a video you will review together on a PC, 16:9 keeps all the on-screen information; for a short moment your friend will watch upright on a phone, 9:16 fits better.
- 6Send the dor.gg link with one line on what to watchOnce the trim is done, you can share it as a dor.gg link and paste that link into a messenger or voice chat channel. When the friend plays a different role, add something like 'watch my positioning from a support's view' so the conversation starts right away.
- 7For a party review, gather the moments into one videoTo watch several teamfights from one match back to back, merge your trimmed segments into a single video in DOR Studio. Labeling the gaps with text such as 'second teamfight' makes it easy for all five players to point at the same moment while talking.
Where to pull each Overwatch moment from, and how much to keep
| Moment to send | Where to find it in DOR | What to keep |
|---|---|---|
| Teamfight flipped by an ultimate combo | Auto highlight clip (kill events); use the full match if the lead-in is too short | From a few seconds before the first ultimate to just after the last kill |
| Support save | Full-match recording (with no kill, it may not be a clip) | From when your teammate starts losing health to just after they survive |
| Tank engage | Full-match recording | From setting up before the engage to when your team follows in |
| Multi-kill streak | Auto highlight clip | Use the clip as is or tidy the edges |
| Five-stack teamfight review | Full-match recording | One segment per teamfight, in order |
| Question for a friend on another role | Full-match recording | Short: from just before the decision to its outcome |
One more look before you send the link
- The video starts a few seconds before the fight opens.
- The order in which ultimates were used is clear from both picture and sound.
- I trimmed kill-free saves and engages from the full-match recording myself.
- I listened to check that my own voice on the mic is fine to send to a friend.
- I opened the link in my own phone browser to confirm it plays.
- I wrote one line telling my friend on another role what to watch and why.
How sharing Overwatch moments works in DOR
DOR is a free Windows desktop app: launch Overwatch and it detects the game automatically, records the whole match as an mp4, and creates separate highlight clips by detecting events such as kills. You view recordings and clips in the app library, set a start and end in the trim tool, pick 16:9, 9:16 or 1:1, and share it as a dor.gg link. If you are unsure where to place the start, see how to trim game clips. To combine several moments or add text and background music, open DOR Studio in a browser with no install, handle length, merging, effect templates and volume, then download an mp4 or share a link. With an NVIDIA graphics card, NVENC hardware encoding is the default, and game sound and microphone are recorded together. If you do not have a regular party to review teamfights with yet, Overwatch party finder shows how to find teammates whose roles fit.