You make Roblox Shorts by recording the experience on PC, picking one moment that works as a Short, cropping it to a vertical 9:16 frame, adding one line of text and music, and uploading it at three minutes or less to YouTube Shorts or TikTok. You can shoot on a phone, but PC recording is easier when you want your voice reaction and the game sound together, because Roblox's built-in Captures stops at 30 seconds and does not record voice chat or in-experience sound (Roblox Help, checked October 14, 2026). Three things make Roblox Shorts different from Shorts for other games. Every experience has its own screen layout, so what you need to keep in a vertical crop changes from game to game. The genres range from obbies to horror to roleplay, so you need a rule for choosing material. And whether the music in an experience is Roblox-licensed music changes how you think about monetization. This guide covers six clip ideas, how to deal with the chat window and player list when cropping to 9:16, how to add text and music, and what to check before uploading. The same steps work whether you finish the edit in CapCut, DOR Studio or another editor. Saving a moment right after it happens is covered separately in how to clip Roblox.
Short answer: record on PC when you need sound; Captures is fine for silent clips
Decide how to get your footage by asking one question: does the Short need sound? With Roblox's built-in Captures, you open the experience menu in the upper-left corner and select Captures, and a capture icon appears on the right side of the screen that starts and stops recording. Videos are capped at 30 seconds, and the in-experience UI and the names above avatars are removed, which gives you a clean frame that is enough for a short clip you plan to put music over. However, voice chat and in-experience sounds are not recorded, captures are kept in Roblox app storage, and you have to tap the save icon to export a video to the Videos folder on desktop. Developers can also turn off capture in their experience, and then you can't use it there. If the Short depends on your scream at a jumpscare, banter with friends, or gunfire and sound effects, record the experience with a PC recording app instead. Tools that record past the 30-second cap are compared in how to record Roblox longer than 30 seconds. If you want to share inside Roblox, there is also Moments (beta), but it is for users 13 and older, allows up to 10 video posts a day, and doesn't accept externally edited files. See how to post Roblox Moments for the details and Roblox video copyright and music monetization for what the music license covers on YouTube.
How to make a Roblox Short, from picking the moment to uploading
- 1Pick one moment that works as a ShortA Roblox Short usually carries one moment. Pick one where viewers can tell what is happening within the first one or two seconds and the result lands at the end: missing the last jump of an obby, screaming when a monster appears in a horror experience, an egg or pet hatching as a rare, a trade going through, or the sheriff landing the final shot on the murderer in Murder Mystery 2. Write down which experience it was so you can put its name in the title later.
- 2Record the experience on PC firstIf the Short needs your voice reaction, start recording before you join the experience. Whatever app you use, make a short test recording to confirm the game sound and your microphone both come through. Roblox's anti-cheat help article says OBS in-game capture is known to have issues with Roblox and recommends window or desktop capture, so use Window Capture if you record with OBS. Cropping the center of a 1080p landscape video to 9:16 leaves only about 607 pixels of width, which is scaled up about 1.8 times for a 1080x1920 upload, so recording at 1440p or higher gives a sharper vertical frame if your PC can handle it.
- 3Trim the clip so the first one or two seconds hookCut from two or three seconds before the moment to just after the result. Remove loading screens, menu opening and walking around where nothing happens. As a rule of thumb used in this guide, aim for roughly 10 to 45 seconds depending on the idea, and for horror reactions keep two or three seconds after the scare so the reaction lands. You can also show the result first and then rewind to how it happened, which suits rare-hatch clips.
- 4Crop to 9:16 and deal with chat and the player listCropping the center of a 16:9 frame to 9:16 keeps only about 607 of 1920 pixels, roughly a third of the width. On the default Roblox screen, the chat window sits in the upper left and the player list in the upper right, so a center crop removes most of both. The flip side is that coin counters, reward pop-ups and timers that an experience shows near the edges can be cut too, so check where the result appears before you crop. Zooming the camera in toward your avatar with the mouse wheel while you play keeps the avatar from looking tiny in a vertical frame, although some experiences lock the camera. For text-heavy screens such as a trade window, 1:1 is easier to read than 9:16.
- 5Add one line of text so the situation is clearPut a short line of text on the first frame so viewers watching without sound still understand what is going on. Lead with the experience or the situation, for example 'Last sheriff standing' or 'Fell off the final obby stage', and save the result for the end. The bottom and right side of the Shorts screen are covered by the title and buttons, so keep text in the upper third of the frame. If another player's username is clearly visible, cropping it out or covering it with text is the safer choice.
- 6Separate in-experience music from music you addAccording to Roblox Help, videos captured from Roblox experiences that contain music Roblox licensed from APM Music can be posted to platforms such as YouTube and monetized, for example with ads. The music is only covered together with that Roblox footage, so lifting it into another video isn't covered, and you can't always tell from the video alone whether every sound in an experience is that licensed music. For Shorts, the simplest approach is to leave in-experience music as part of the scene and add music only when you want to change the mood. For music you add while editing, check that the track is cleared for the platform you upload to, whichever tool you pick it from. Keep the music quieter than the game sound so your reaction isn't buried. What to do when a claim arrives is covered in the copyright and music guide linked above.
- 7Upload vertical at three minutes or less and check the classificationYouTube classifies square or vertical videos of up to three minutes uploaded on or after October 15, 2024 as Shorts. For Shorts longer than one minute with an active Content ID claim, the English help page says they will be blocked, while the Korean, Japanese, Chinese and Vietnamese versions of the same page say that from September 24, 2026 new Shorts between one and three minutes are no longer automatically blocked (checked October 14, 2026). Shorts of one minute or less aren't affected by this rule, so keep music-heavy Shorts within a minute, or check the current page before uploading a longer one. Put the experience name at the front of the title, for example Steal a Brainrot, and check TikTok's and other platforms' current length limits in their own help pages.
6 Roblox Shorts ideas: where to cut and what to watch in 9:16
| Idea and example experiences | Where to cut and length (suggested) | What to watch in 9:16 |
|---|---|---|
| Obby fails and clears (obby and tower-climb experiences) | From 2 to 3 seconds before the last jump to just after the fall or finish, 10 to 20 seconds | Zoom the camera in so your avatar sits in the center. A stage counter near the edge gets cut, so state the stage number in text. |
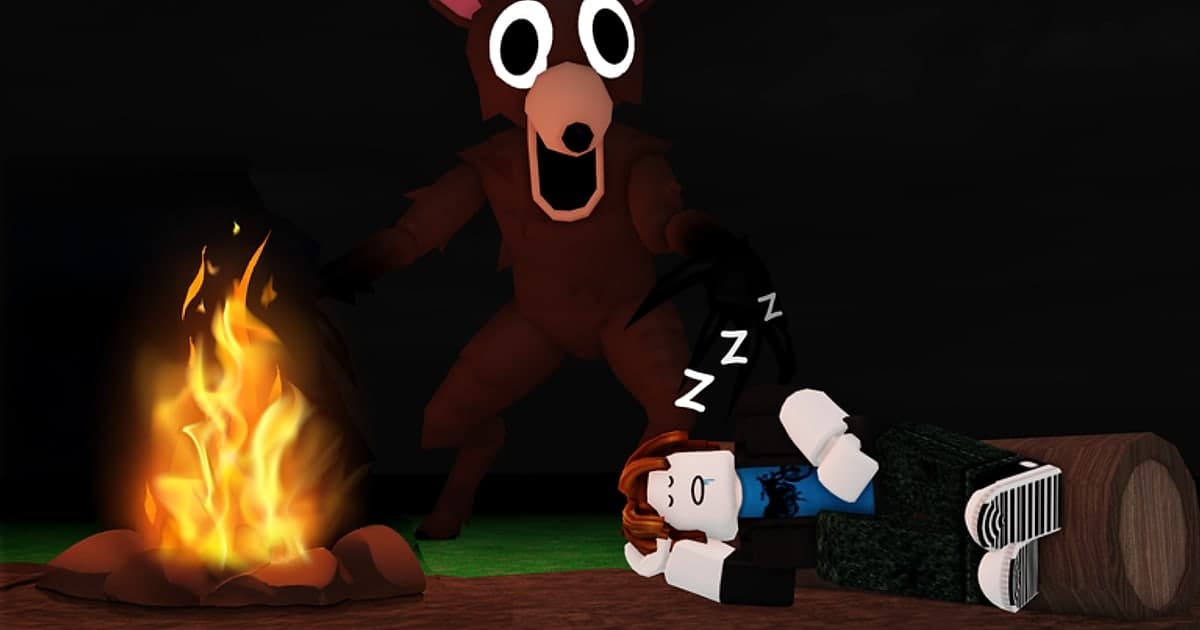
| Horror jumpscare reactions (99 Nights in the Forest, DOORS and others) | 3 to 5 seconds of build-up, the scare, and 2 to 3 seconds of reaction, 15 to 30 seconds | Your voice reaction is the point, so your mic has to be recorded too. Built-in Captures, which records no sound, doesn't fit. |
| Rare hatches and drops (eggs in Steal An Egg, fruits in Blox Fruits, pet rolls) | From just before it opens to 2 seconds after the result appears, 10 to 20 seconds | Check whether the result pop-up appears in the center. If it shows near the edge it gets cut, so restate the result in text. |
| Trades (Adopt Me! and other experiences with trading) | From the back-and-forth offers to just after acceptance, 15 to 40 seconds | Trade window text is small and hard to read at 9:16. Crop to 1:1 or sum up what was traded in text, and cover the other player's username. |
| Comebacks and clutches (Murder Mystery 2, RIVALS and others) | From the last tight spot to just after the result is decided, 10 to 25 seconds | Things move fast, so use a zoom effect only once at the deciding moment. Check where the experience shows elimination or win notices. |
| Pranks planned with friends (roleplay, horror and others) | From a 3-second setup to your friend's reaction, 20 to 45 seconds | Your friends' voices and a Discord call may be recorded too, so get their OK before posting. Cover usernames of players you don't know. |
Roblox Shorts checklist before you upload
- Each Short holds one moment, and the situation is clear in the first one or two seconds.
- The video is 9:16 or 1:1 and three minutes or less.
- The chat window, the player list and usernames of players you don't know are off the screen.
- If a result pop-up was cropped out, you restated it in text, and the text doesn't overlap the buttons at the bottom of the Shorts screen.
- You listened once through a phone speaker to check the balance of your voice, game sound and music.
- Music you added is cleared for the platform you're posting to, and for Shorts longer than one minute you checked how YouTube Help currently handles Content ID claims.
- If friends' voices or a Discord call are in the clip, you asked them whether it's OK to post.
Using DOR to collect PC Roblox moments and turn them into 9:16 Shorts
DOR is a free Windows PC app that automatically detects Roblox for PC downloaded from roblox.com (support for the Microsoft Store version hasn't been confirmed). Recording starts automatically when you join an experience and stops when you leave it for the home screen or close Roblox. It records any experience regardless of genre, whether it's an obby, horror, roleplay or tycoon game, and each experience becomes one full-length mp4 in the library. The Roblox app home and menus aren't recorded, and if you jump into an experience right after launching Roblox, recording can start about 15 to 20 seconds late. DOR doesn't automatically cut kills or rare hatches in Roblox (there are no automatic highlight clips). Instead, while it is recording inside an experience, press F8 (changeable) right after a moment worth a Short and the previous 30 seconds (choose 15, 30, 45 or 60) are saved as a separate clip. Your microphone is recorded by default with noise suppression, and game sound and mic are mixed into one track, so set your voice level before you record. By default DOR records all desktop sound, which includes a Discord call or music you have playing, so for Shorts you can change the setting to record only Roblox's sound. Quality defaults to 1080p at 60 fps and goes up to 2160p. Library cards show Roblox and the recording time rather than the experience name, so note which experience it was. In the library's Trim Section tool, set a start and end and choose 9:16 to get a vertical video, then share it as a dor.gg link that plays in a phone browser. Trim Section adds text only at 1:1, so to put text and music on a 9:16 frame, move to DOR Studio (dor.gg/studio), which opens in the browser with no install. In Studio you can adjust length, merge several videos, set a 9:16 ratio, add effect templates such as Punch Zoom and Shake Zoom, text with a choice of fonts, background music and volume, then download an mp4 for YouTube Shorts or TikTok. Videos must be at least 3 seconds and no larger than 500 MB, and each project has a limit on the number of videos. General ways to turn landscape clips into vertical ones are covered in how to make a vertical 9:16 game video. DOR is PC-only and doesn't record Roblox on phones, tablets or consoles, so if you play on mobile, think of it as an option for when you play on PC.
 #Roblox