Short answer: if your RAM is rated above the default, you have to enable XMP or EXPO
Performance DDR5 kits sold as 6000 MT/s or faster typically start out at the JEDEC baseline of around 4800 MT/s. The speed printed on the box lives inside an overclocking profile stored on the module, and the BIOS only applies it when you select it.
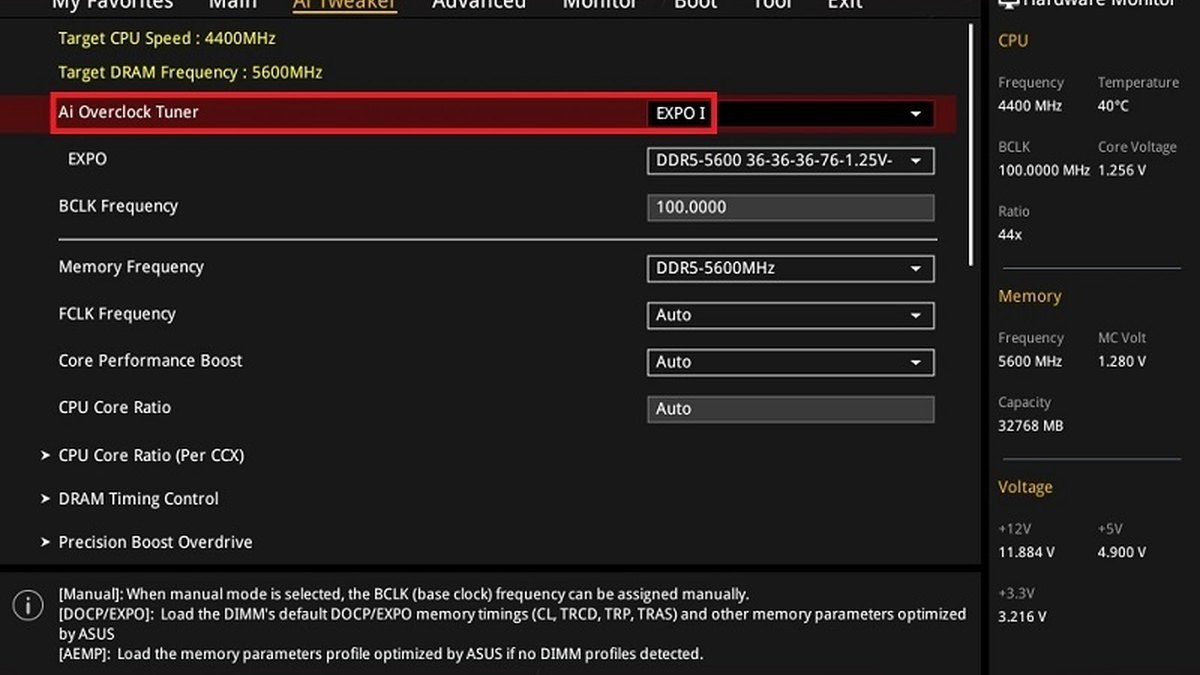
On Intel systems that profile is called XMP; on AMD Ryzen AM5 systems it is EXPO. The recommended setup is simple: with a matched two stick kit installed, enable profile 1 (XMP I or EXPO I on ASUS boards), save, reboot, and confirm that Task Manager now reports something close to the rated speed.
If the system will not boot, clearing CMOS puts everything back. Memory prices have climbed sharply over the past year, which makes it worth confirming that you actually get the speed you paid for. If you are not sure which modules you have or how many are installed, start with our guide on how to check your PC specs in Windows 11.
Why RAM runs at default speed: JEDEC settings and CPU memory specs
Every DDR5 module carries two layers of settings. The first is the JEDEC standard configuration that any compatible board can boot. The second is an XMP or EXPO profile, a bundle of speed, timings and voltage that the memory maker has validated for that kit.
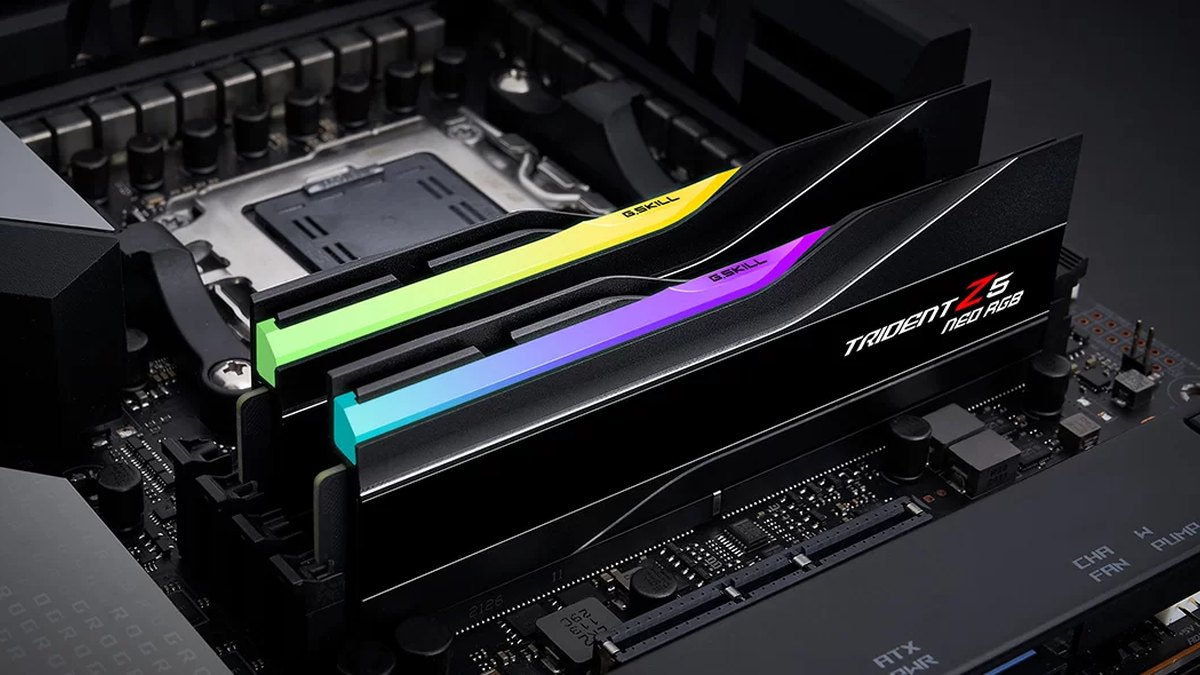
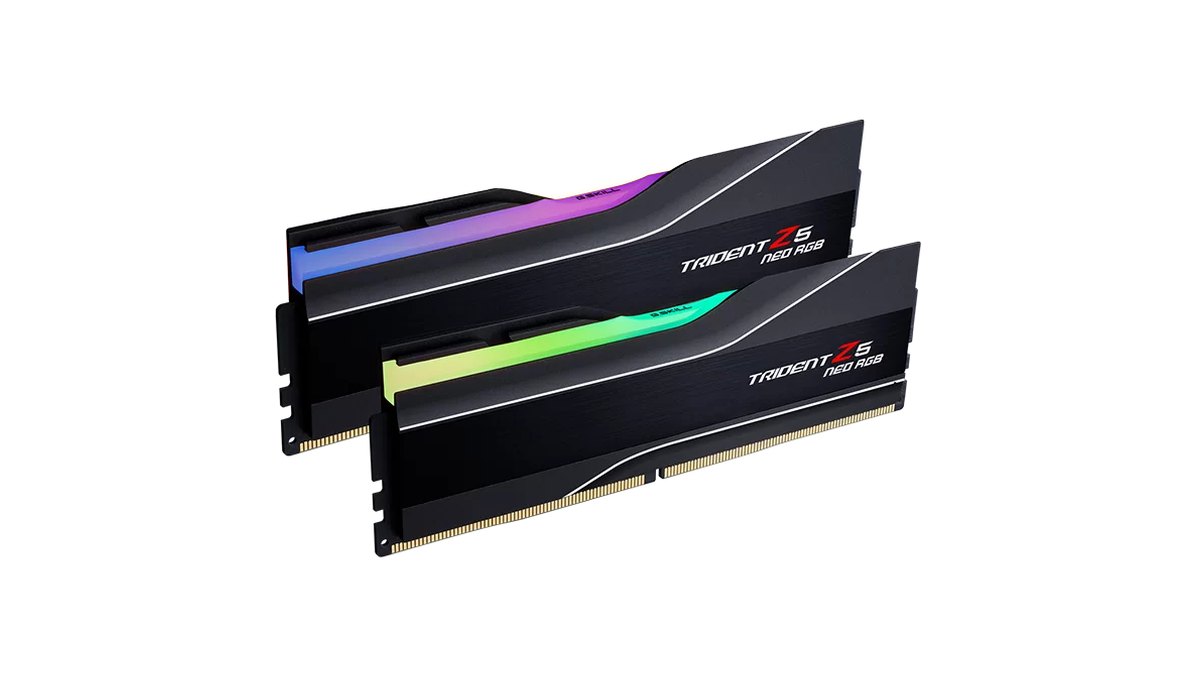
The BIOS boots with the safe JEDEC values first and waits for you to choose the profile. Take the G.SKILL Trident Z5 Neo RGB 64GB 6000 kit (F5-6000J3040G32GX2-TZ5NR): its official spec lists 4800 MT/s at 1.10V by default and 6000 MT/s CL30-40-40-96 at 1.40V only once XMP or EXPO is enabled.
That is a 25 percent jump in transfer rate. The 32GB version of the same 6000 kit uses different timings and voltage, so always check the label on your own modules. DDR5 launched in late 2021 with a JEDEC baseline of 4800 CL40, and the standard has since moved up to 5600 CL46.
The catch is that profile speeds often sit above the CPU vendor's official memory spec. The Ryzen 7 9800X3D is rated for DDR5-5600 with two sticks and DDR5-3600 with four, and the Core i7-14700K lists DDR5 5600.
From the RAM's point of view an XMP or EXPO speed is its normal rated speed, but from the CPU's point of view it is running outside specification.
| Item | Value | What it means |
|---|---|---|
| Original DDR5 JEDEC baseline | 4800 MT/s CL40 | Where many performance kits sit before a profile is enabled |
| Current DDR5 JEDEC standard | 5600 MT/s CL46 | Runs at this speed straight away if the CPU supports it |
| Ryzen 7 9800X3D official max (2 / 4 sticks) | DDR5-5600 / DDR5-3600 | EXPO 6000 is out of spec; four sticks drop speed sharply |
| Core Ultra 9 285K official listing | Up to DDR5 6400 MT/s | Measured reviews describe 5600 for one module per channel, so sources differ |
| Typical XMP 3.0 or EXPO profile | 6000 MT/s CL30 | The rated speed you only get after enabling the profile |
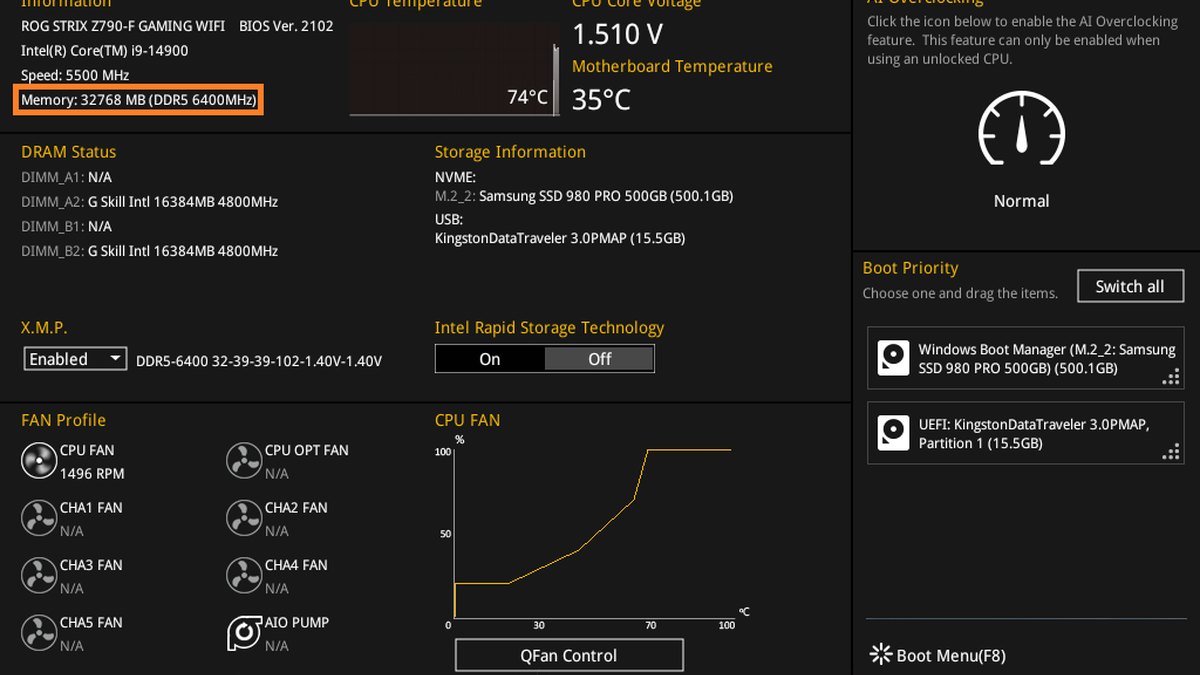
The ASUS support screenshot above makes the difference obvious. The per slot DRAM Status still reads 4800MHz, yet once X.M.P. is switched to Enabled the overall memory readout changes to DDR5 6400.
The profile line also lists the speed, timings and voltage, so you can compare it with the sticker on your modules before saving. Intel XMP 3.0 is DDR5 only and can hold up to five profiles, three from the memory maker and two you can rewrite yourself.
AMD EXPO is the DDR5 profile format built for AM5 Ryzen, and it now also covers Ultra Low Latency (ULL) certified kits whose secondary and tertiary timings are tuned as well.
How to enable XMP or EXPO in six steps
- 1Check your current speedPress Ctrl+Shift+Esc to open Task Manager, go to the Performance tab and select Memory. Note the number next to Speed and how many slots are in use (for example 2 of 4). A 6000 kit showing roughly 4800 means the profile is off.
- 2Enter the BIOSRestart and tap the Delete key repeatedly as the PC starts. Some boards also accept F2. ASUS boards open in EZ Mode; press F7 to switch to Advanced Mode.
- 3Find the memory profile optionIf the simple screen shows an item such as X.M.P. or A-XMP/EXPO Profile, enable it there. Otherwise look under Ai Tweaker (ASUS), OC (MSI), Tweaker (GIGABYTE) or OC Tweaker (ASRock) in the advanced screen. The table below lists the usual names.
- 4Select profile 1 and savePick the first XMP profile on Intel or the first EXPO profile on AMD (XMP I or EXPO I on ASUS). Skip extra options such as XMP Tweaked, where the board maker tightens timings further and stability is not guaranteed. Press F10 to save and restart.
- 5Give the first boot timeDDR5 runs memory training the first time it starts with new settings, and a blinking DRAM status LED on the board during this phase is normal. If the screen takes longer than usual to appear, wait rather than cutting power. If your board offers Memory Context Restore, enabling it lets later boots skip retraining where possible and shortens POST.
- 6Verify speed and stabilityBack in Windows, confirm Task Manager now shows a speed close to the rating. Then run a memory test such as Windows Memory Diagnostic and play a few of your usual matches to make sure there are no crashes or blue screens.
Where the setting lives on ASUS, MSI, GIGABYTE and ASRock boards
Menu names vary between motherboard brands, and even within one brand they change with chipset and BIOS version. The ASUS, MSI and GIGABYTE documents all say the screens may differ by model and firmware. The names below are the typical ones from official manuals and support pages. If you get lost, search the menus for one of four words: XMP, EXPO, DOCP or Profile.
| Board brand | BIOS key | Simple screen | Advanced screen path |
|---|---|---|---|
| ASUS | Delete (F2 also works) | X.M.P. item in EZ Mode (Intel board example) | F7 → Ai Tweaker → Ai Overclock Tuner: XMP I or EXPO I, DOCP for the other platform's kits |
| MSI | Delete | A-XMP/EXPO Profile in EZ Mode (AM5) | F7 → OC → choose A-XMP or EXPO |
| GIGABYTE | Delete (F2 switches views) | Easy Mode | Tweaker → XMP/EXPO Profile |
| ASRock | See board manual | See board manual | DRAM profile item on the OC Tweaker tab |
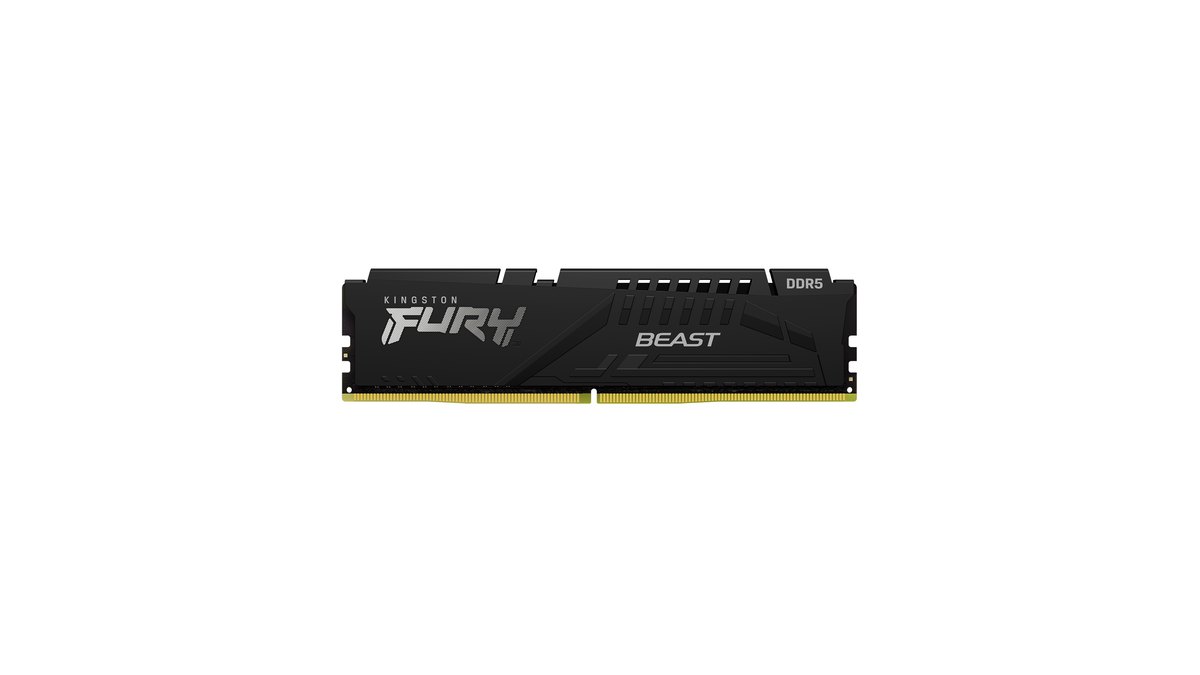
There is also a path for kits built for the other platform. Nearly every AM5 board can read XMP profiles too, and EXPO certified Kingston FURY modules also carry an XMP 3.0 profile. ASUS boards load the other platform's profile under the name DOCP.
GIGABYTE notes that its XMP/EXPO Profile item is only selectable when a module with such a profile is installed, and MSI says the option works only when the CPU, memory and board all support it. Extras such as ASUS AEMP, GIGABYTE DDR5 Auto Booster and MSI Memory Try It!
are brand specific features, so if your kit has its own profile, start with plain XMP or EXPO. On older AM4 systems with DDR4, a kit that carries an XMP profile is enabled the same way, through the memory profile option in the BIOS. If you are deciding whether to keep that platform, see our look at the AM4 5800X3D and DDR4 upgrade path.
Recommended settings by platform and configuration
| Your setup | Recommended setting | What to check |
|---|---|---|
| Ryzen 9000 or 7000 with a two stick EXPO kit | EXPO profile 1 (EXPO I on ASUS) | Task Manager speed close to the rating, e.g. 6000 |
| Ryzen with an XMP only kit | XMP profile 1 (DOCP on ASUS) | The kit's values appear in the profile list |
| Intel Core Ultra or Core K on a Z or B series board with an XMP kit | XMP profile 1 (XMP I on ASUS) | Task Manager speed |
| Intel H series board | Profile option may be missing; run at default | Stable at default speed |
| Standard JEDEC kit (e.g. 5600 CL46) | Leave at default | Seeing the rated 5600 is normal |
| Four sticks | Boot at default first; use a profile only after checking four stick support on the board QVL | A lower speed is common |
| Prebuilt PC from a large OEM | If the option is missing, run as shipped | Seller guidance and warranty terms |
How many extra frames you get depends on the game. Measured reviews conclude that faster memory often raises 1080p frame rates on Ryzen, but the size of the gain varies widely from title to title.
In one memory maker's own testing from 2023 on a 13th gen Intel CPU at 1080p, moving from 4800 to 6800 lifted the average frame rate by more than 11 percent in a CPU heavy benchmark, while GPU bound games changed very little.
That points to the biggest differences in competitive shooters and esports titles such as VALORANT, Counter-Strike 2 and League of Legends when you chase high frame rates, and smaller ones in demanding games at high resolution.
Some builders argue that X3D chips like the 9800X3D gain little from tuned memory, but if you already own a fast kit, running it at its rated speed is the normal setup. To find out whether your own games are limited by the CPU or the graphics card, read our guide on checking for a CPU and GPU bottleneck.
XMP not working or PC will not boot: how to recover
If the screen stays black or the PC keeps rebooting after you enable a profile, clear CMOS to restore BIOS defaults.
Shut the PC down, unplug the power cable, then hold the Clear CMOS button, if your board has one, for five to ten seconds, or bridge the two CLRTC pins (CLRCMOS1 on ASRock) with a jumper for a few seconds.
Pulling the motherboard battery for a moment also works, but you will need to reset the date and time afterwards. Once cleared, load the BIOS defaults (Load Optimized Defaults) and save.
On MSI boards, enabling AUTO CLR_CMOS makes the board reset itself when it keeps rebooting without reaching Windows.
Before trying again, check that the kit is on the board's QVL (qualified memory list), that you are using one matched kit in the slots the manual recommends, and that the BIOS is up to date. If it still fails, test one stick at a time to isolate the problem.
Six common mistakes
- Expecting 6000 with four sticks. Four modules put more load on the memory controller and lower the achievable speed; even the 9800X3D is officially rated for DDR5-3600 with four. If you are still choosing parts, reaching your capacity with two sticks is simpler, and our gaming PC buying guide walks through the rest of the build.
- Mixing separately bought kits. Even modules with the same part number can disagree on profiles, so two or four sticks should come from a single kit.
- Starting with the most aggressive option. XMP Tweaked or manual timing changes belong after the base profile has proven stable.
- Hunting for a missing option on a prebuilt. Many large OEM systems lock memory profiles, and Intel H series boards are not on Intel's XMP support list.
- Living with instability. Crashes, blue screens or corrupted files mean you should turn the profile off and run a memory test at default settings first.
- Forgetting to recheck after a BIOS update. After flashing new firmware, look at the Task Manager speed again to confirm your memory settings are still applied.
Warranty and stability: what to know before you enable it
User discussions start from the same premise: a performance kit needs its profile enabled to deliver the speed you paid for. Opinions split on what to do when things get unstable.
Some say to turn the profile off and move on, others suggest testing at default first, updating the BIOS or reseating the modules, and then trying the profile again.
Four stick builds are similarly divided, with reports of EXPO 6000 working after a BIOS update alongside reports of speeds falling into the 3200 to 4000 range or boot failures depending on slot order, which is why buying a single four stick kit comes up so often. If you want to know whether your capacity is enough for your games, see how to check game RAM usage.
Prices (as of November 10, 2026)
| Product | Launch price (MSRP) | Street price range |
|---|---|---|
| Kingston FURY Beast DDR5-6000 CL30 32GB (16GB×2) | Check the retailer | About $790 (one major US retailer) |
| G.SKILL Trident Z5 Neo RGB DDR5-6000 CL30 64GB (32GB×2) | Check the retailer | Check the retailer |
These are regular listed prices on November 10, 2026 for the two kits used as examples above, with coupon and ad prices left out. For the launch price and the 64GB kit, check the retailer for the exact part number.
RAM prices have risen sharply since the second half of 2025, so the same kit can cost very different amounts depending on the store and the week; confirm the part number and today's price before you buy. When a kit costs this much, running it at its rated speed with XMP or EXPO matters even more.
How to confirm it worked and compare before and after
The quickest check is the memory Speed figure on the Performance tab in Task Manager. On the ASUS support screenshot it reads like 6400 MHz, so focus on whether the number matches your rating rather than on the unit.
Tools such as CPU-Z may show a memory clock of about half the rated figure, around 3000 for a 6000 kit, because DDR transfers data twice per clock.
You can also read the memory frequency on the BIOS main screen, and ASUS boards show whether a module carries an XMP or EXPO profile under the SPD information in the Tool menu. After speed comes stability: a passed memory test and crash free gaming sessions mean you are done.
To see whether the change actually helps, compare numbers rather than impressions. Before enabling the profile, play the same game, map or section with the same graphics settings while you show FPS in game and record it, then repeat the run after enabling it.
DOR is a free Windows app that detects supported games when you launch them, records the whole match automatically and collects it in My Clips. For other games, record and then trim the part you want to keep. Put the two recordings side by side and compare the FPS counter and any stutters.
Keep the recording resolution and frame rate identical for both runs so the comparison is fair, and see our recommended specs for game recording if you want to review your capture setup.