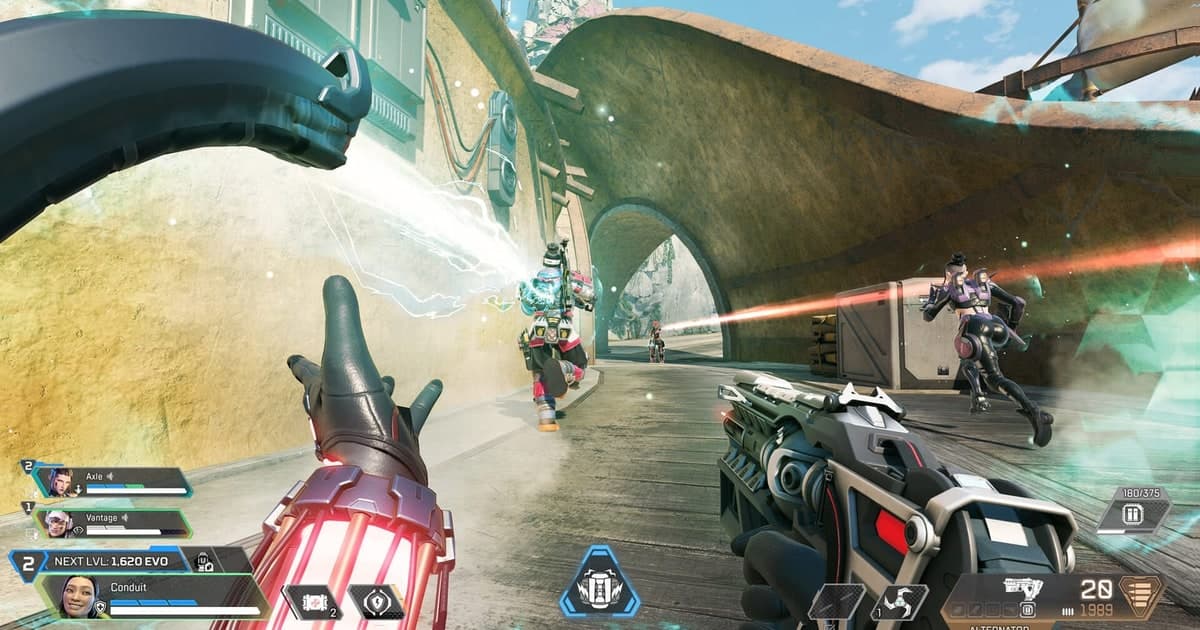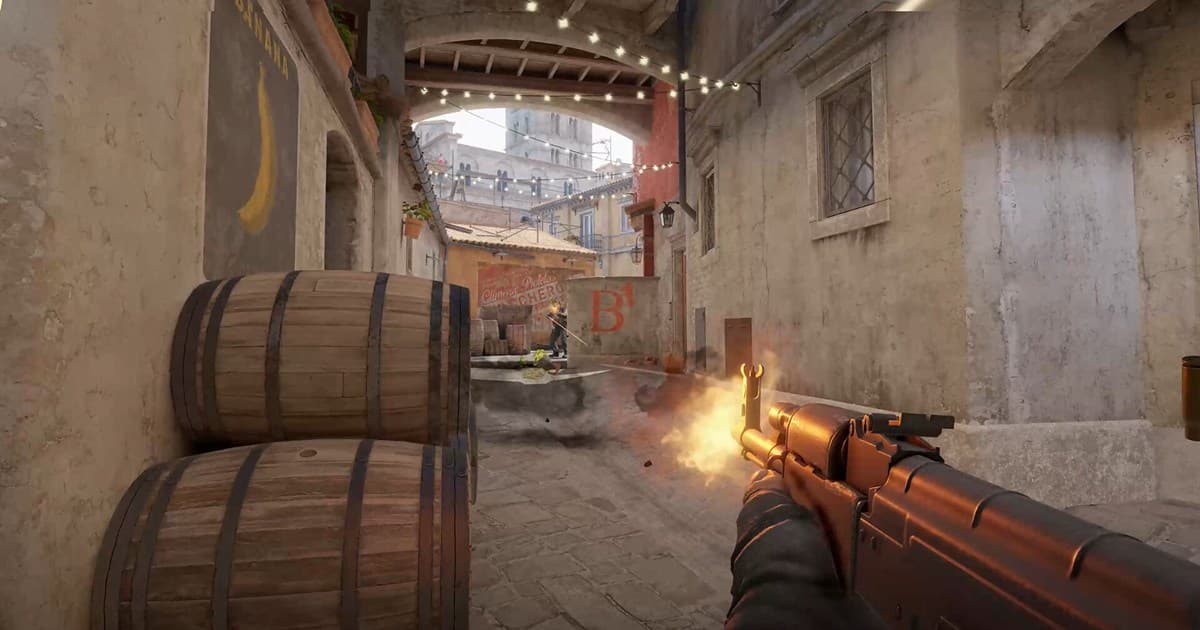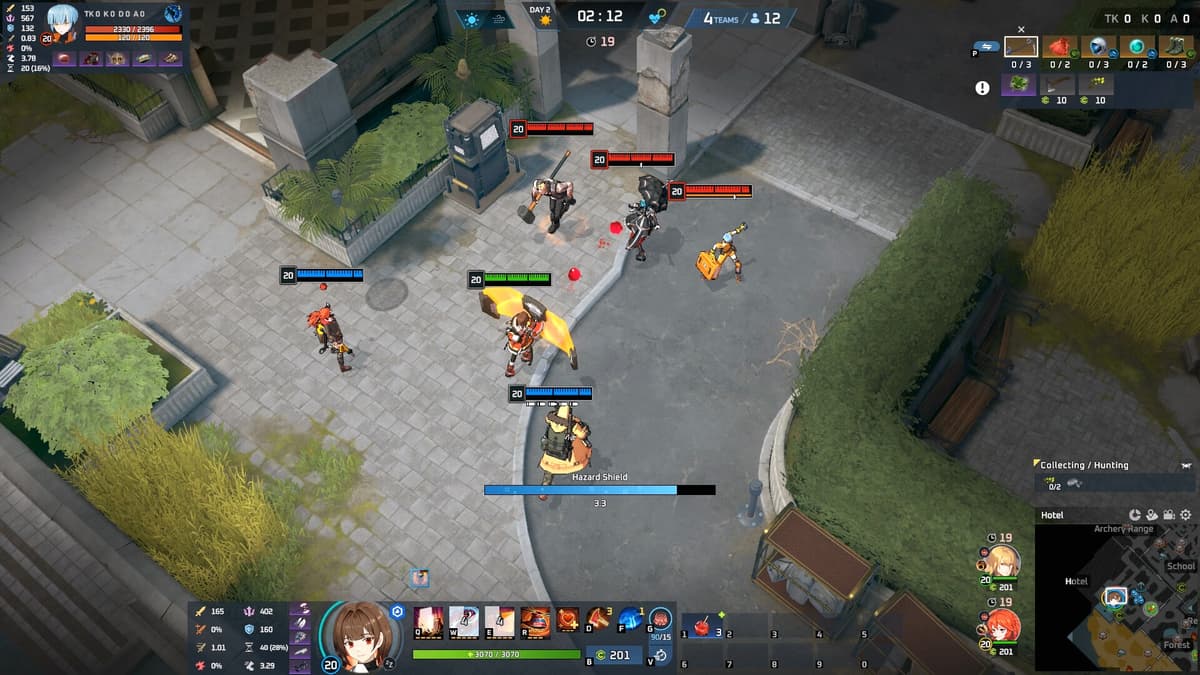
A single Eternal Return match moves quickly through farming, route choices, objective contests, and short fights. Reviewing a loss calls for the full match flow, while sharing with friends usually works better as a short final-zone fight or comeback clip. This guide explains the difference between an in-game replay and a video file, then shows how to record for each purpose.
Eternal Return replays and screen recordings serve different purposes
| Comparison | In-game replay | Screen-recorded video |
|---|---|---|
| Primary use | Review match flow and decision timing | Save, edit, and share a specific moment |
| File format | Match data read by the game client | Standard video such as MP4 or MKV |
| Patch compatibility | May stop working after a game update | Remains playable after patches in any compatible media player |
| Editing | Cannot usually be imported directly into a video editor | Can be trimmed, captioned, or reframed as a vertical video |
A replay lets the game client reconstruct a match from recorded data, while a screen recording captures the picture and sound shown on your monitor as a video. A match appearing in the replay list therefore does not mean an MP4 file has been created. A screen recording cannot restore free-camera controls later, but it can be played in the editor or platform of your choice.
How to watch Eternal Return replays and control the replay screen (Season 12)
As of September 14, 2026 (patch 12.3), the Replay button lives in Match History. The official patch 8.3 notes describe fixing an issue where the Replay button did not appear in Match History after viewing another user's profile, and the official support article on game IDs (Korean) explains that the numeric game ID shown on the result screen or under Profile ▶ Match History can be entered in the replay menu to open that match. In short: the Replay button in Match History (your own, or another user's profile) or entering a game ID is the way in. Tab names and layout can differ by client version.
| Patch (maintenance date) | Replay and spectator changes | What it means for you |
|---|---|---|
| 12.0 (Season 12 begins after the August 13 12.1 maintenance) | New fight log UI for observer and replay, ultimates shown as shared symbol icons, engine updated to Unity 6 | Use the fight log to read team fights while reviewing |
| 12.2 (August 20) | Fixed rest animations playing incorrectly when moving through the replay timeline | Timeline movement lets you jump straight to the moment you need |
| 12.2b hotfix | Fixed replays of Cobalt Protocol matches failing to load | Cobalt Protocol matches can also be opened in replay |
| 12.3 (September 3) | Fixed the black screen when spectating dead players in replays, and wild animals disappearing after timeline moves | Spectating a dead player no longer turns the replay into a black screen |
The full lists are in the patch 12.3 and patch 12.0 notes on the official site (playeternalreturn.com, News). What neither the patch notes nor the support center states is how long replays are kept, how many are stored, or whether replays from a previous version still play after a patch. The safe answer is to keep any match that matters as a video file, and you do not need to replay the match to make one. If DOR auto recording for Eternal Return is on before you launch Eternal Return, it detects the supported game, records the full match, and stores it in the in-app library, so the match survives even if the Replay button disappears from Match History. It is a free Windows app.
Choose which matches to keep and prepare to record
The replay entry path and the Season 12 changes are summarized in the section above. The steps below are a checklist for deciding which matches to keep and getting recording ready.
- 1Open match history and the replay menu — Check whether the match shows a Replay button in Match History. If it does not, take the game ID from the result screen or Profile ▶ Match History and enter it in the replay menu to see whether the match opens.
- 2Note the times of important scenes — Write down moments such as restricted-area transitions, objective fights, and the final survival phase so you can capture them quickly later.
- 3Make a screen recording for long-term storage — If replay retention is uncertain, capture the important scene as a standard video file.
How to record a full match for review
To analyze routes and decision making, record the entire match from the opening to the results screen. In a full-session recorder such as OBS, select Game Capture and begin with an output resolution that matches the game. Use the GPU's hardware encoder when available, but test first in practice mode or a normal match because the performance cost varies by PC.
- Screen: Make sure your character, minimap, items and UI are not cut off.
- Sound: Decide if you need to keep game sound effects and team voices separately.
- Performance: Compare frame rate and frame time before and after recording, especially during fights.
- Storage: Leave enough free space for more than the expected length of one match.
- Container: If you're worried about the risk of the program closing while recording, consider recording to MKV and then converting to MP4 when needed.
Keep an Eternal Return recording without replaying the match
If you searched for how to save an Eternal Return replay because you want to keep your own match, the two-step routine of replaying the match and screen-recording it is unnecessary. Recording Eternal Return comes down to leaving one app on. DOR is a free Windows desktop app that detects supported games automatically, records every Eternal Return match in full, and uses NVIDIA NVENC hardware encoding by default. Eternal Return is a full-match-only game in DOR, so there are no automatic highlight clips; you cut the fights you want out of the full recording yourself. It can also record game audio and your microphone together, which suits reviews that include team voice.
- 1Turn on DOR, then launch Eternal Return — Once the supported game is detected, the match is recorded in full. Play one normal match first to confirm that recording starts.
- 2Open the recording in the library after the match — Full-match files collect in the in-app library, one per match. Pick the match you want to keep here.
- 3Cut only the fight in the browser clip editor — The browser clip editor opens without installing anything. Trim the lead-in and aftermath of the fight using the table in the next section as a guide.
- 4Share with a dor.gg link — The trimmed clip becomes a dor.gg link that plays in a mobile browser, so you can paste it into Discord or a messenger without moving any files.
Recording the replay screen separately is only needed when you want a free camera or another player's point of view rather than your own, which is covered below under saving replay playback as a video. For trimming and sharing details, see the browser clip editor and one-click sharing; if DOR does not pick up the game, see what to do when a recorder does not detect your game.
Save decisive fights as focused highlights
Full match files are great for reviewing, but finding footage to share takes time. If DOR has recorded your Eternal Return match in full, open that match in the library and trim just the lead-in and aftermath of the fight in the browser clip editor, using the table below to decide how much to keep. If your tool uses a replay buffer that stores the previous 30 to 90 seconds, set the buffer longer than the lead-in in the table.
| Moment to save | Lead-in to keep | Ending to keep |
|---|---|---|
| Short 1v1 fight | 10–15 seconds before the fight begins | 5–10 seconds after the result |
| Objective team fight | 20–30 seconds showing the rotation and vision setup | 10–20 seconds for the chase and cleanup |
| Final survival or win | At least 30 seconds before the final zone | Through the results screen |
How to save replay playback as a video
Play the in-game replay from the moment and camera angle you want, then record that playback as a standard video file. If you hide the UI or change playback speed, note those choices so you can restore the battle information and normal speed before sharing.
- 1Choose the segment and camera view — Decide whether to follow one player or show the wider fight.
- 2Start the recording program — Start recording before you play the replay so the opening is not cut off.
- 3Play the replay at normal speed — Use faster playback for analysis, but return to normal speed for footage you plan to share.
- 4Trim the file after recording — Remove unnecessary menu footage with the steps in How to trim game clips.
Use consistent file names and manage storage
Once recordings pile up, a name such as 'recording_001' makes the right scene hard to find. Use a consistent pattern such as 'date_character_mode_rank' and keep original and edited files in separate folders. If storage is limited, trim the moments you need into clips and apply a clear rule for deleting the original files.
Check voice, nickname, and patch version before sharing
- If team voice is included, tell participants where the clip will be shared and check that chat, friend lists, and notifications reveal no personal information.
- When posting as a walkthrough, write the patch version at the time of recording in the title or description.
- If the recording includes music or broadcast footage, confirm that you have permission to reuse it.