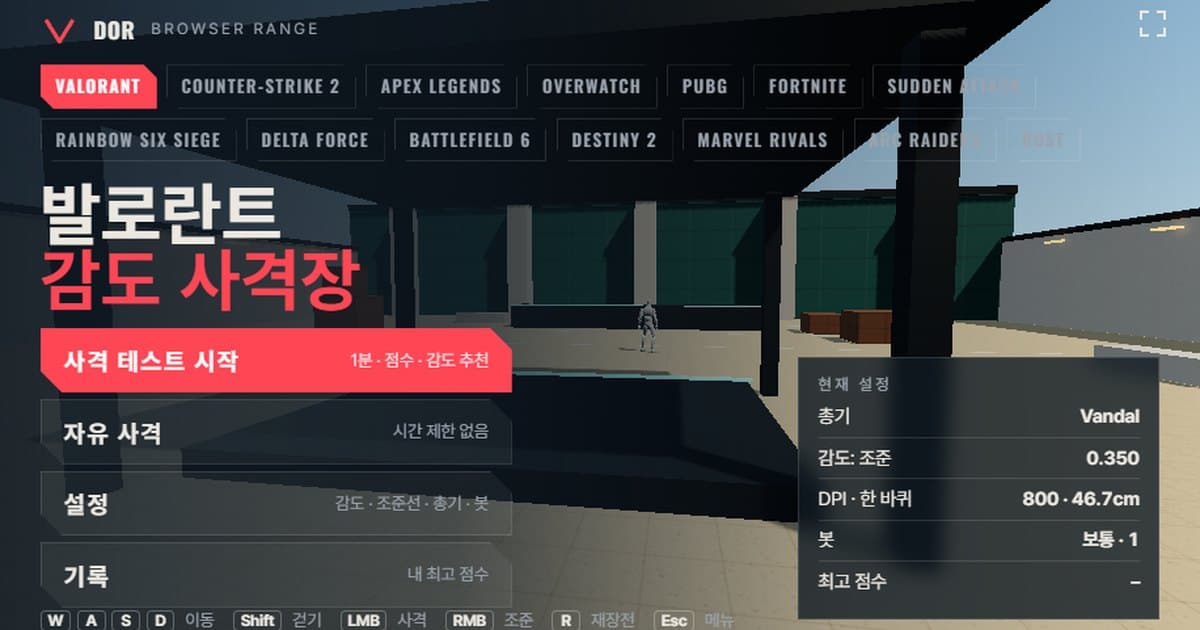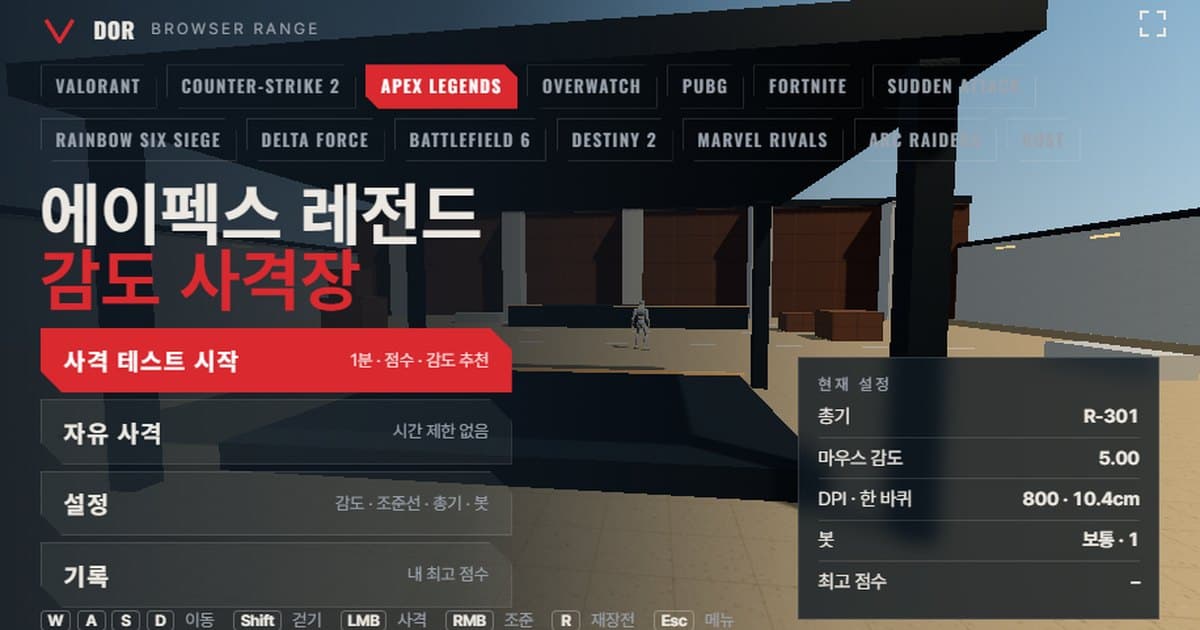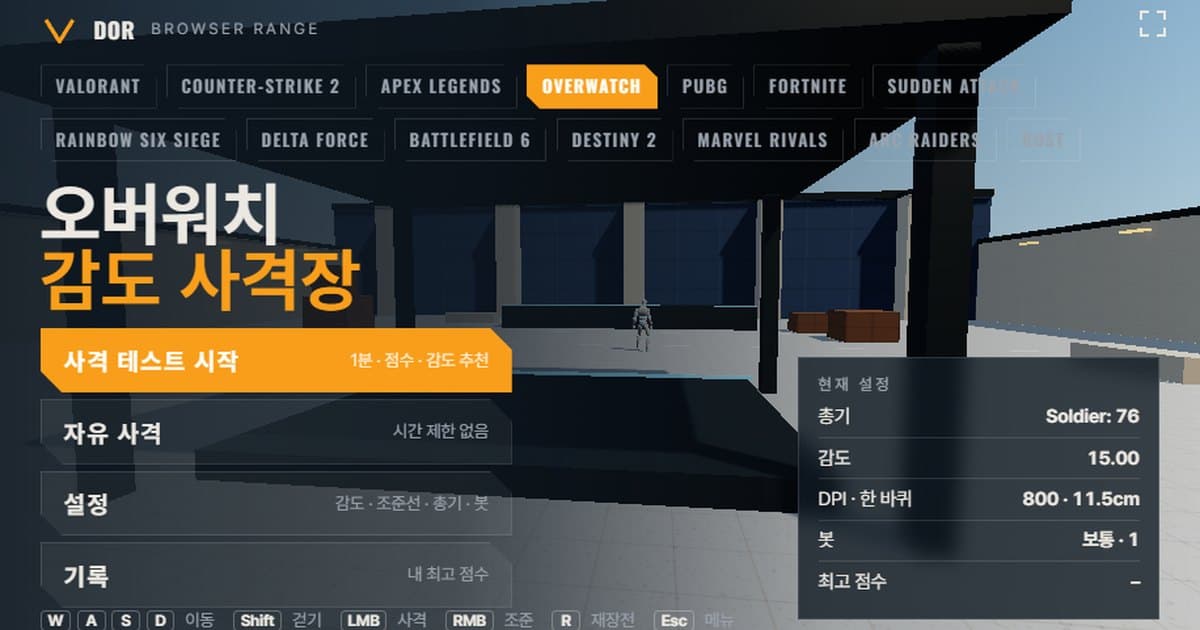
The Overwatch 2 sensitivity test above takes one minute: you shoot bots in the browser while it measures accuracy, headshot rate, the average time from a target appearing to its kill, and whether your aim overshoots or stops short of targets, then suggests raising or lowering your sensitivity by 10%. The range applies Overwatch 2's mouse turn rate and 103 horizontal FOV as they are, so you only enter the same sensitivity number and mouse DPI as your in-game settings and pick a hero weapon. There is nothing to install; it opens right away in PC Chrome or Edge. Because it needs mouse lock, it does not run in mobile browsers or in preview windows embedded inside apps. Note that Blizzard's official site currently writes the game's name as Overwatch without the number, but this article keeps Overwatch 2, the name people search for. If you want to sort out the sensitivity numbers themselves first, see the Overwatch sensitivity settings guide; for other games' ranges, see the browser sensitivity range overview.
What matches Overwatch 2 settings and what differs
The range does not borrow the game engine; it is an approximate model that matches turn rate, FOV, movement speed and bot health based on published numbers. Check in the table below where it matches and where it starts to differ before you interpret results.
| Item | Overwatch 2 | Range | Notes |
|---|---|---|---|
| Turn rate | 0.0066° per count × sensitivity (per community conversion sites; no official Blizzard figure) | Same formula applied | Linear model with mouse acceleration off |
| Field of view | 103° horizontal (slider 80–103, at 16:9, community data) | Fixed 103° horizontal | The game keeps the horizontal angle at 21:9 and crops the top and bottom |
| Movement speed | 5.5 m/s base (Tracer and Genji 6.0), crouch 3.0 m/s | Run 5.5 m/s · walk 3 m/s | No sprint or jump acceleration |
| Bot health/armor | Most damage heroes 250 (Tracer 175, Widowmaker 225); armor reduces each hit by 7 | 250 HP · 300 with heavy armor | Armor is simplified as extra health, unlike the game's per-hit reduction |
| Weapon list | Each hero's primary weapon | 5 approximations: Cassidy, Soldier: 76, Tracer, Ashe, Widowmaker | Primary fire only; no secondary fire or abilities |
How to run the 1-minute Overwatch 2 sensitivity test
Set things up in the menu first, then start the test. The Settings window has five tabs: General, Crosshair, Weapons, Bots, and Audio & Video. Values are saved in this browser and stay the next time you open it.
- 1Enter sensitivity and DPIIn Settings > General, enter the same number as Overwatch 2's Options > Controls > Mouse > Sensitivity and your mouse DPI. DPI does not change turning; it is only used to show eDPI and cm/360. To practice scoped heroes, set the scoped sensitivity multiplier as well (see the zoom sensitivity section below for the math).
- 2Choose a weaponIn the Weapons tab, pick one of Cassidy, Soldier: 76, Tracer, Ashe or Widowmaker. In the Bots tab, also set bot speed, targets at once, strafing and heavy armor.
- 3Start the testPress Start test in the menu; the mouse locks and the 1-minute countdown begins. Press the Fullscreen button for a screen size closer to the game.
- 4Shoot until time runs outAim at targets as they appear and take them down. Pressing ESC mid-round pauses and shows the cursor; press Resume to continue. If a message says mouse lock failed, wait a second or two and press again.
- 5Read the resultIn the round result, check accuracy, headshot rate, average kill time, overshoot/undershoot and the sensitivity suggestion. Pressing Retry with suggested sens applies the suggested value right away.
- 6Repeat 2–3 times the same dayUse Retry same setup to measure 2–3 more times with the same settings and see whether the results agree. The Records menu keeps your best score per setup.
How to read the result screen
Every number on the result screen is calculated from this one round only. Each item means the following.
- Accuracy: the share of shots fired that hit a bot. Fast-firing weapons like Tracer naturally score lower, so compare only within the same weapon.
- Headshot rate: the share of hits that landed on the head. It is the most important number for one-shot practice with Cassidy, Ashe and Widowmaker.
- Spawn → kill average: the average time from a target appearing to its kill. This is where a sensitivity change shows most directly.
- Spawn → first shot average: your reaction time from noticing a target to firing the first shot. It depends more on focus and screen brightness than on sensitivity.
- Shots per kill: the average number of rounds spent on one bot. Killing a 250 HP bot with Cassidy body shots (70) alone takes 4 shots in theory, so look at how far above that you land.
- Overshoot / undershoot: how many times your aim, while moving toward a target, went past it or stopped short. If the two add up to fewer than 5, the sample is too small and no suggestion is made; if one side exceeds 60%, the range suggests a sensitivity adjusted 10% in that direction.
Overwatch 2's sensitivity system and cm/360 conversion
Overwatch 2's mouse sensitivity lives in Options > Controls > Mouse > Sensitivity, and the hero dropdown at the top right of the Controls tab lets you keep separate values per hero. Community conversion sites list the input range as 0.01–100 (not confirmed in official documentation), and since a July 2016 patch the value can be set to two decimals, in 0.01 steps. The default is widely reported as 15, though that has not been confirmed in official documentation either. The range's slider covers the span people actually use, 1–30, in 0.05 steps, with the same default of 15 as the game. Turn rate is a linear model proportional to sensitivity; Blizzard has never officially published the 0.0066° per count coefficient, but every conversion site and the sensitivity DPI converter use the same value.
The distance the mouse travels on the pad for one full 360° turn. The Calculated line in the range's Settings window shows eDPI and cm/360 computed with the same formula.
| Sensitivity (800 DPI) | eDPI | cm/360 | Reading |
|---|---|---|---|
| 5.00 | 4,000 | 34.64 cm | Around the middle of the pro range (3–8) reported by community conversion sites |
| 7.00 | 5,600 | 24.74 cm | Close to the top of the pro range |
| 15.00 | 12,000 | 11.55 cm | Leaving the default gives 11.55 cm per turn, which is very fast |
Zoom sensitivity: Widowmaker, Ashe and the range's scoped sensitivity multiplier
Heroes with a scope keep a separate Relative Aim Sensitivity While Zoomed (0–100%; check the exact label in your client's language) under Controls > Change Hero. The value is a simple multiplier applied directly to the turn rate while scoped, so the scoped turn rate is 0.0066 × sensitivity × value ÷ 100. Per the hero options table on the Overwatch Wiki, the defaults are 30% for Widowmaker and Ana and 60% for Ashe. The community often cites 37.89% for Widowmaker and 51.47% for Ashe as values that match movement near the crosshair to the unscoped state, but the scoped FOV measurements themselves are community calculations, not figures confirmed in official documentation. The range calculates the scoped turn rate as base turn rate × scoped sensitivity multiplier ÷ the weapon's ADS multiplier, so to get the same scoped turn rate as the game, enter game value ÷ 100 × the range's ADS multiplier in the General tab's scoped sensitivity multiplier (default 1.0). Widowmaker's default 30% becomes 0.30 × 2.2 = 0.66 and Ashe's default 60% becomes 0.60 × 1.5 = 0.90; the community values of 37.89% and 51.47% become about 0.83 and 0.77. However, the range's 1.5× for Ashe and 2.2× for Widowmaker are approximations, smaller than the community-calculated magnification of the real scopes (about 2.64× for Widowmaker and 1.94× for Ashe), so even with the same turn rate the on-screen speed feels slightly different. It is safer to finalize zoom sensitivity in the game itself, and the hero weapons also only approximate each primary weapon's fire rate and damage; projectile size and damage falloff are not reproduced.
Hero weapons in the range
| Name | Fire rate (rpm) | Mag | Reload (s) | Head · body damage | ADS multiplier |
|---|---|---|---|---|---|
| Cassidy | 120 | 6 | 1.5 | 140 · 70 | 1× (no ADS) |
| Soldier: 76 | 540 | 30 | 1.5 | 38 · 19 | 1× |
| Tracer | 1200 | 40 | 1 | 12 · 6 | 1× |
| Ashe | 240 | 12 | 2.5 | 150 · 75 | 1.5× |
| Widowmaker | 72 | 35 | 1.5 | 240 · 120 | 2.2× (scope) |
Cassidy and Ashe are the right picks for one-tap practice. Cassidy's 140 headshot kills a 250 HP bot in two headshots, so looking at headshot rate together with the spawn → kill average shows your flick accuracy right away. Practice tracking and spraying with Soldier: 76 and Tracer with bot movement on; accuracy and shots per kill are the benchmarks there. Widowmaker's 240 headshot follows the uniform 2× rule rather than the game's charged headshot damage, so she cannot one-shot a 250 HP bot; compare flicks and scope transitions using the spawn → kill average, which includes the finish after a headshot, and the kill count at Hard bot speed. Since hitscan heroes make up a large part of this game, setting the same cm/360 in the CS2 range or the VALORANT range and alternating between them helps you compare the feel.
Limits of a browser range and how to compensate
- Raw input: the range requests raw input through pointer lock, but if the browser refuses, OS mouse acceleration gets mixed in. If a warning appears, turn off Enhance pointer precision in Windows and reopen the page.
- Input timing: browsers sometimes batch mouse events per frame, so the polling advantage of 4,000–8,000 Hz mice is not fully reflected. It barely affects sensitivity comparison, but fine jitter may feel different from the game.
- No recoil patterns: Soldier: 76's climbing recoil and Tracer's growing spread during sustained fire are not reproduced as patterns; they are handled as simple spread. Practice recoil control separately in the game's practice range.
- Simplified movement error: you can turn on movement and firing error in the Crosshair tab, but there are no per-hero differences in moving accuracy. There is no sprint, jump acceleration or ability movement either.
- FOV assumes 16:9: the 103° horizontal FOV is based on a 16:9 aspect ratio. A different window ratio can change what you see compared with the game, so we recommend pressing the Fullscreen button and measuring on a 16:9 monitor.
- How to compensate: use the range only to pin down cm/360 and your overshoot/undershoot tendency; make the final decision after shooting plenty at the same sensitivity in the game's practice range and then recording and reviewing real matches.
After choosing a sensitivity, confirm it in real matches: DOR
Once your range scores stabilize, it is time to put that sensitivity into the game and confirm it in real matches. When DOR detects Overwatch 2, it records the match automatically and AI picks highlights and saves them as clips. You can trim clips in the browser editor and share them with a dor.gg link. It is free and runs on Windows. If the clips from the day you changed sensitivity show overshot flicks and short tracking in the same direction as the range results, you can judge whether the adjustment is heading the right way. Details are on the Overwatch 2 recording page.
 #Overwatch